Balance board
Besides programming and electronics, I'm also deeply interested in skill toys and overall skill development. Every now and then, I remember that I would like to try balance boarding. This interest sparked when I first saw some Indoboard videos on YouTube.
The drawback that kept me away from buying one of the available boards on the market was the price tag. The most famous brands sell their sets (board + roller) way beyond +100€! I'm sure that I can build one for way less to touch the water and decide if this is something I like. In this article I share with you my considerations about sizing and materials.
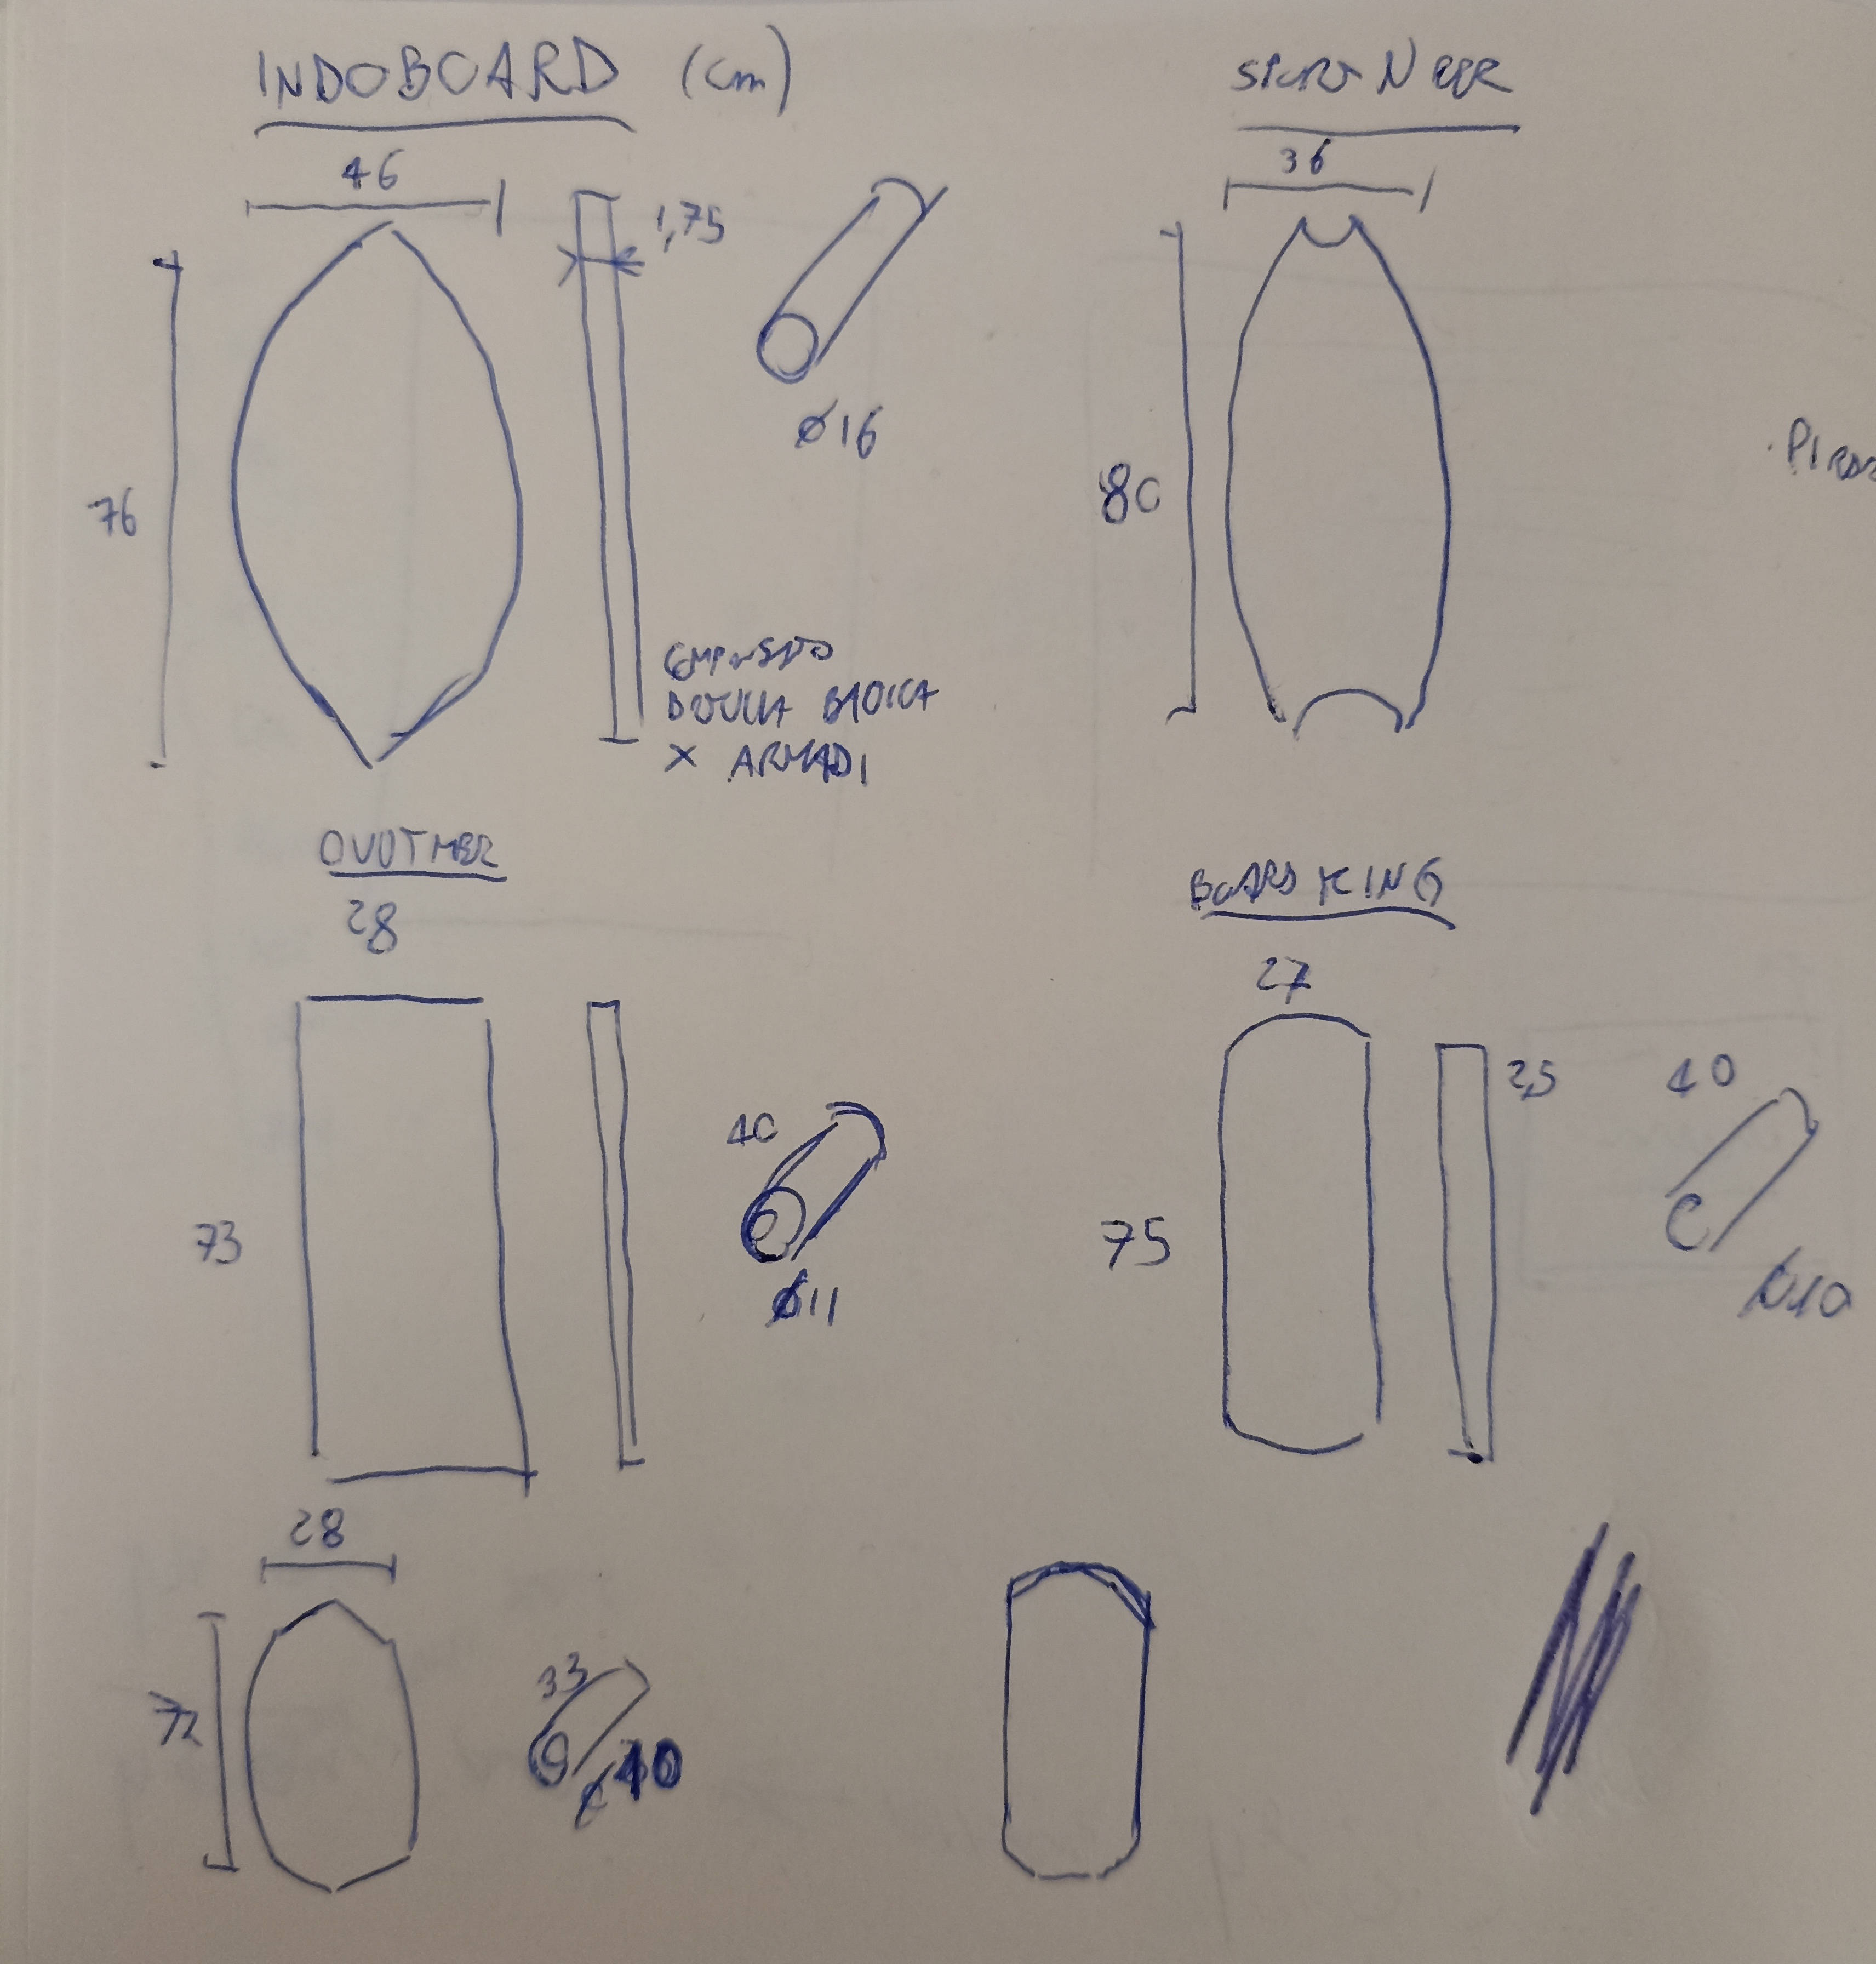
The first thing I searched for was a wooden board available at the local shop. Usually, the boards have a shape that fits into a rectangle long 72-80cm, and wide 27-46cm, depending on the brand. Thickness depends on the wood and spans between 1,5cm to 2,5cm.
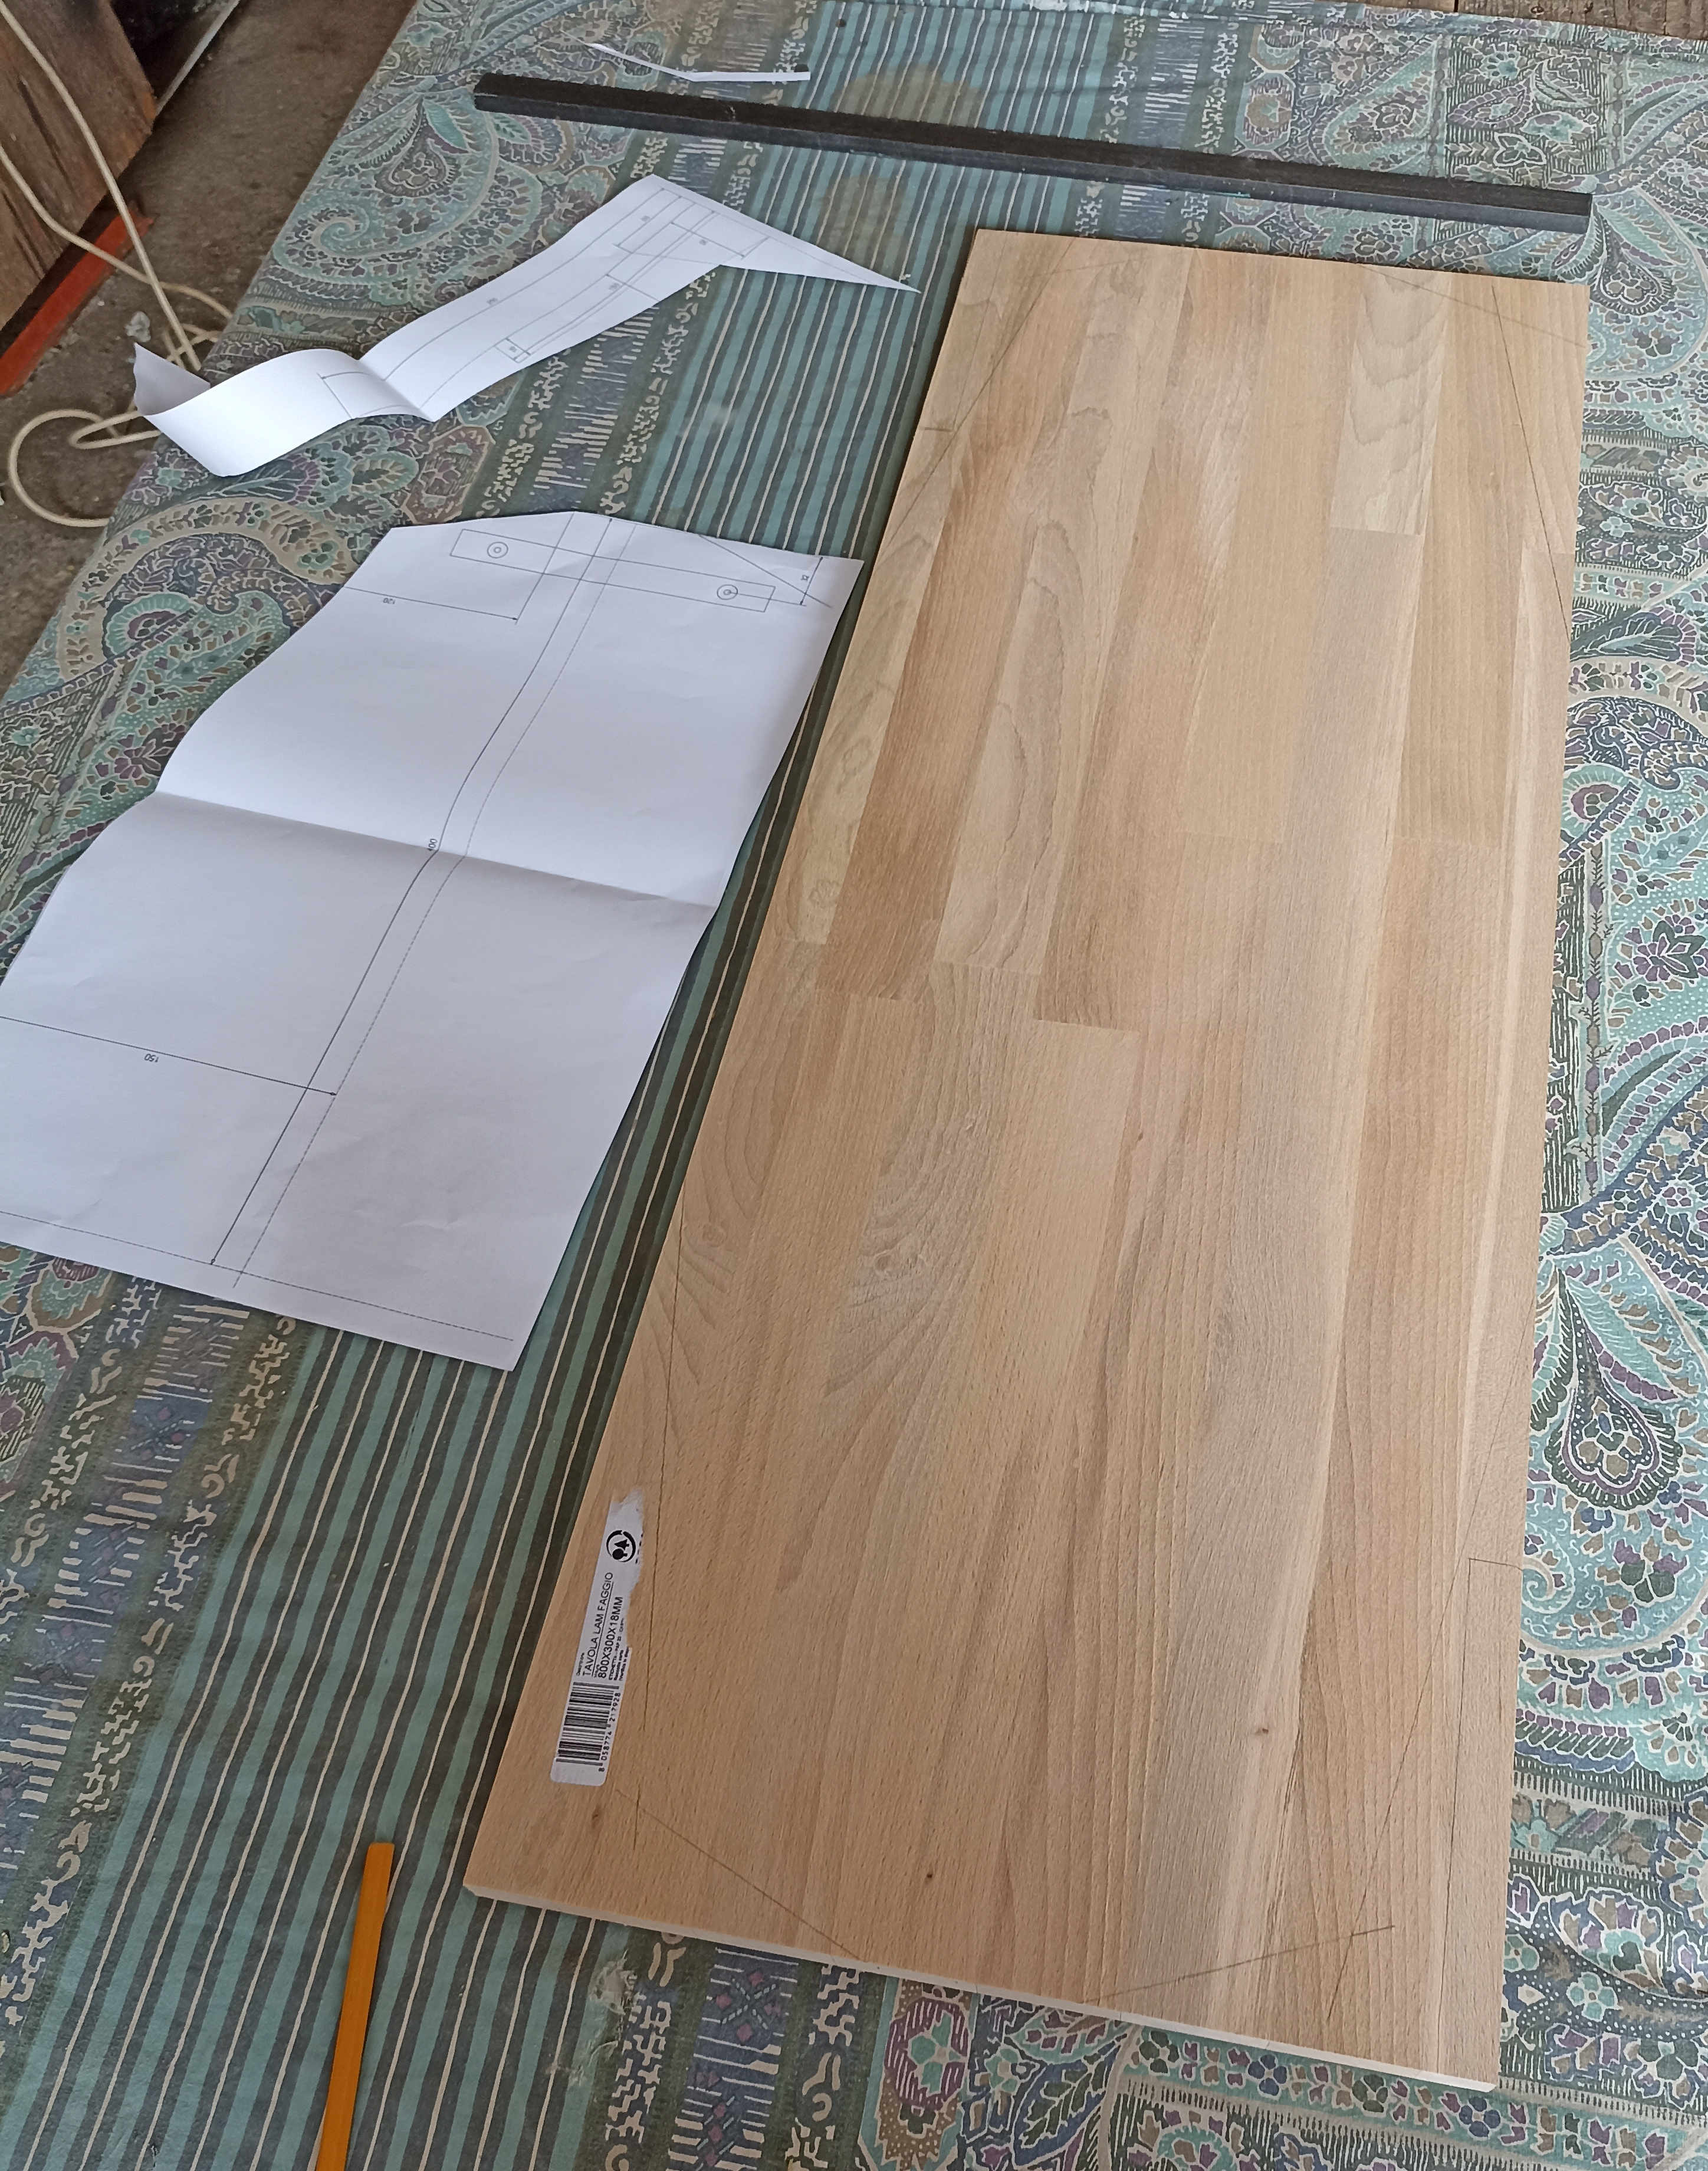
I bought a laminated beech board 80x30x1,8cm (15,69€ price). I choose beech because among the available ones (pine, fir, beech, oak, ayous) has the best mechanical features at a reasonable price tag.
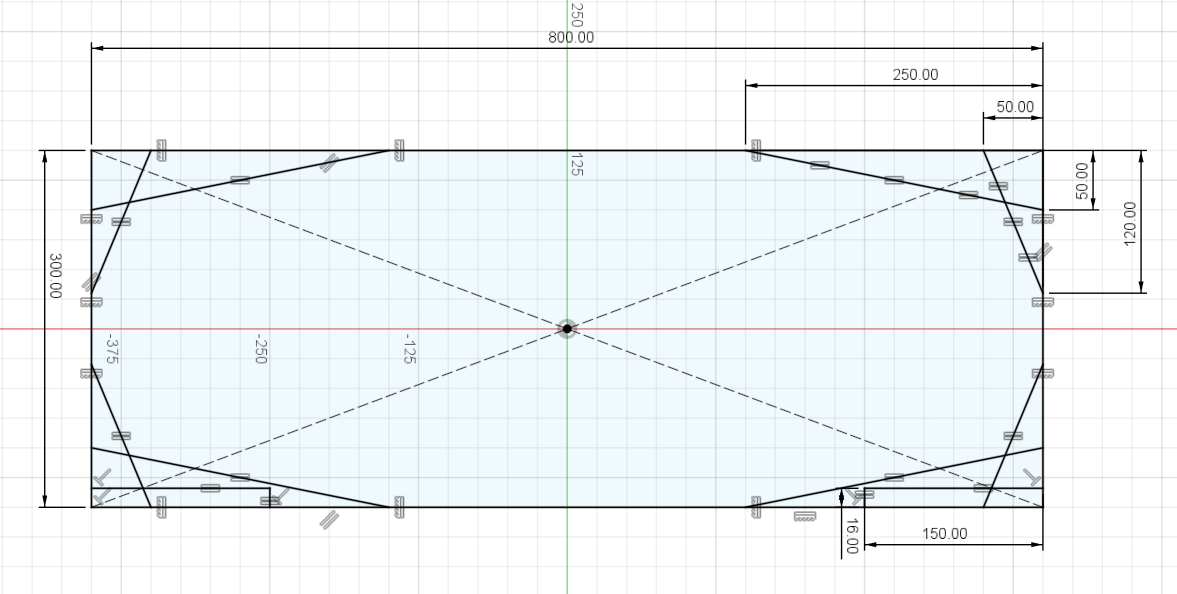
Inside the laminated footprint I designed a shape that I liked and was easy to carve with a jigsaw, plotted it at a 1:1 scale, and cut the paper to retrace lines on the wood. I kept 30cm width because my foot is 26cm heel to toe and I want it to stay completely on the board even towards the edges where the shape gets a little bit slimmer. I didn't spend too much time ensuring the cut shape was perfectly balanced since symmetry isn't crucial. From the wood scraps, I cut two rectangles that I will use as stoppers on the edges.
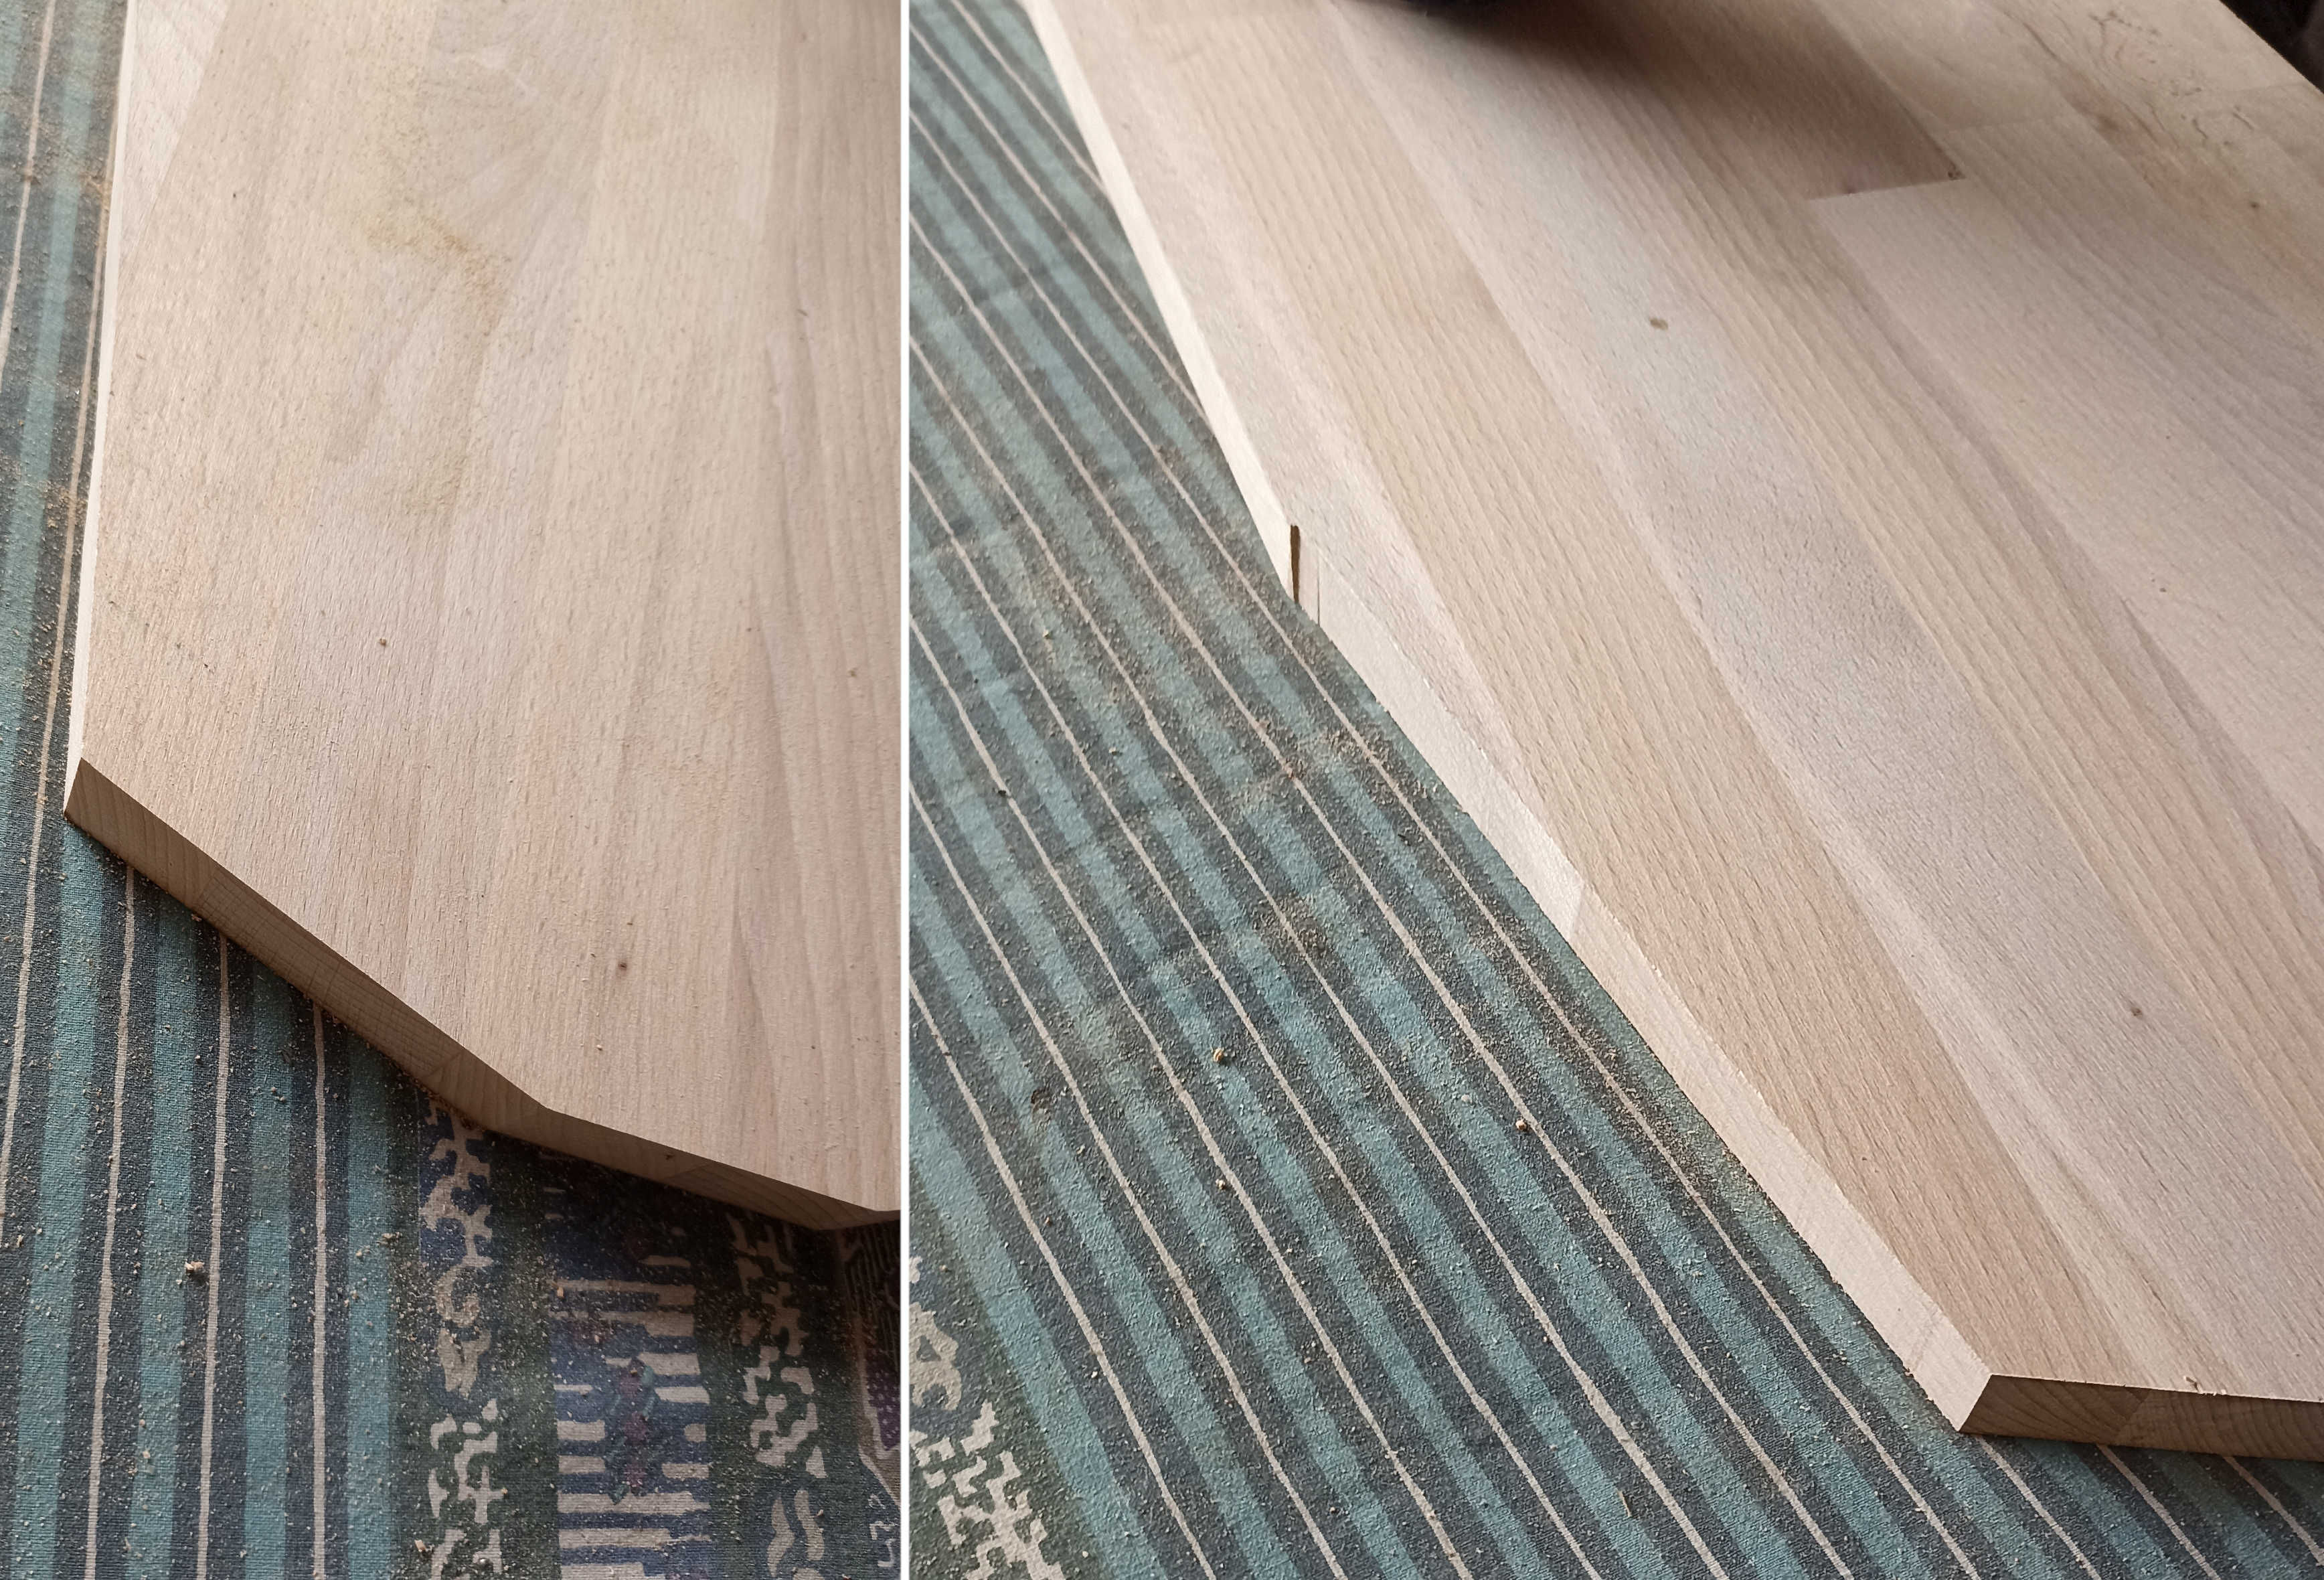
I added a fillet on the edges because as you can see here the cut wasn't very skin-friendly.
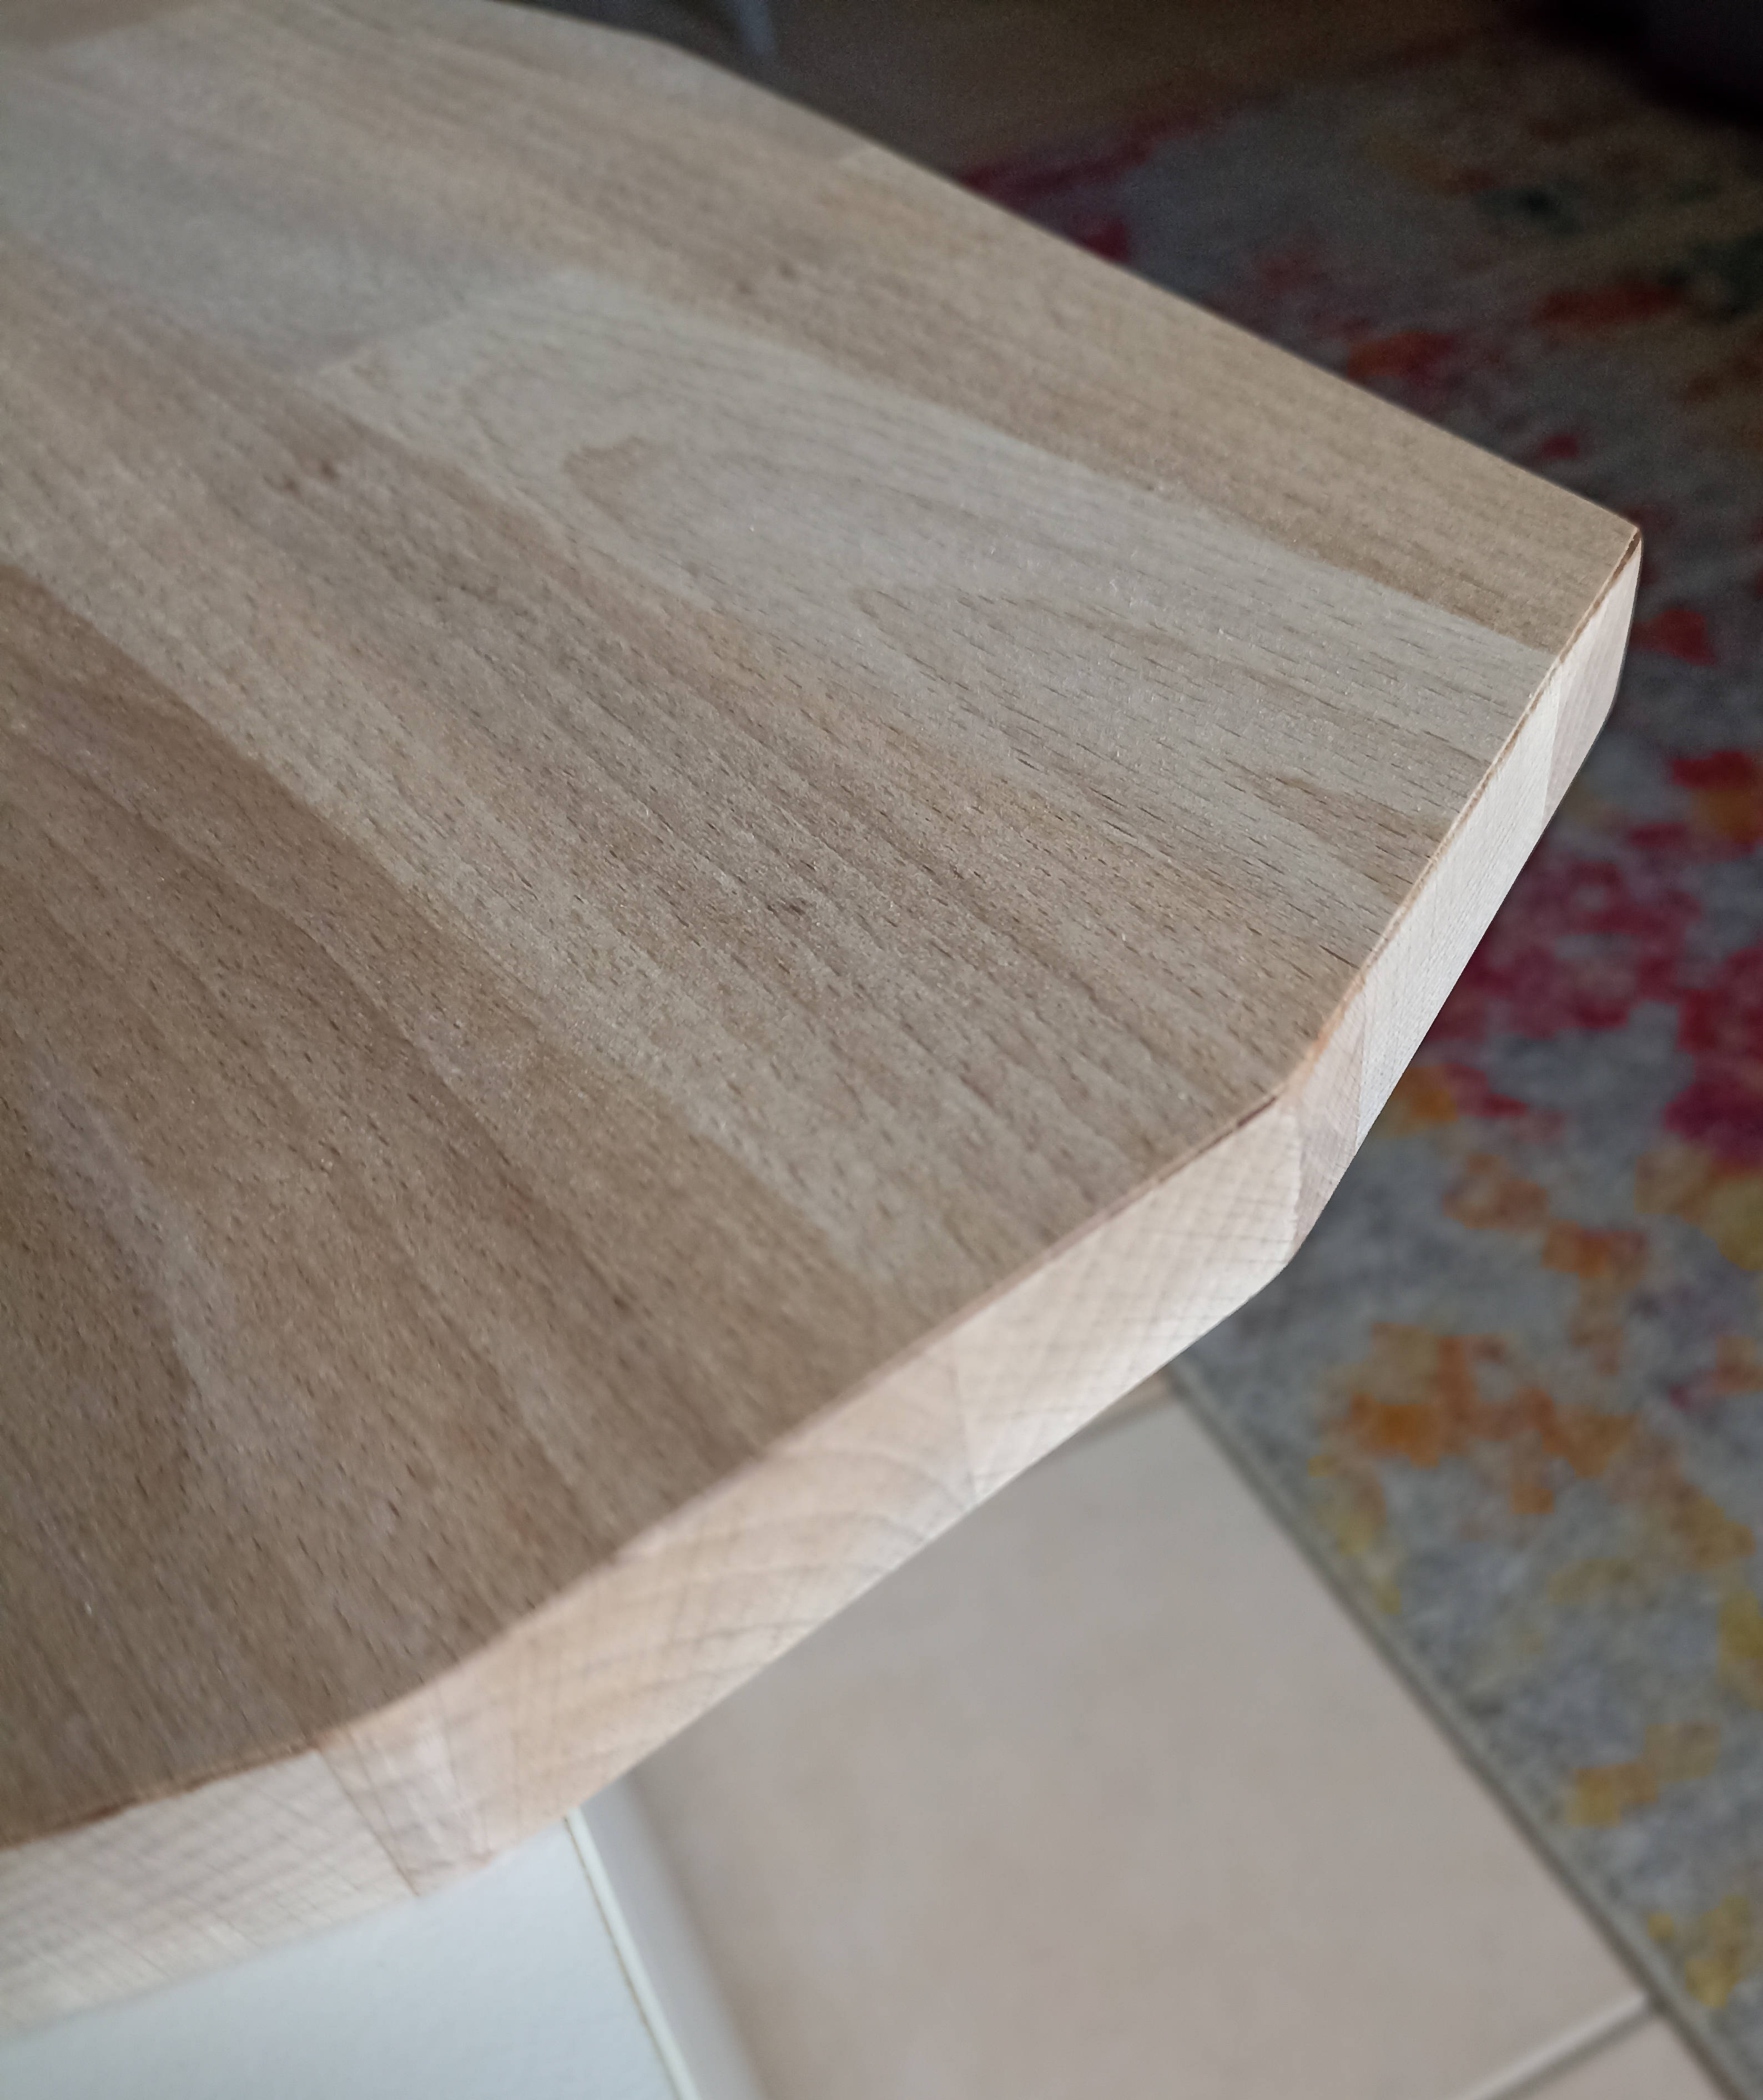
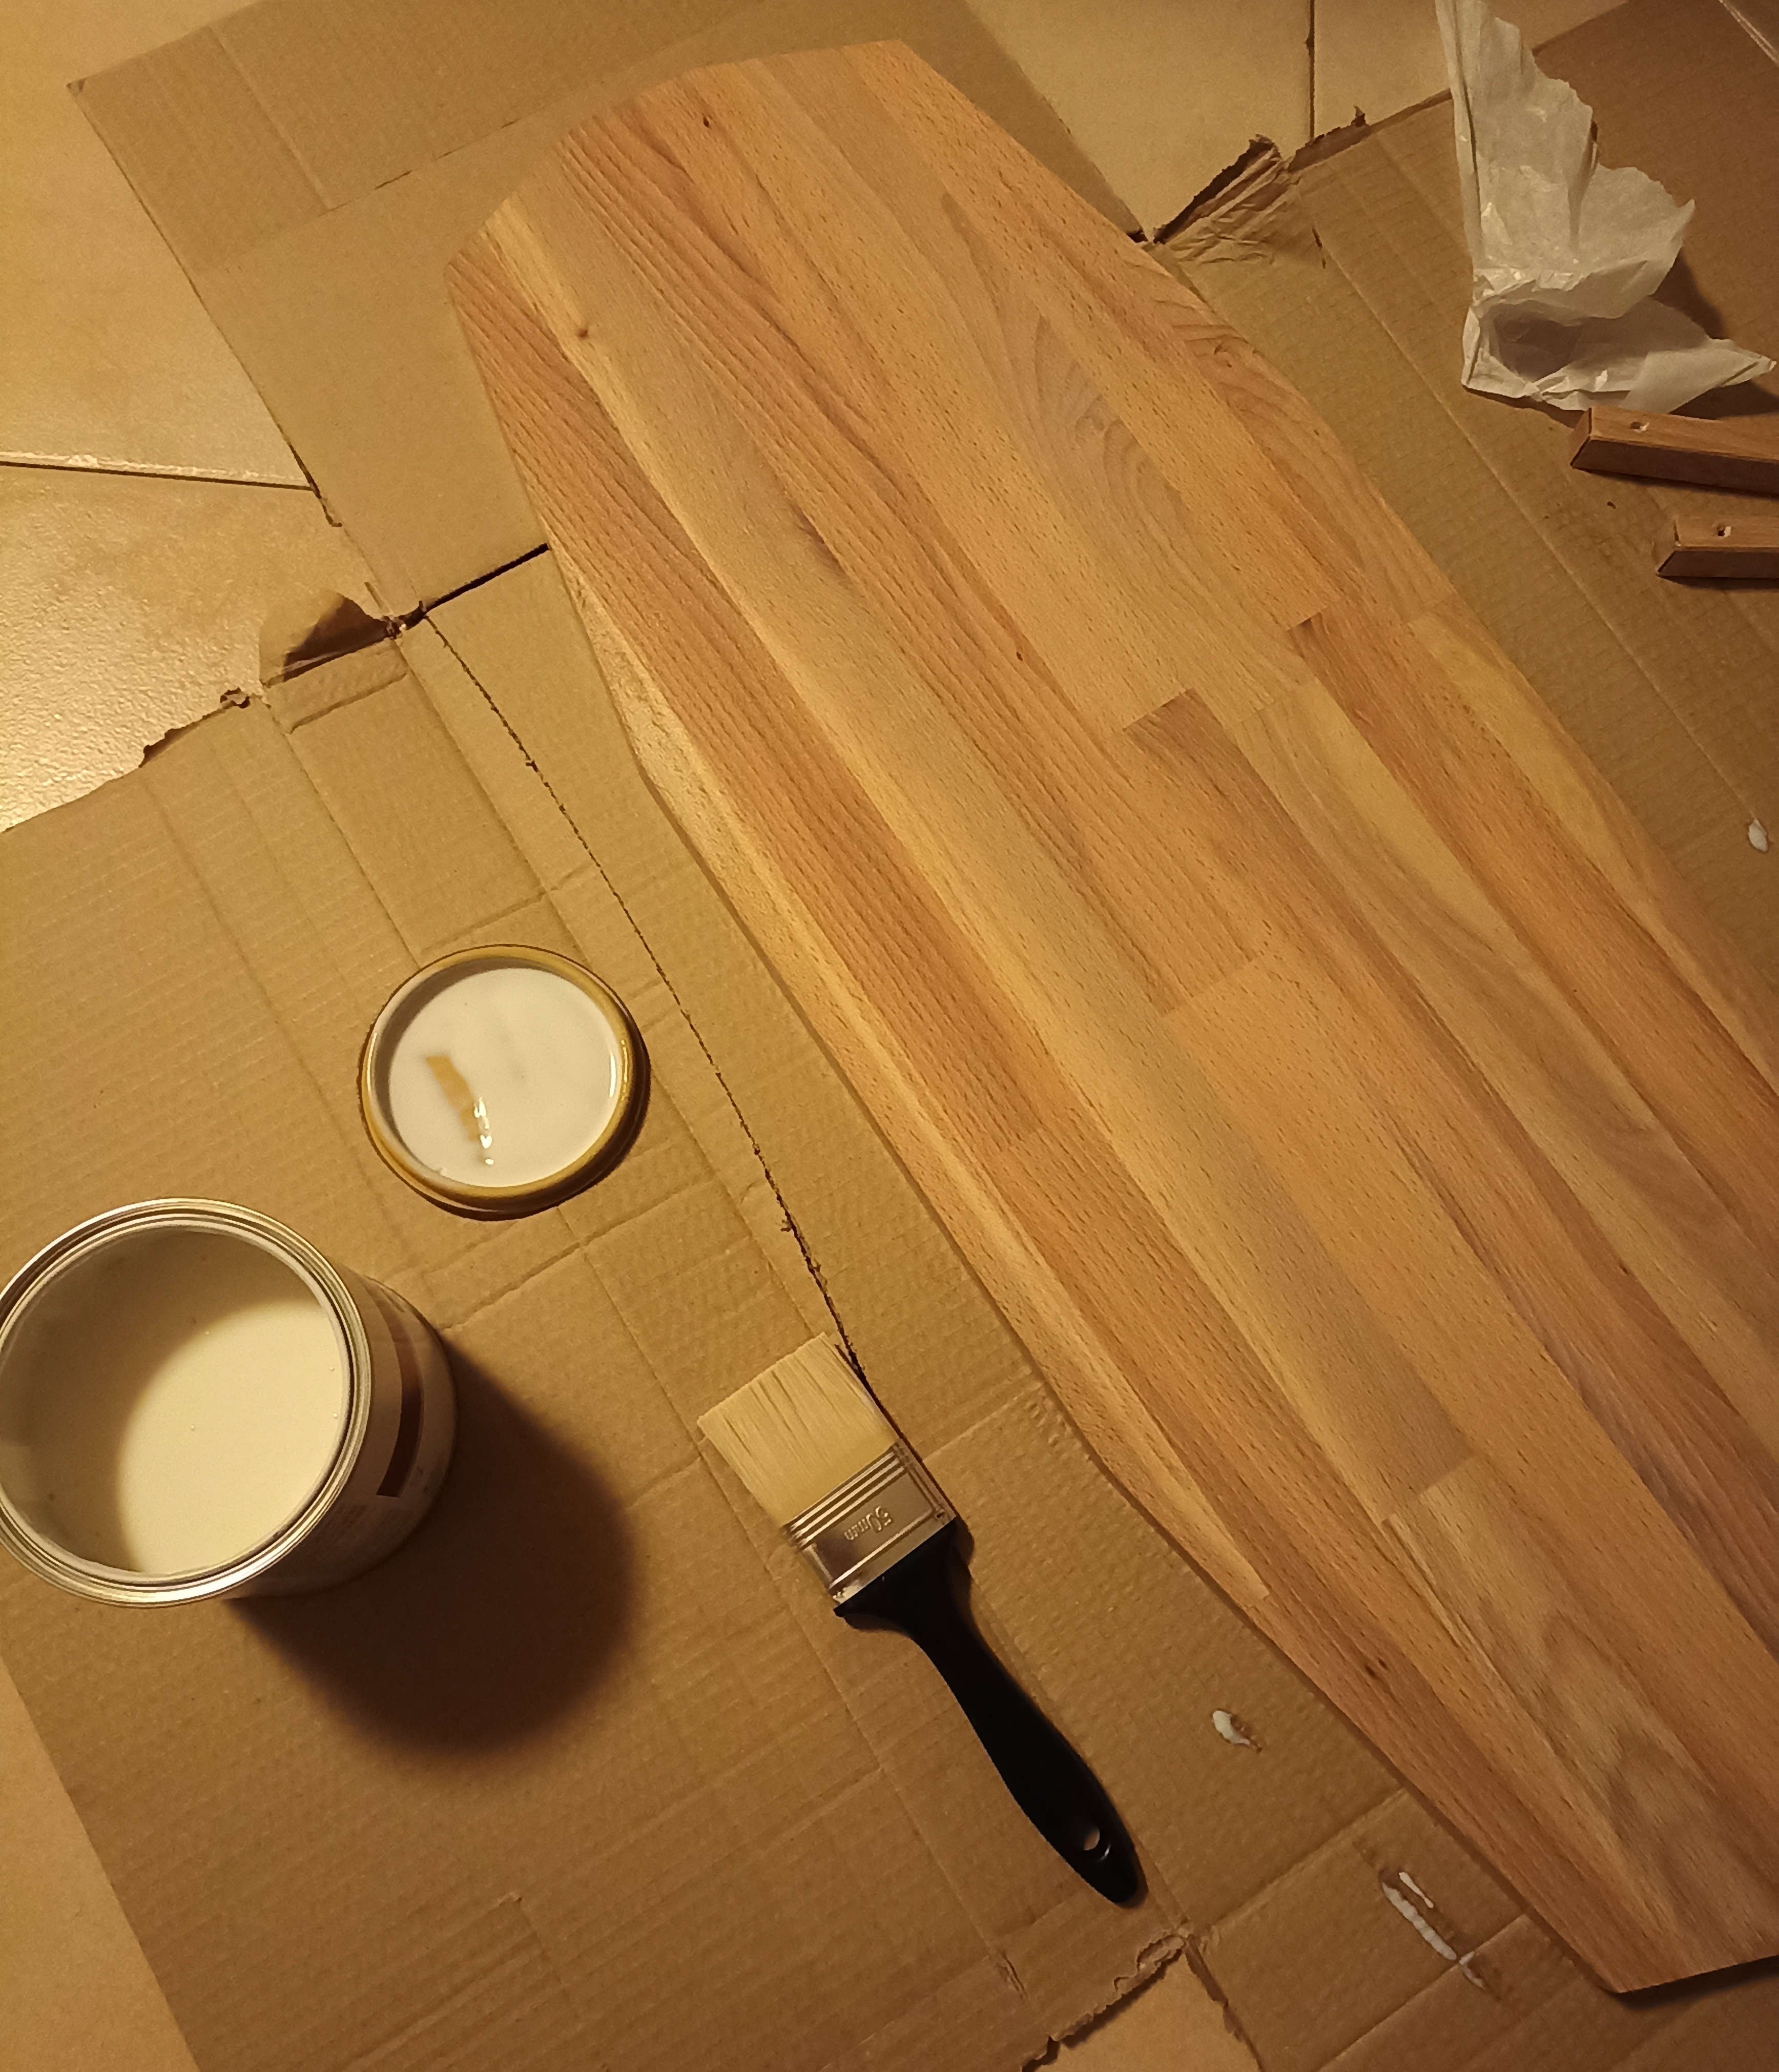
I applied some coats of primer (water-based one) to protect the wood from moisture and sweat. I did it inside because it rained all week.
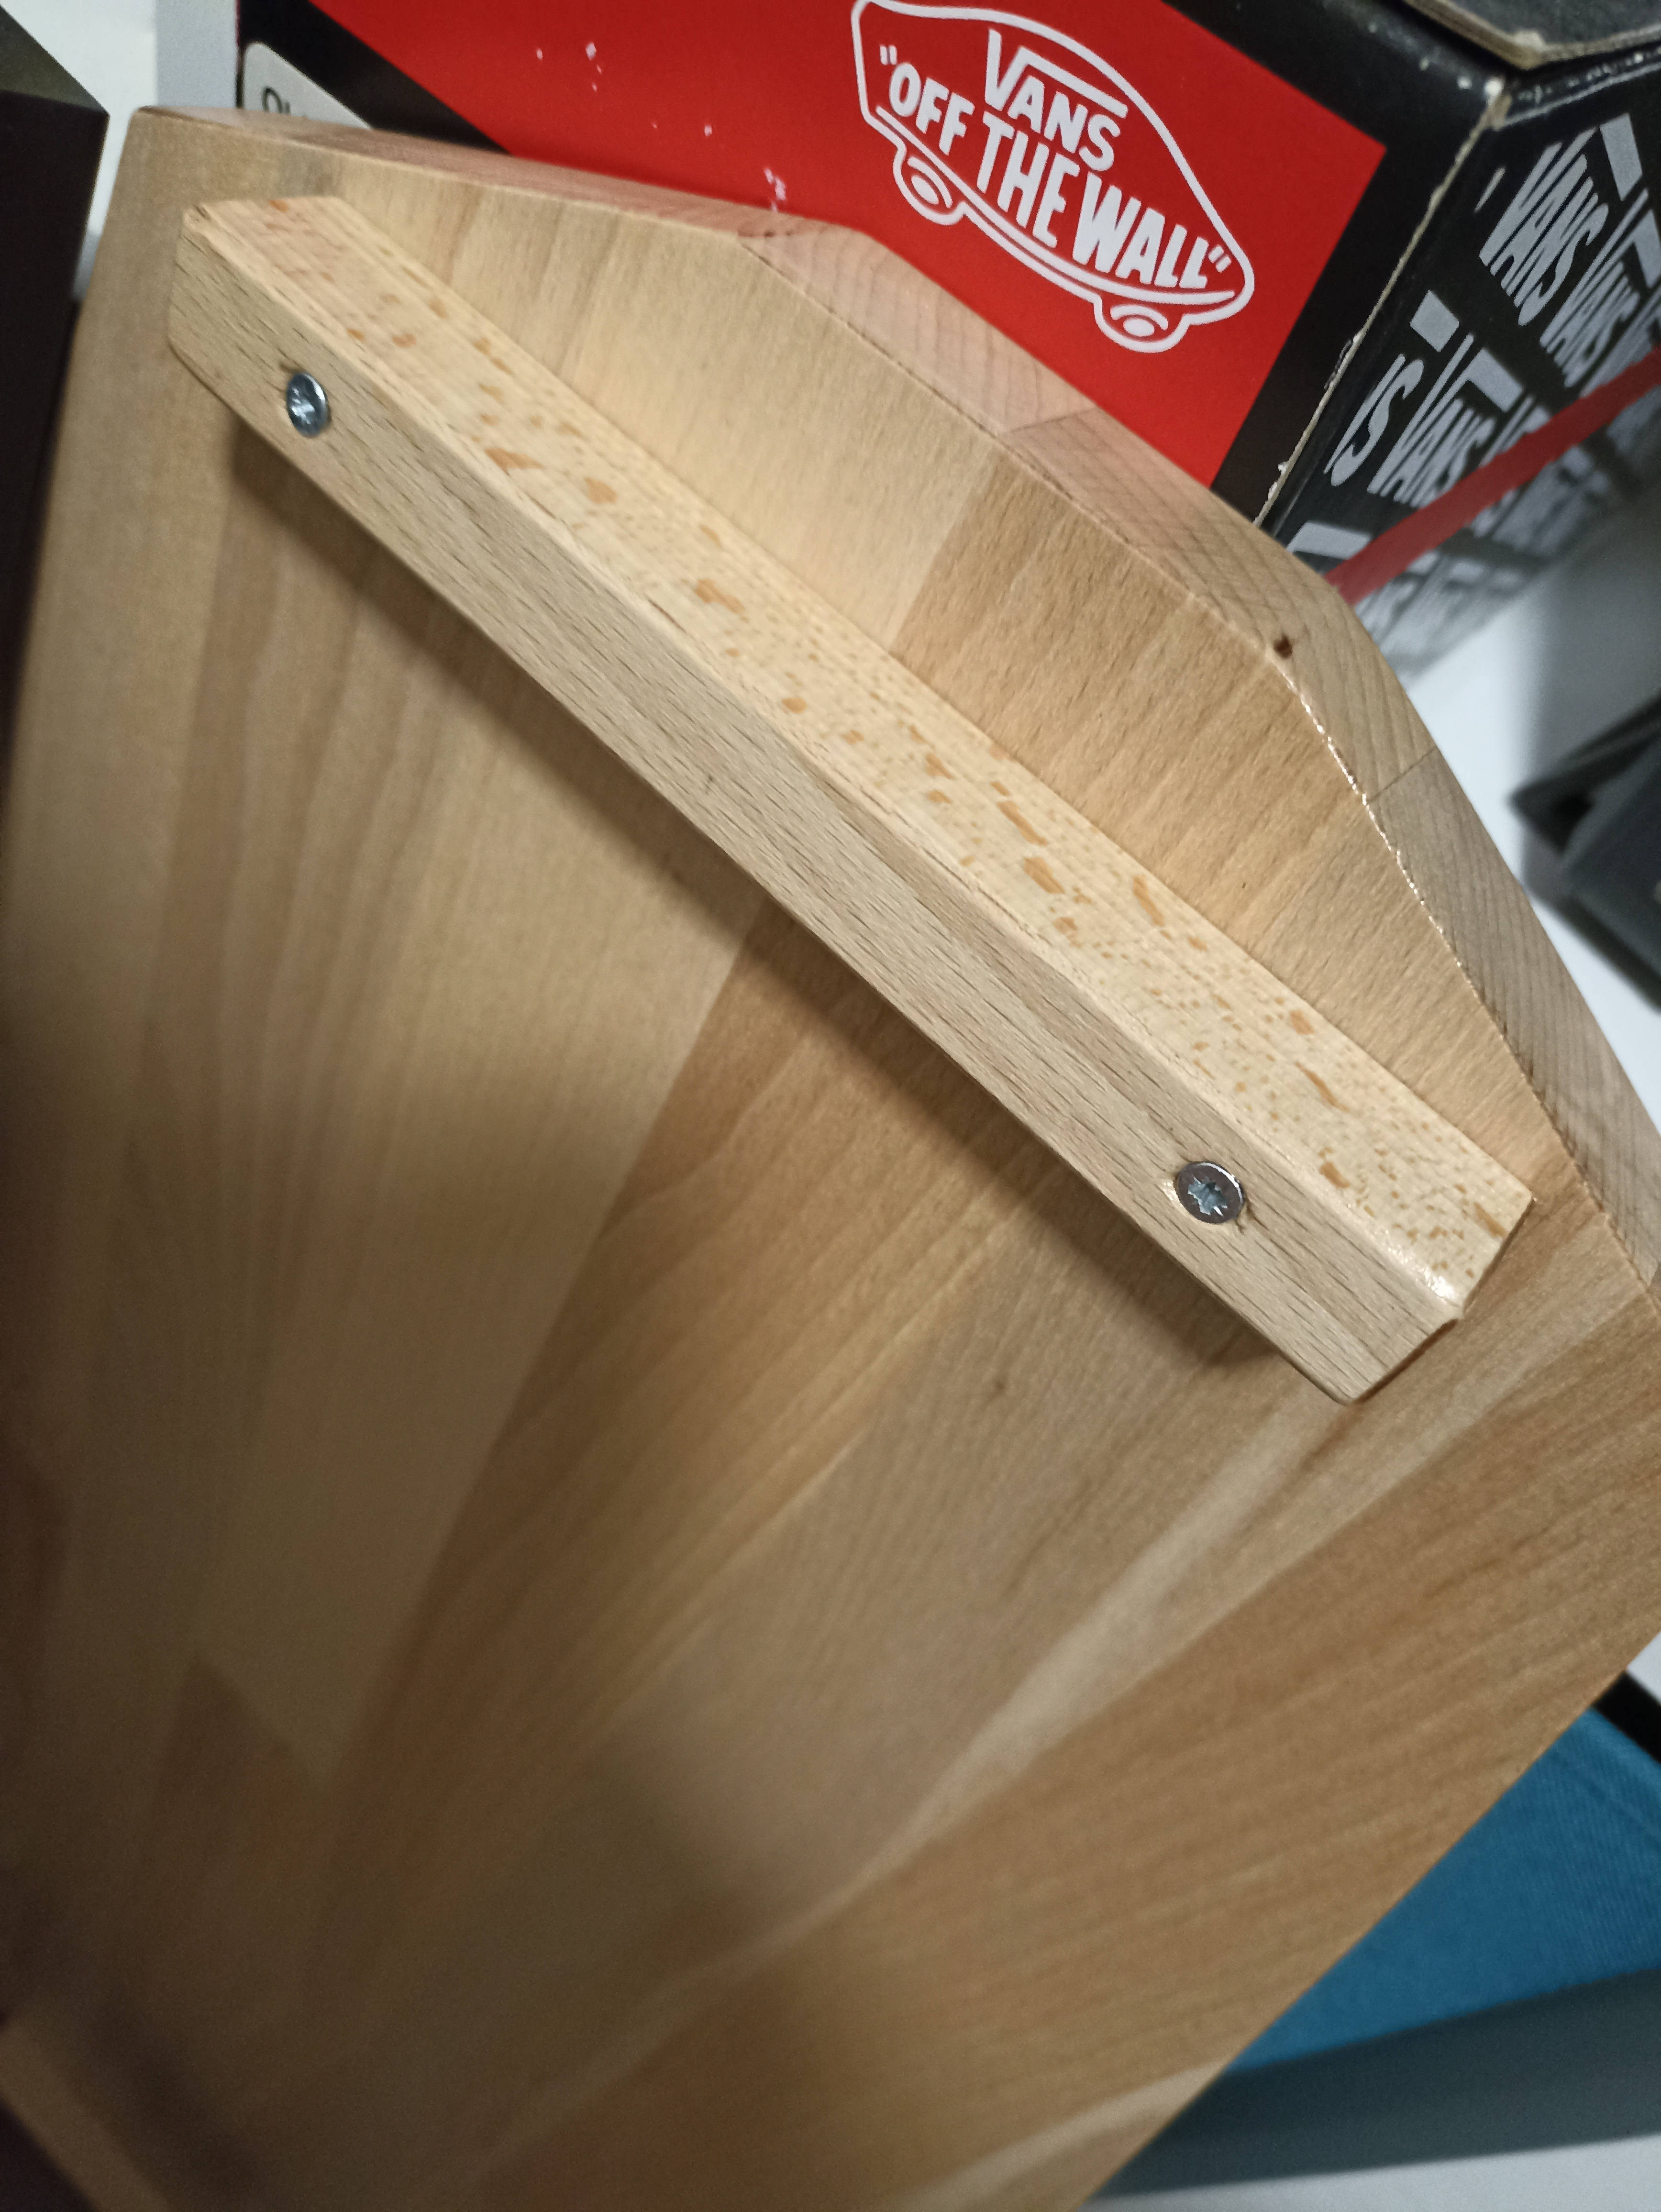
After the primer dried, I screwed the two stoppers at the edges of the board. I decided to screw rather than glue them because when I improve, I can get rid of them, sandpaper the area, and continue to use the same board.
For the roller, I got a 9cm diameter PE pipe that my father got in the garage and cut it at 34cm length.
I think it's fundamental that the roller is wider than the board if you want to stay on your toes/heels dangling over the edges.
Usually, the roller you will get in sets is bigger than the one I build (around 12-16cm in diameter)
and if I like this sport I will for sure buy one.
If you don't have anything around you to build your roller I suggest you to get one online like
this one.
And this is the result!
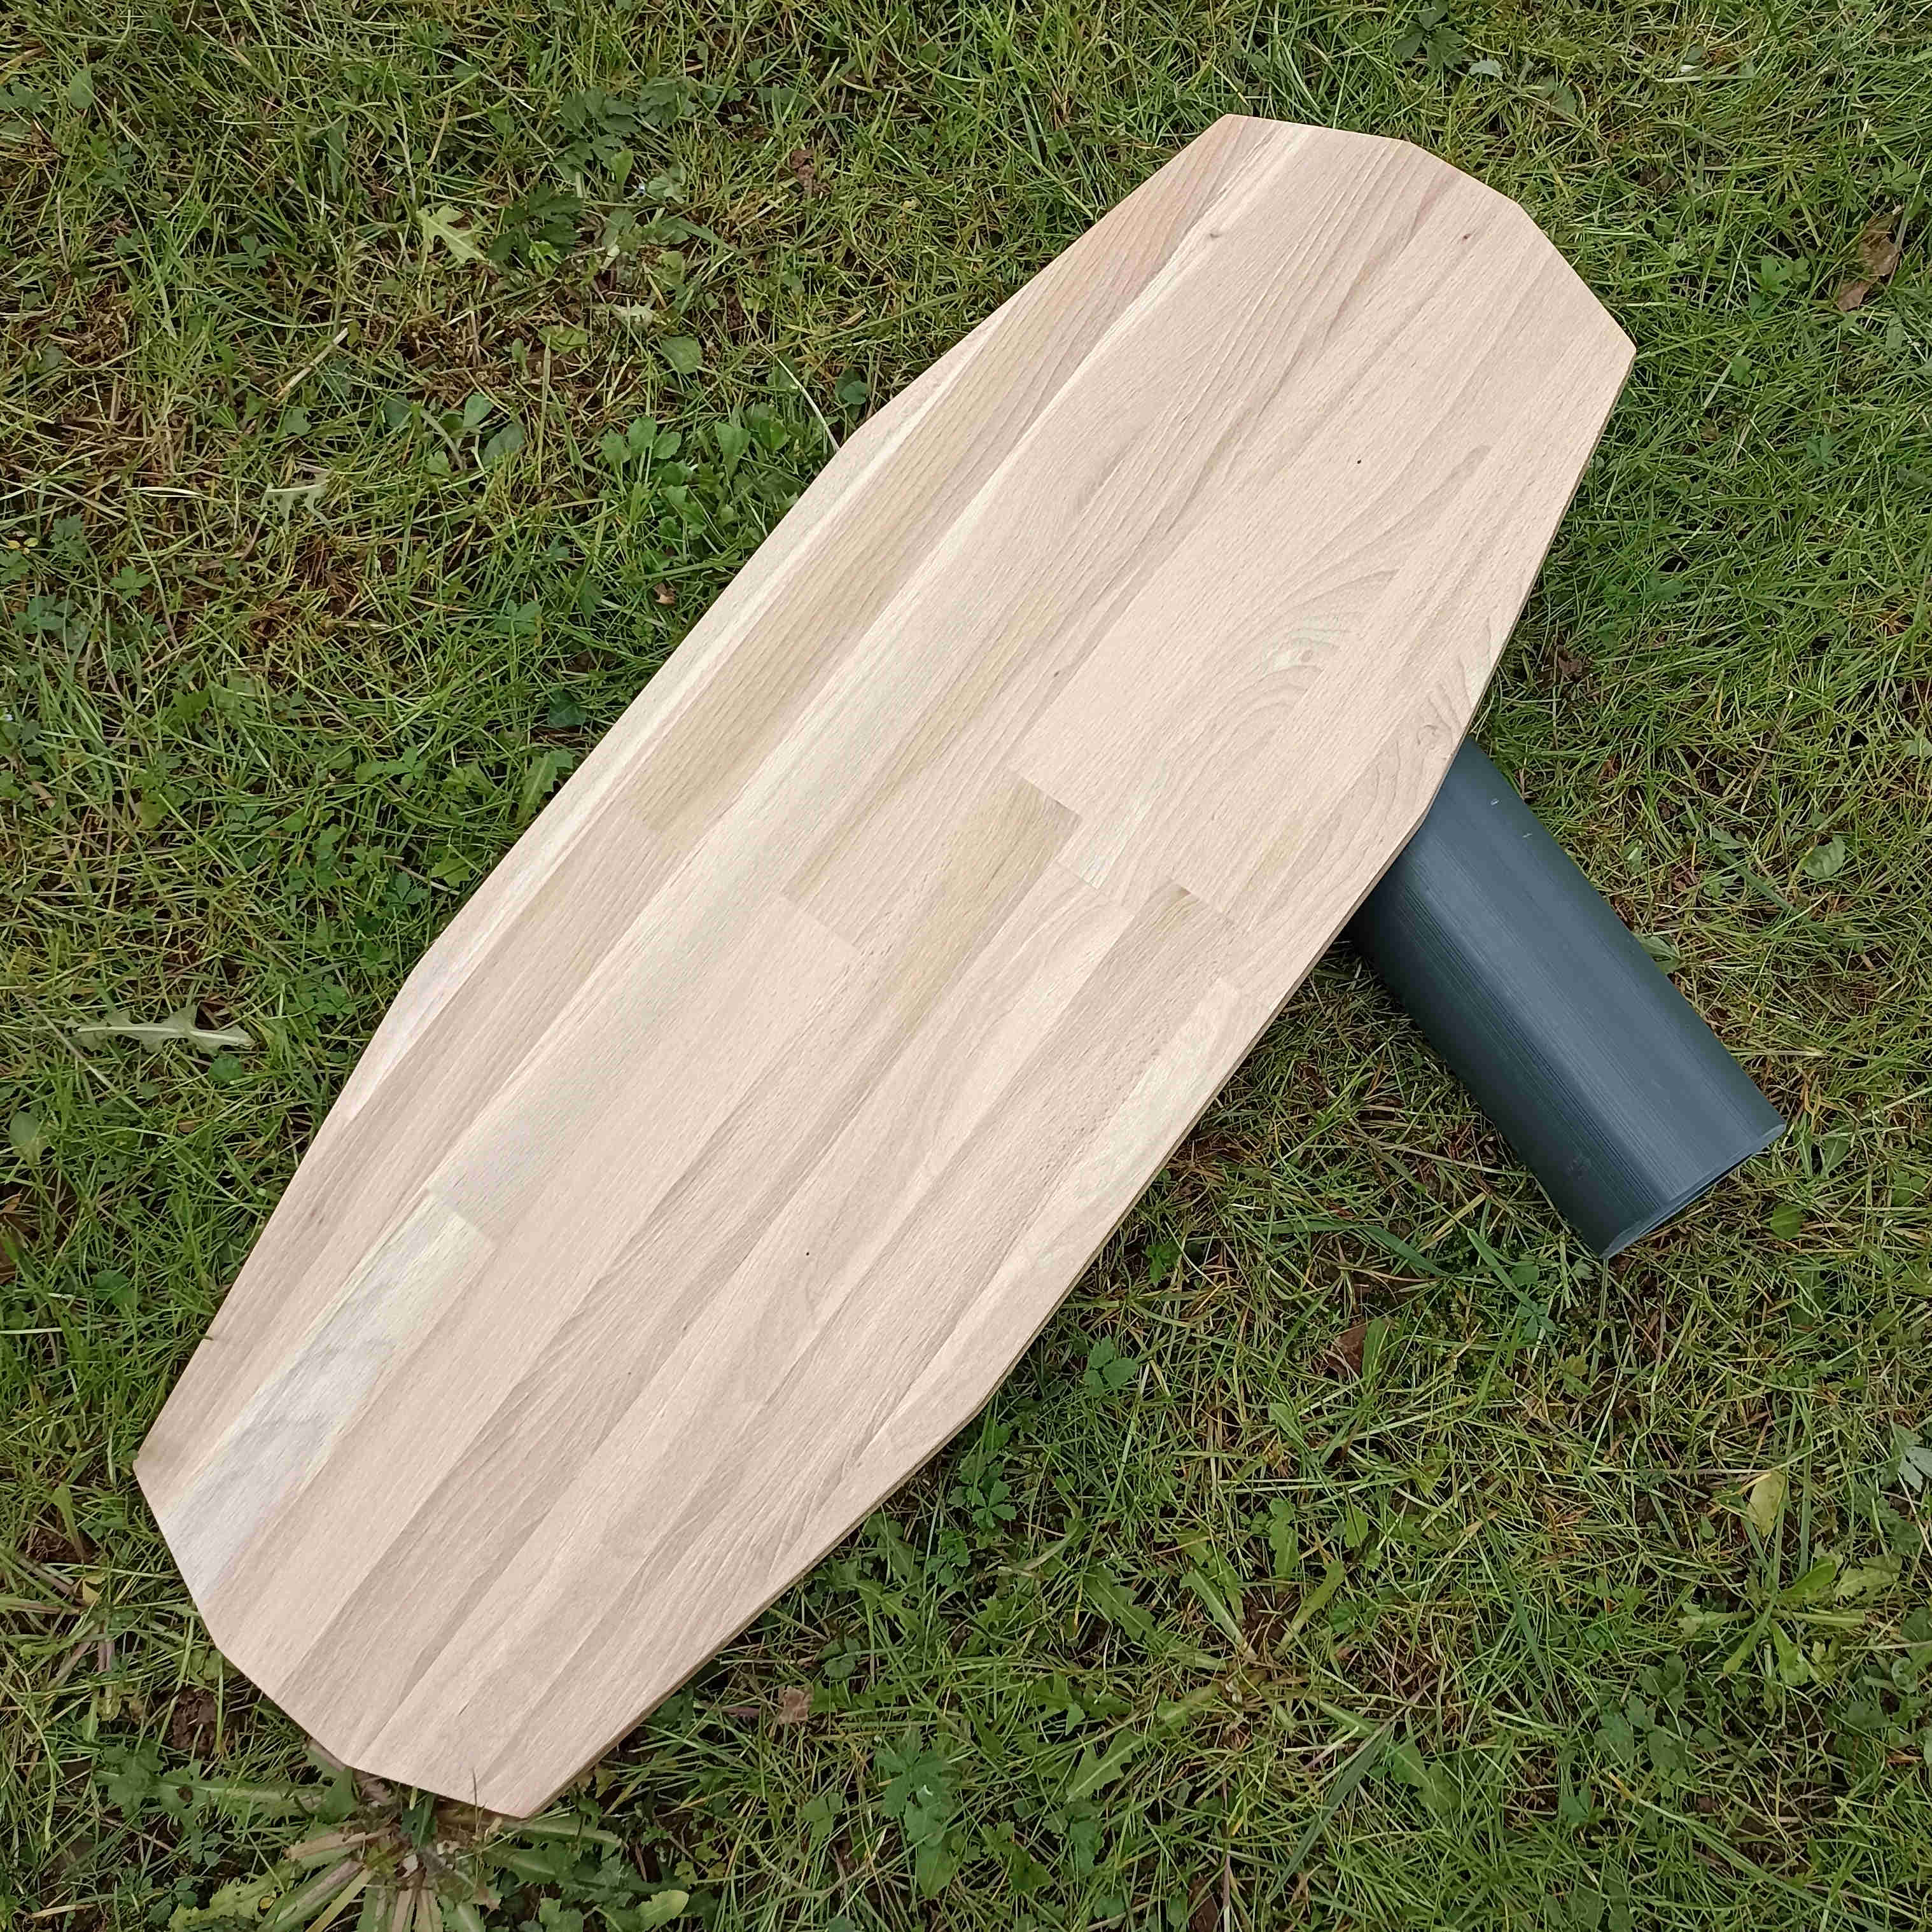
It works flawlessly and I really enjoy trying different stances. My goal is to master these tricks.