Steam Deck screensaver DIY
This week finally my Steam Deck arrived! As soon as I get it I started downloading my fav games to test it but I quickly realized that even though the console was amazing, there was an evident software flaw. If I press the power button while a game is downloading, it pauses the download!
I know that we are in the very first releases of SteamOS for the Steam Deck and I'm sure that this will be fixed soon,
but right now I am concerned about burning the LCD letting it on for hours on the same tab while downloading big games.
I saw that I am not the only one asking for this feature [
Reddit and
Steam ].
So I thought that I can develop a solution.
With my (very) limited Linux skills I have found a simple workaround that I'm pretty confident will be a nice
trick for someone else too. It doesn't turn the screen off, but it turns all the pixels black as the screensaver of your laptop.
** Disclaimer: the SteamOS is (thankfully) coded to be pretty difficult to break because a read-only mode is toggled ON by default. We don't need to change this for this workaround and we don't need sudo privileges. Anyway, the following procedure is only for informational and educational purposes and you agree that you use such information entirely at your own risk. I am not liable for any damages resulting from the use of this guide. **
The first step is to enter the desktop mode (click the power button on top of the Steam Deck and select it). Now open the "Start menu" bottom left and run Konsole. Don't be afraid! We are going to type very few lines in bash and I explain all of them.
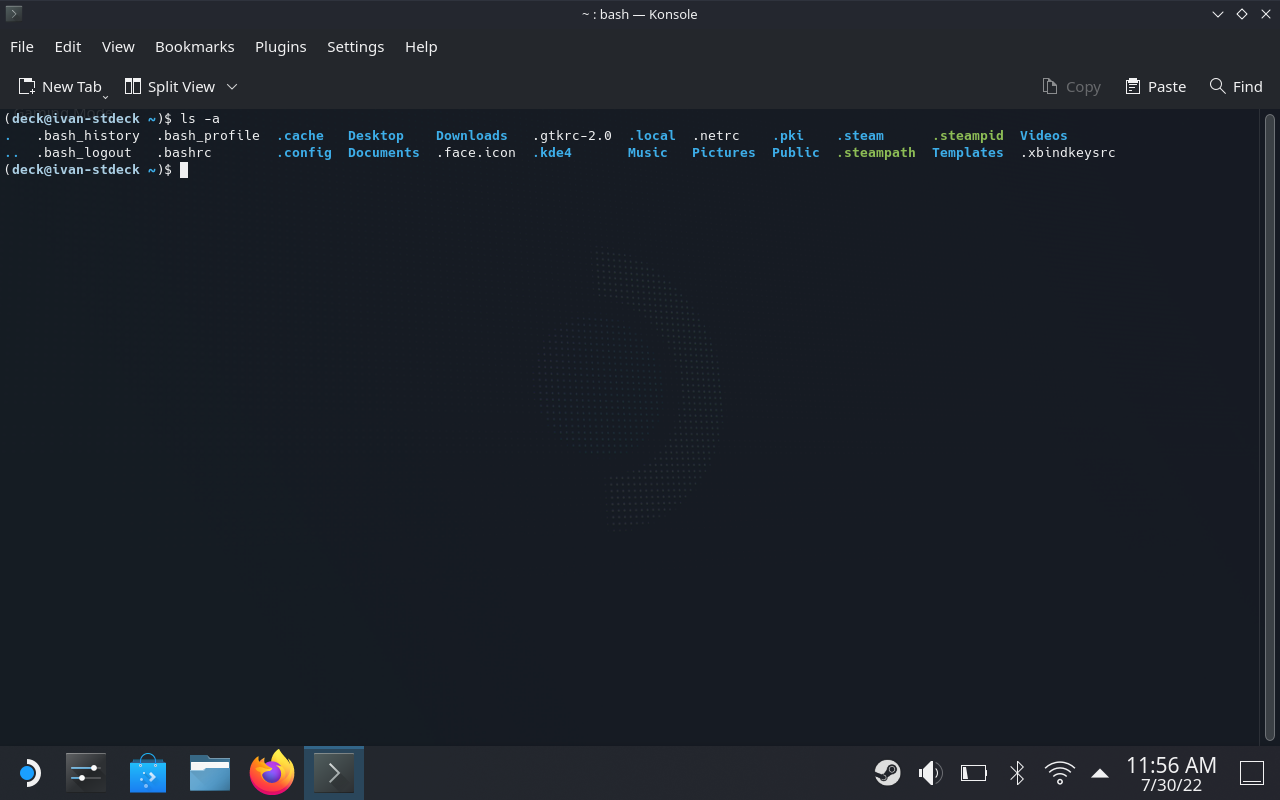
ls -a
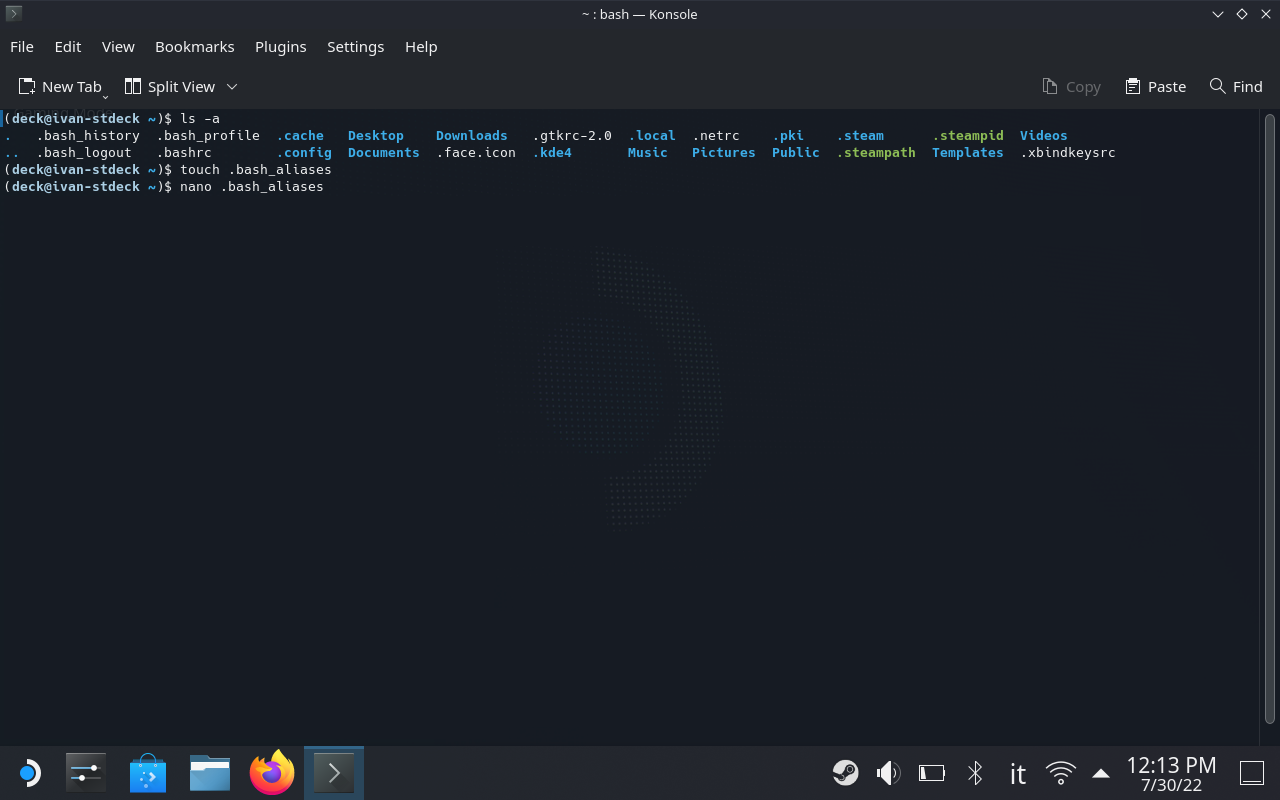
touch .bash_aliases
nano .bash_aliases
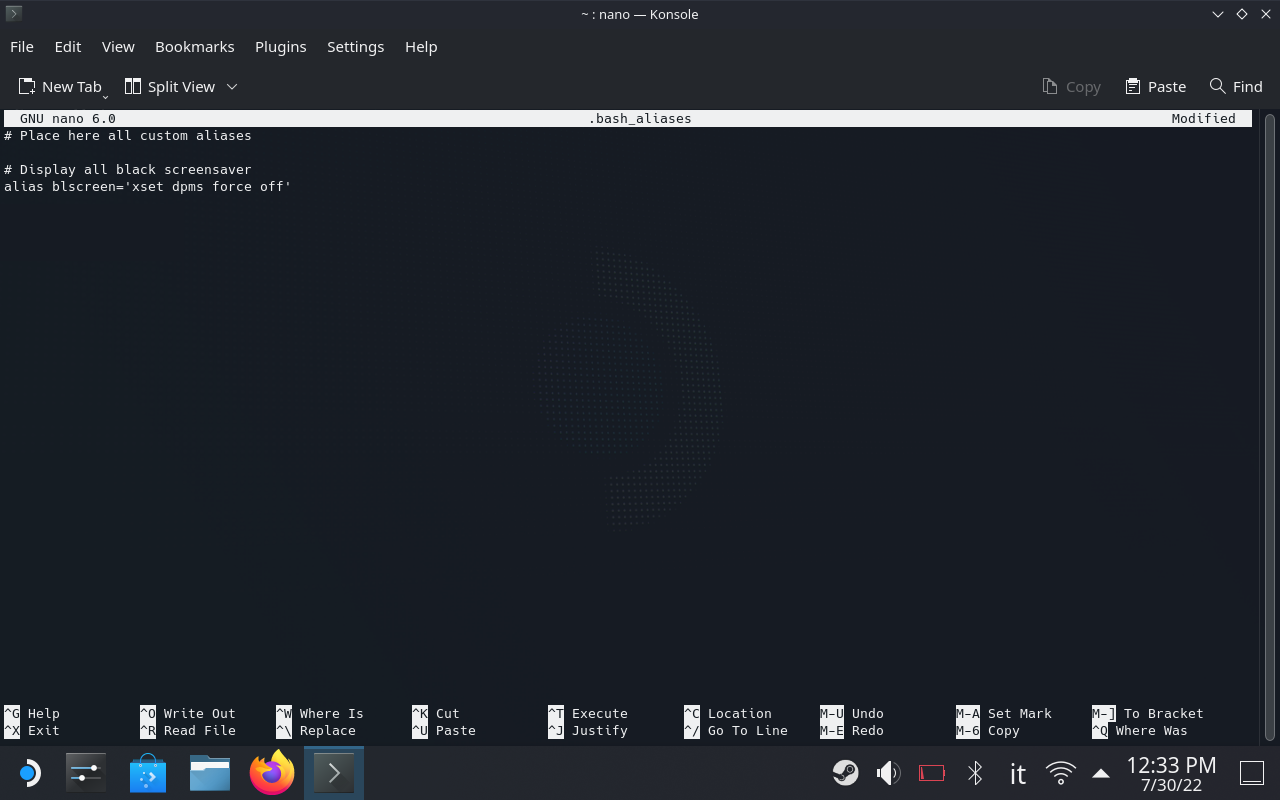
Write inside .bash_aliases the following code. Everything on the lines that begin with # is a comment.
alias blscreen='xset dpms force off'
BE CAREFUL TO COPY IT EXACTLY AS YOU SEE THERE (without spaces near the =).
You can change the name of the function with something else if you wish. Just take care that is nothing already in use by the system. The command inside the quotes just tell to the Display Power Manager to turn off the screen. Save and exit nano by pressing CTRL+X -> Y to confirm save -> ENTER to save to .bash_aliases.
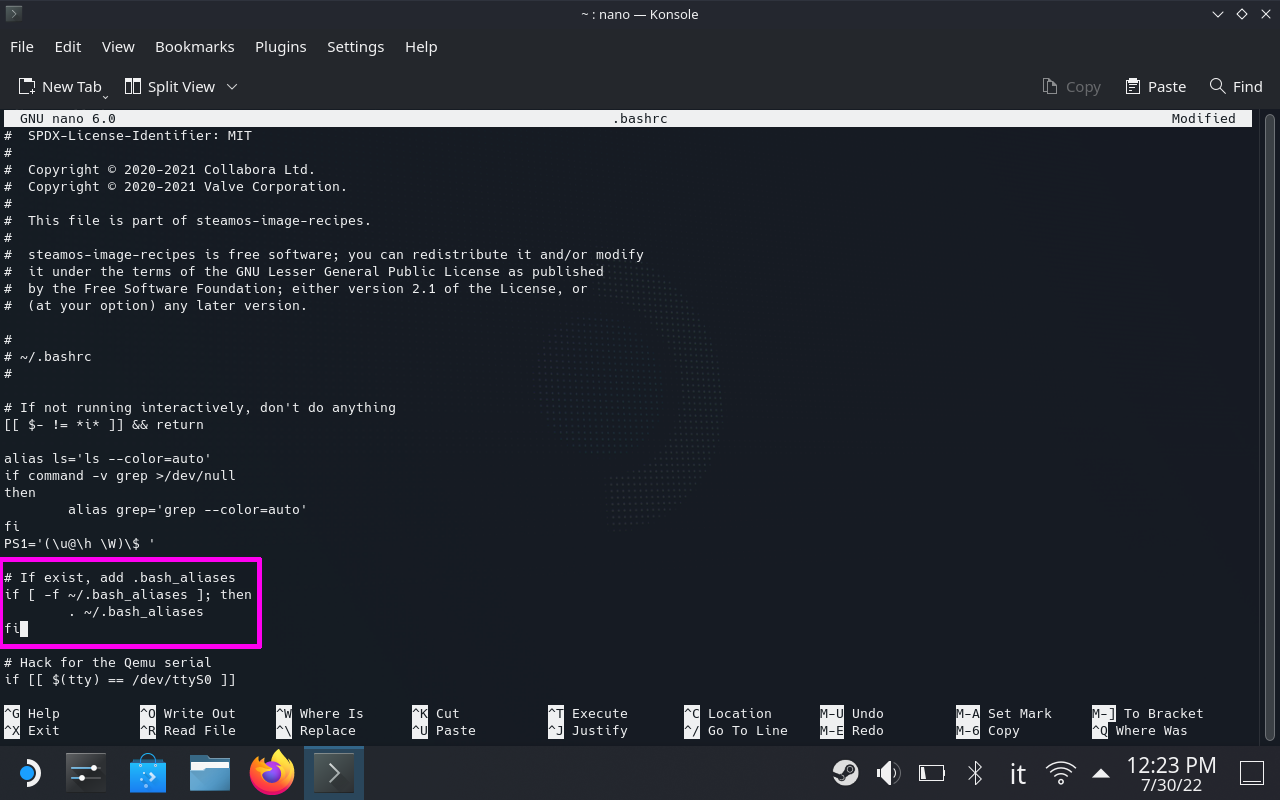
Open .bashrc with nano and add the following lines between the existing code (as shown in the picture):
nano .bashrc

### COPY FROM HERE ###
if [ -f  ~/.bash_aliases ]; then
    . ~/.bash_aliases
fi
### TO THERE ###
Well done!
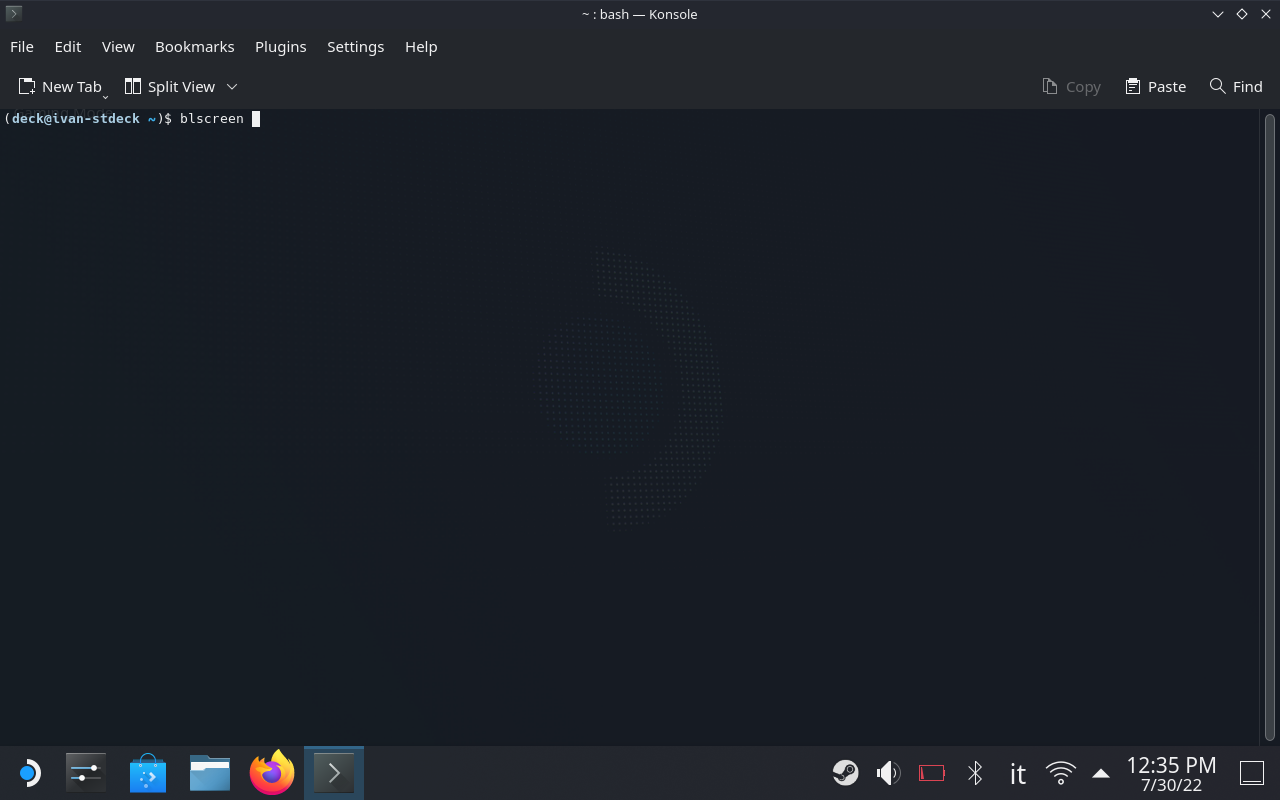
Now you can close Konsole and open it again to refresh it. Try writing the alias name you have created before and the screen should turn all black. As soon as you press some key or touch the screen it should light up again.
To install a big game I suggest you to go into desktop mode, open Steam from here, and start downloading the game.
After the download starts open Konsole and run blscreen (or whatever name you have used).
The game will be downloaded and the screen will be preserved.
If you have some improvements or tips feel free to comment on the
Reddit post.
Lazy route: here there is an easier version that declares the alias directly inside .bashrc. Open Konsole and do the following:
nano .bashrc
# Open .bashrc in nano.

# Write the following line between code:
alias blscreen='xset dpms force off'

# Save and exit nano by pressing CTRL+X -> Y to confirm save -> ENTER to save to .bashrc.
I prefer the long version because it keeps the .bashrc file tidy, but they are homologous.