nyblcore
I recently stumbled across Zach Scholl's infinite digits website
and I was captivated by his "wares".
Ever since I saw for the first time the PURPLE RAIN by digdugDIY
I've been trying to find some documentation about Attiny85 music-related use scenarios without any luck.
But the nyblcore
is open source and both PCB and firmware are available on this page! Skusku!
I directly ordered the PCB since the Gerbers are available, and bought all the missing parts listed in the BOM.
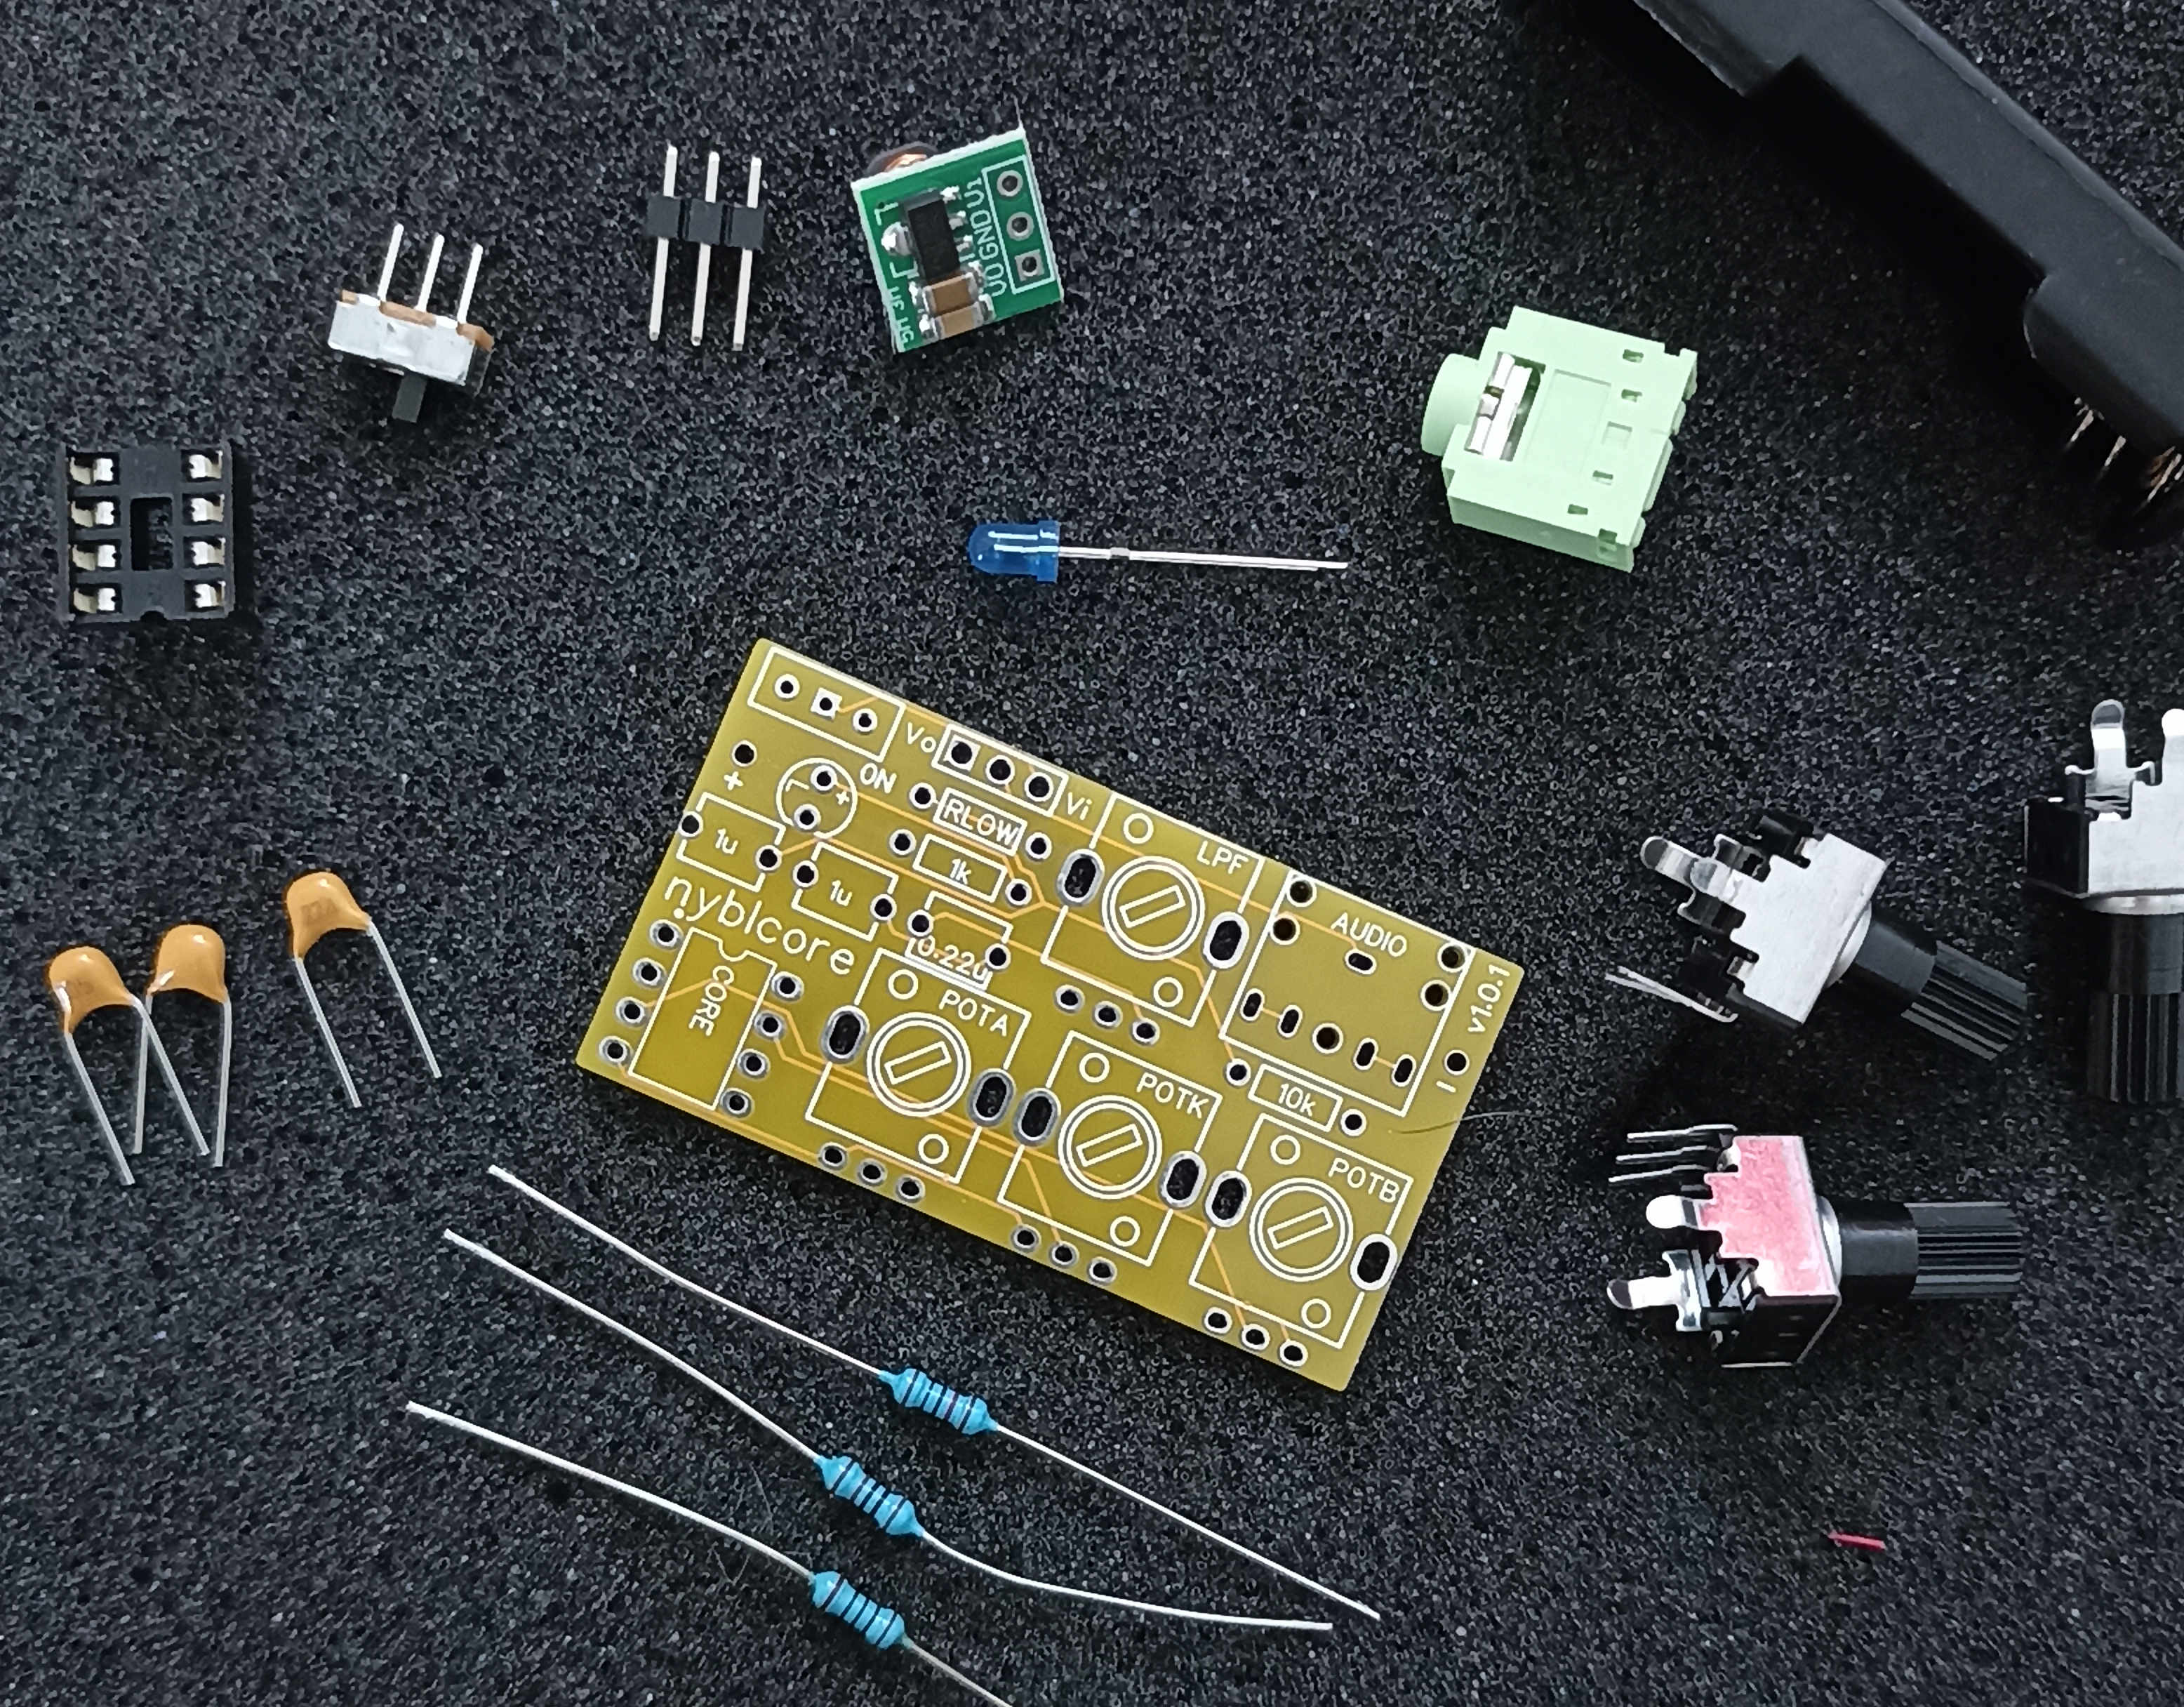
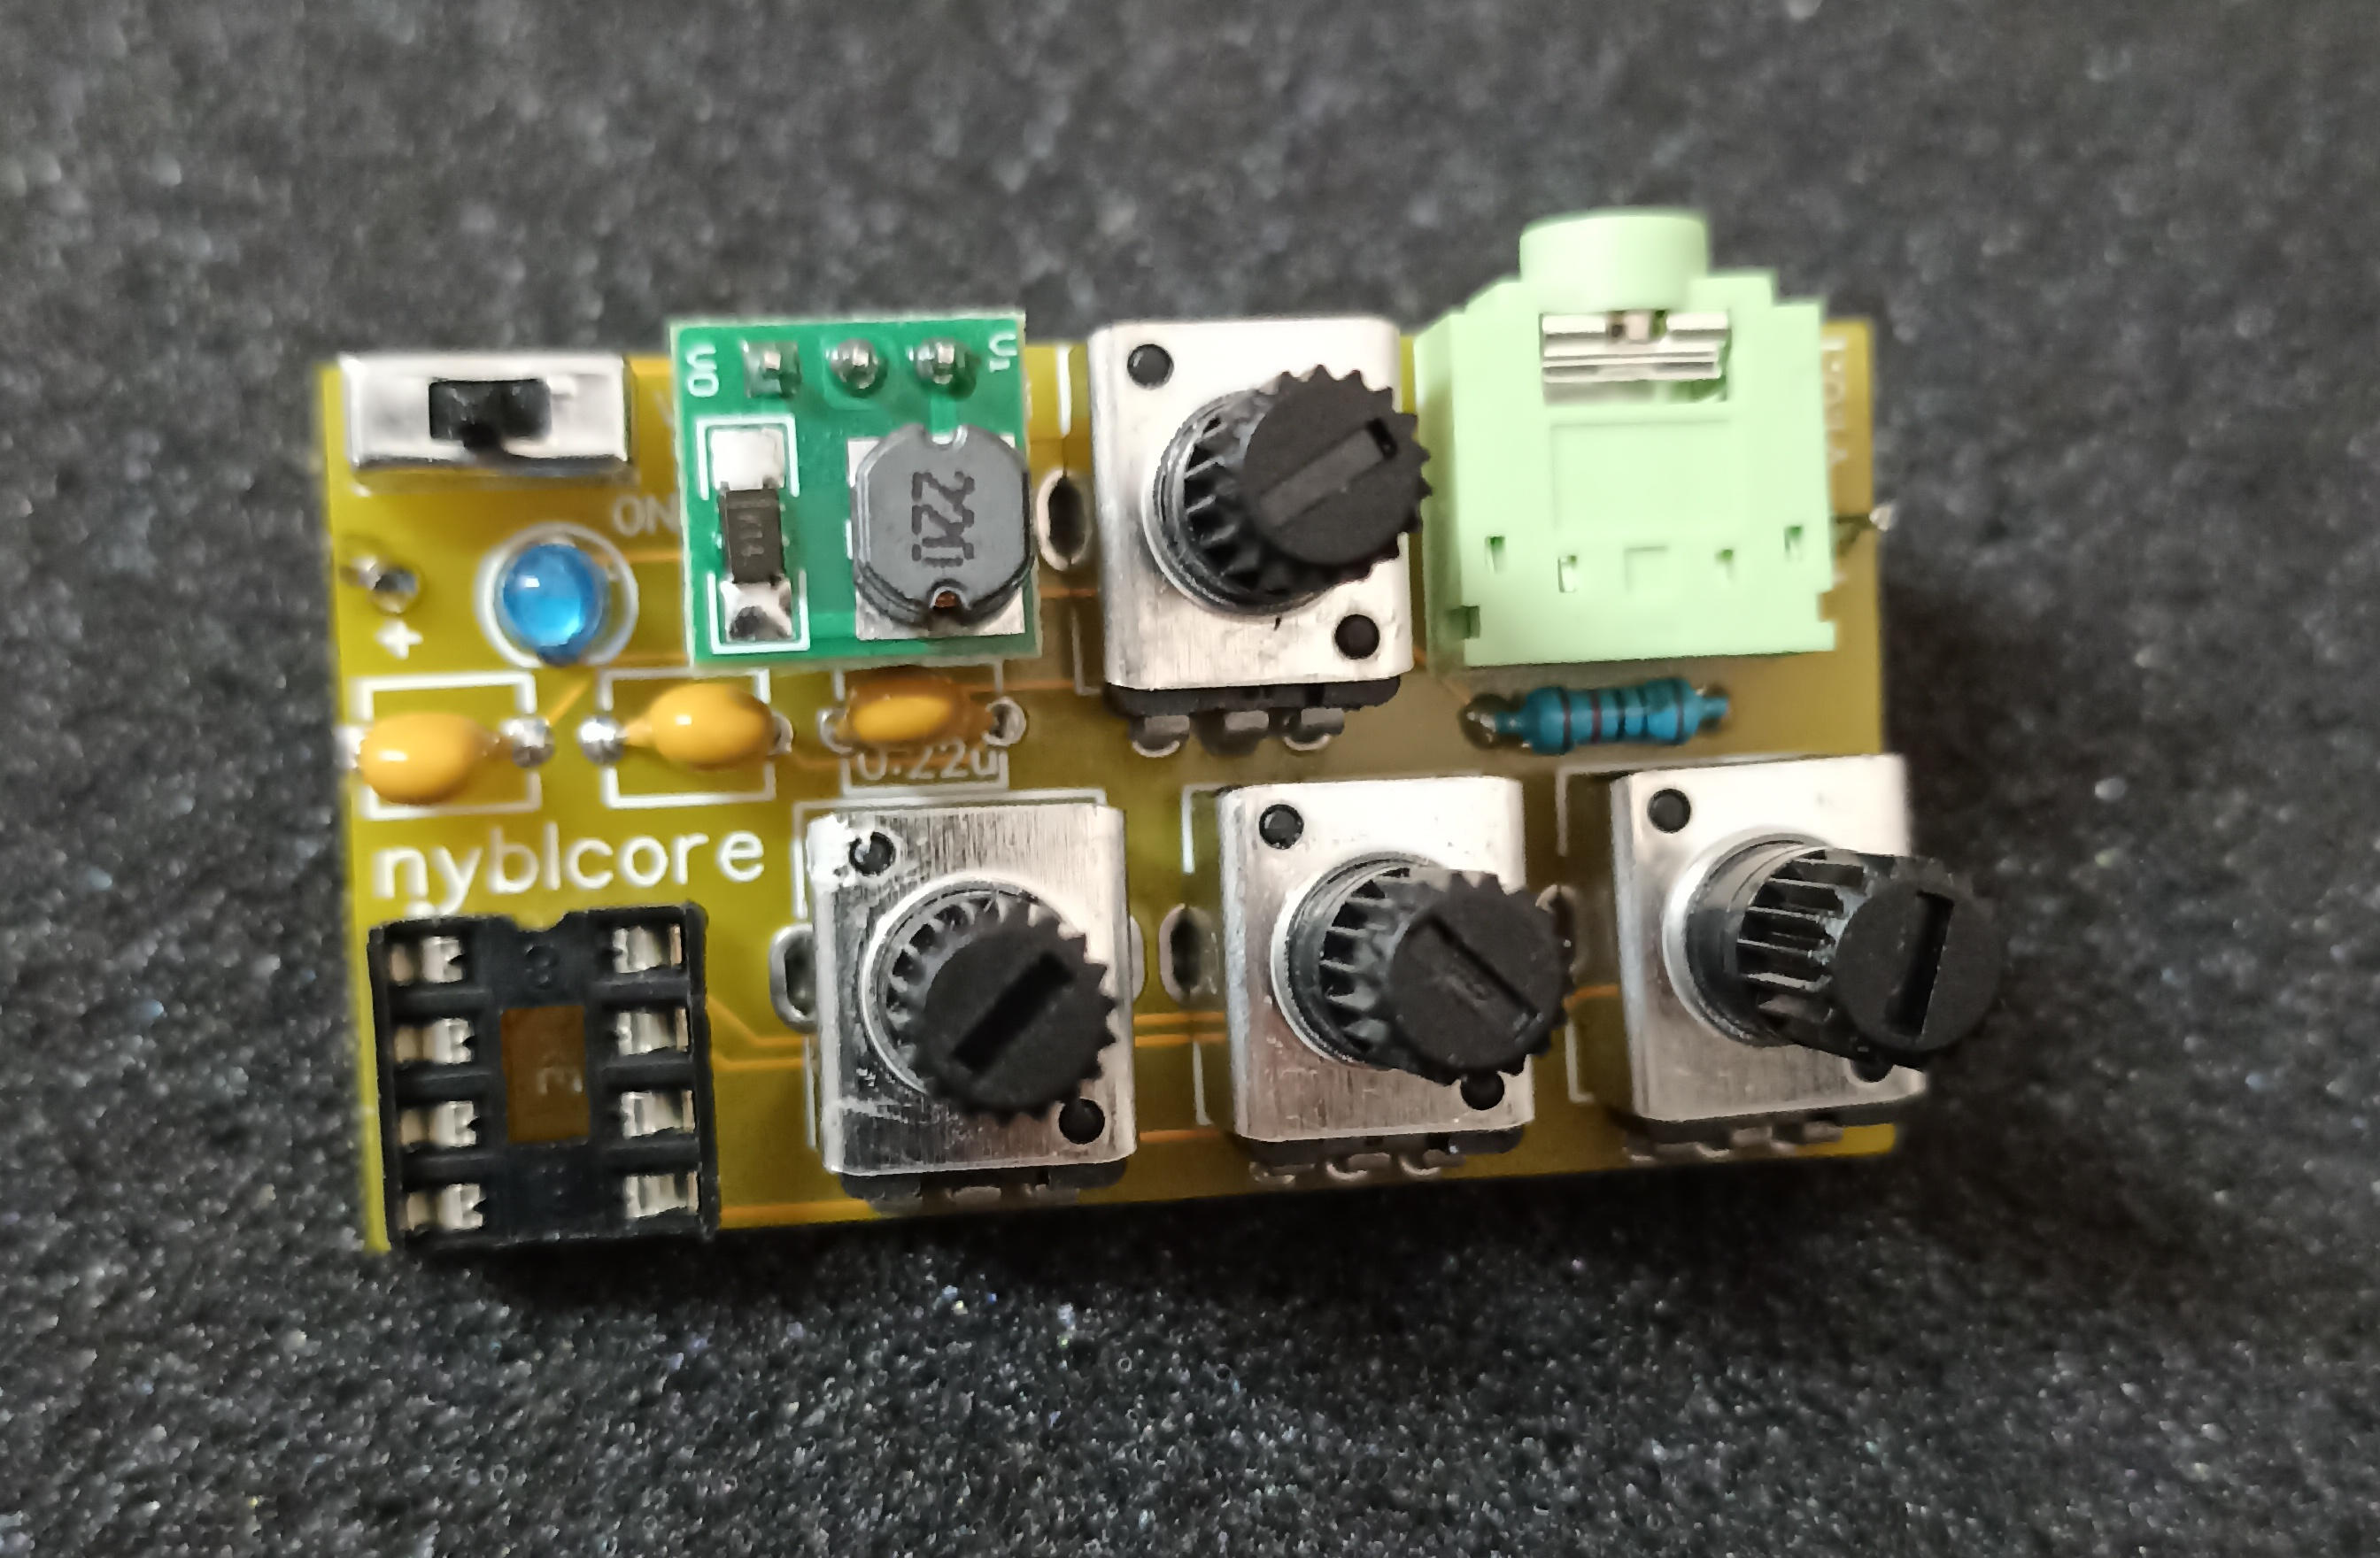
Building it was straightforward with the documentation provided by Zach.
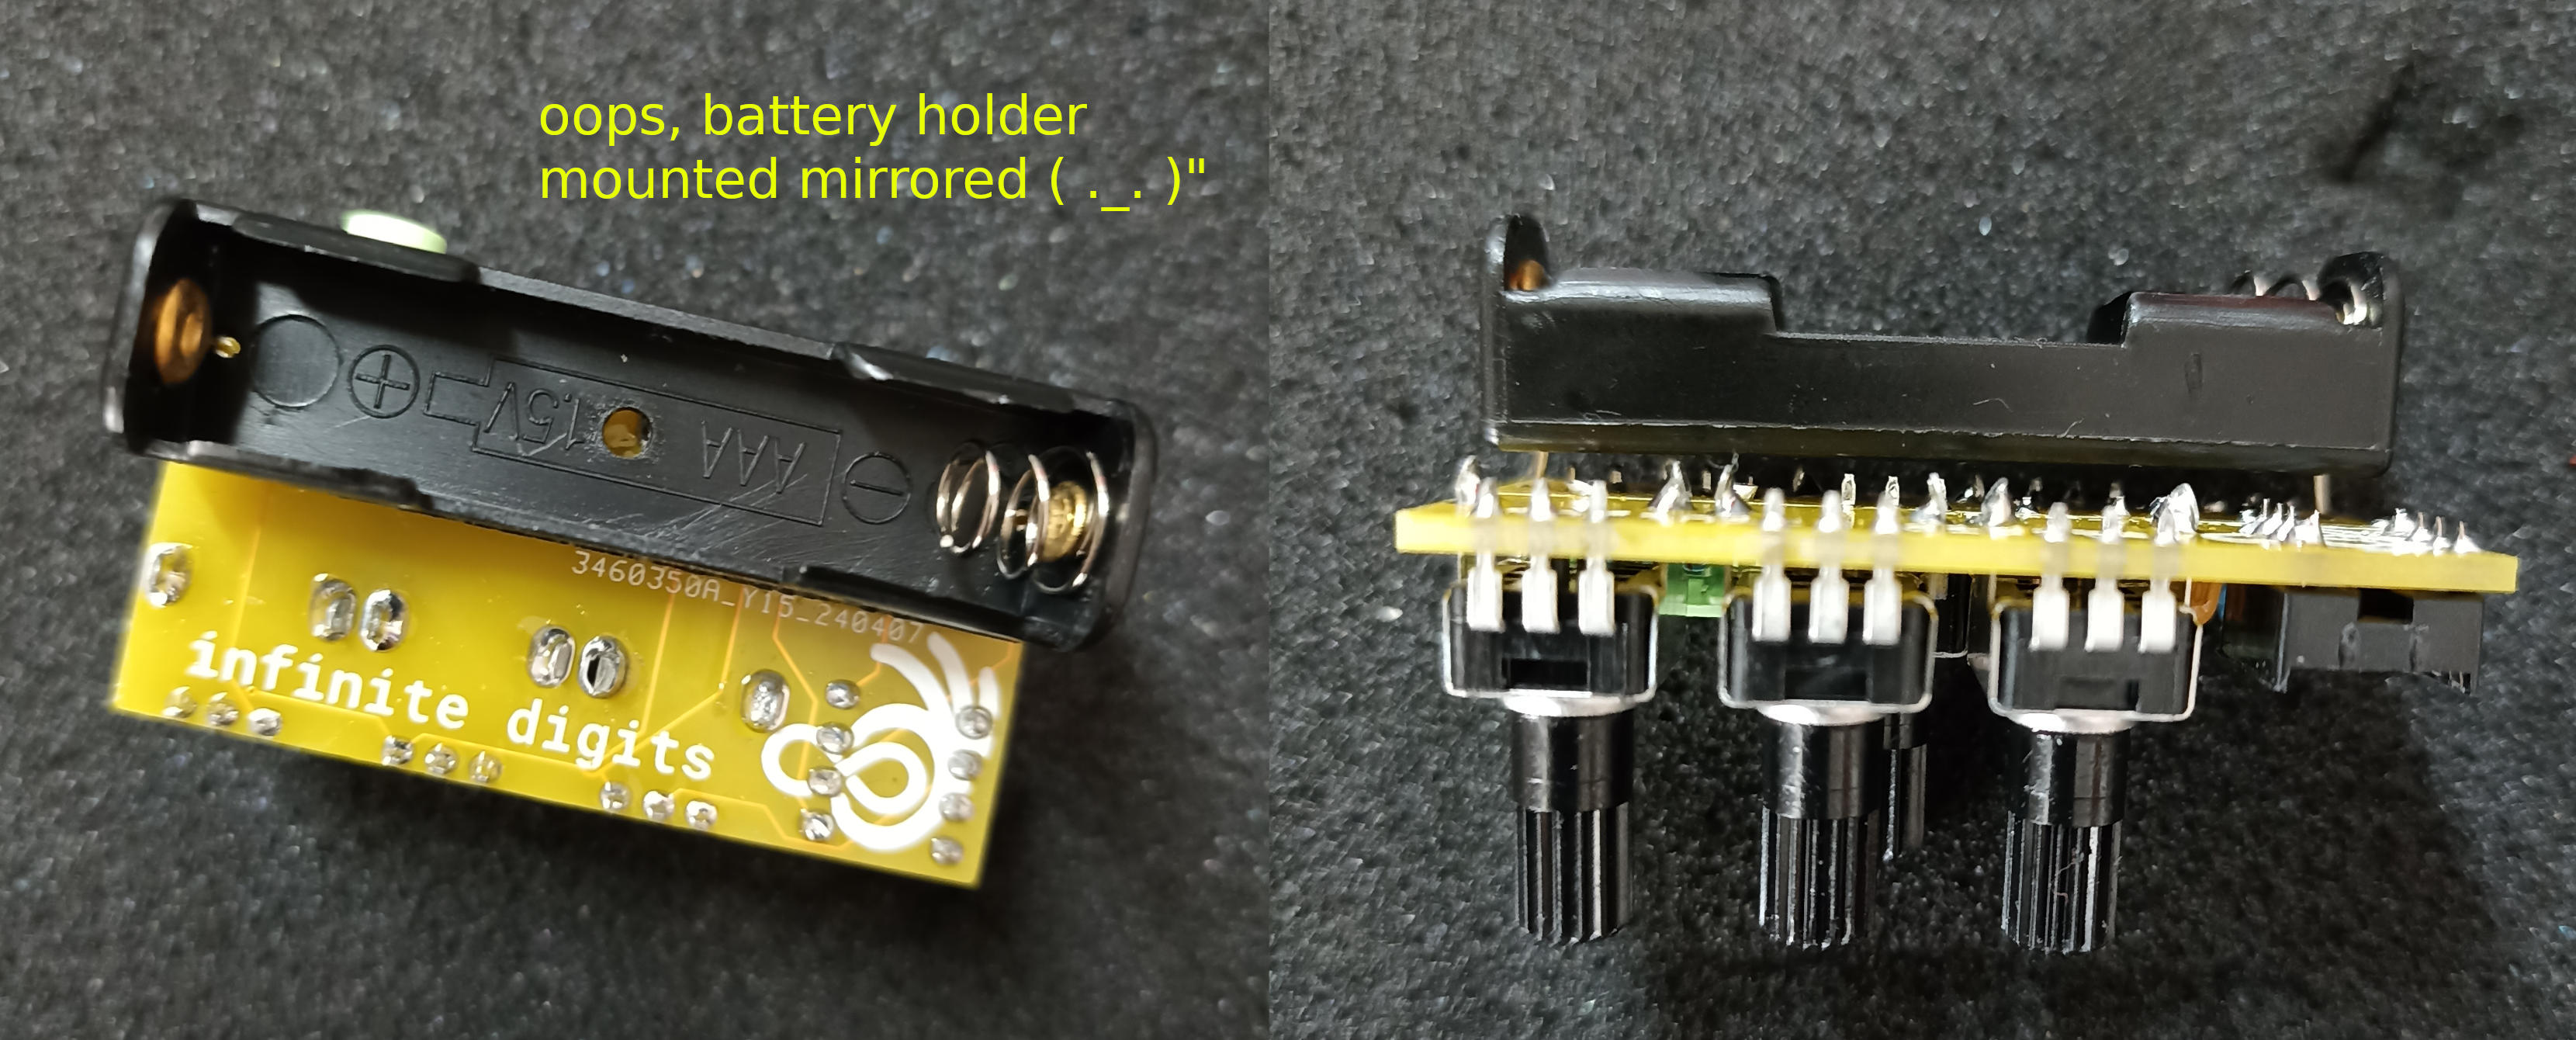
The only advice I want to underline is that the battery holder pins are made of spring steel
so you will have a hard time trying to cut it with a standard electronics cutter.
It's better to shorten them with a stronger cutter before soldering them to the PCB.
Be careful about battery orientation too (ᵕ—ᴗ—)
It's time to flash the firmware to the IC.
Even though I already have Arduino IDE on Windows I decided to set up the environment on Arch as well
because I plan to code .ino files in the future.
Since this was harder than I thought, I decided to write here my notes in case somebody else needs them.
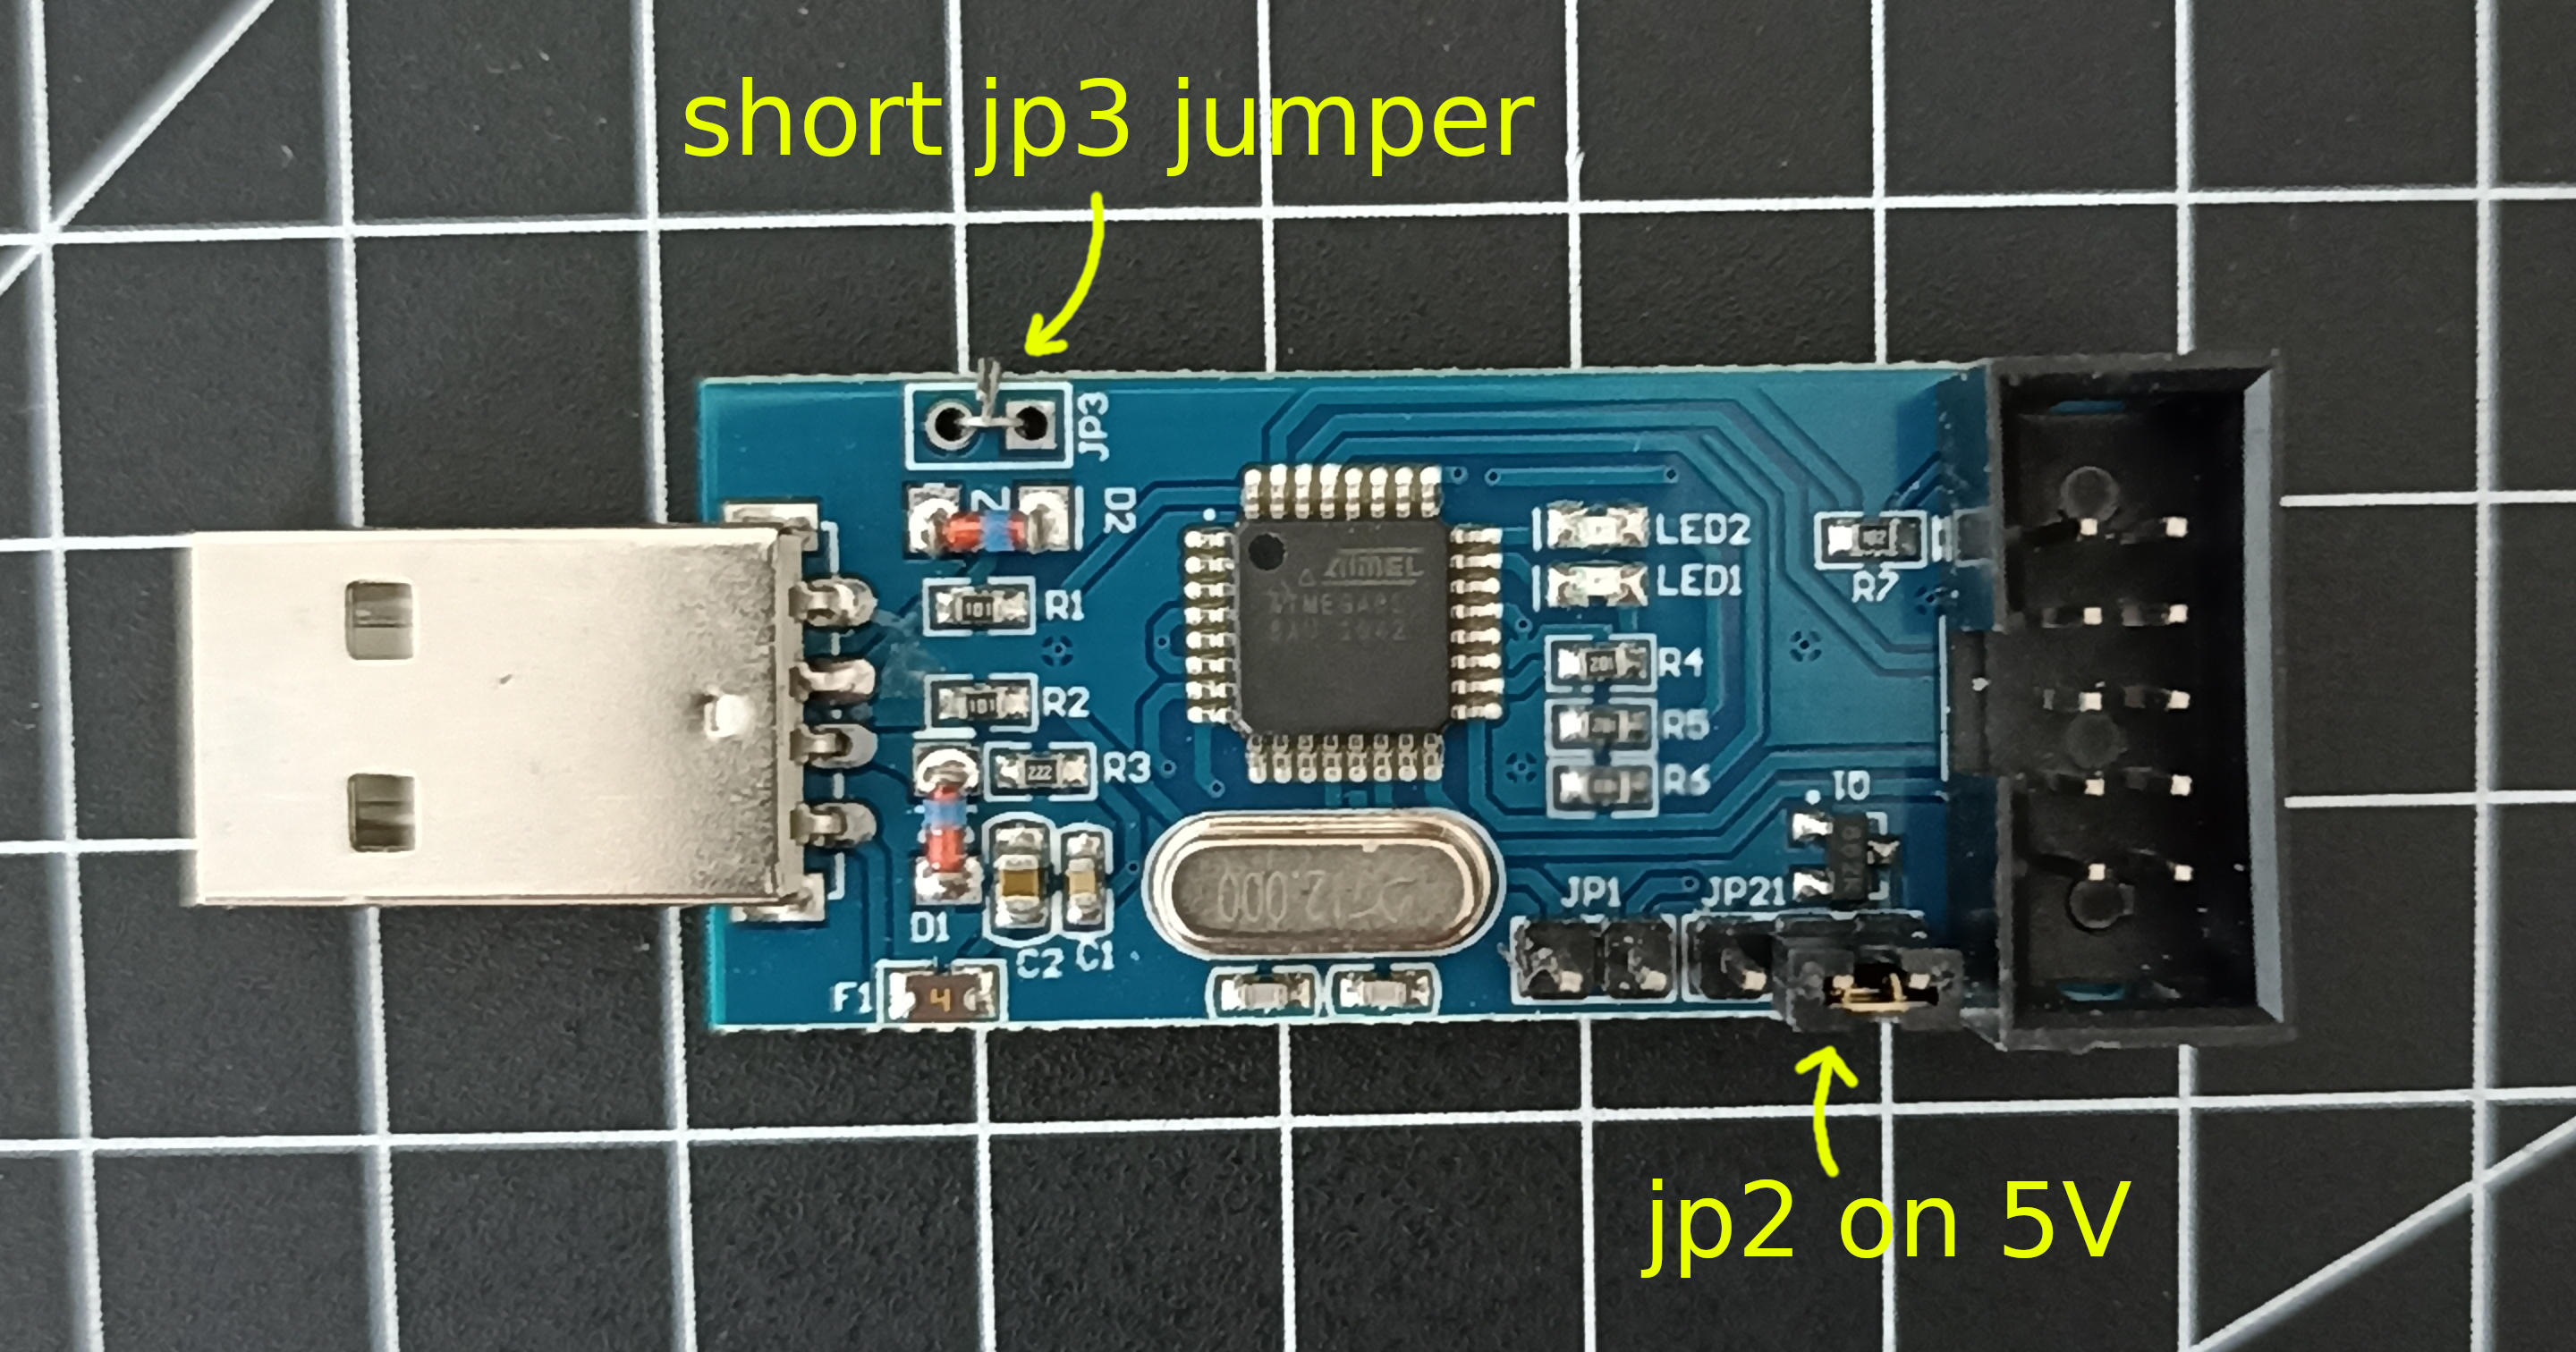
USBASP settings: remember to position the JP2 jumper on 5V and short the JP3 one. JP3 slows down the USBASP clock to match the AVR's clock speed. This is needed if the IC has an internal clock speed under 1.5MHz.
# Download the Arduino IDE appimage from the official website
# Move it to ~/.local/bin and make it executable

    chmod +x arduino-ide-*.appimage

# Create a .desktop file to launch it from rofi

    cd .local/share/applications
    touch arduino.desktop
    vim arduino.desktop

    [Desktop Entry]
    Version=2.0
    Name=Arduino IDE
    Comment=Write code and flash to Arduino hardware
    Keywords=Programming;Development
    Icon=/home/username/.icons/arduino.png
    Type=Application
    Exec=~/.local/bin/arduino-ide_2.3.1_Linux_64bit.AppImage

# To be allowed to connect and flash IC your user needs to be in "uucp" group
# (on Debian the same group is called "dialout")

    sudo usermod -a -G uucp username

# Install libusb library

    sudo pacman -S libusb-compat

# Open Arduino IDE and setup as follow

# File>Preferences paste in "Additional boards manager URL"
# https://raw.githubusercontent.com/damellis/attiny/ide-1.6.x-boards-manager/package_damellis_attiny_index.json

# Tools>Board>Board manager... search "attiny" and install "attiny".

# Connect the USBasp and take the writing rights on the device
# Repeat this steps everytime the attiny is reconnected

    lsusb
    # find the device similar to
    # Bus 003 Device 010 Van Ooijen ID for use with libusb

    # using id number as above run
    sudo chmod 666 /dev/bus/usb/003/010

# Settings to flash the attiny85:
# Tools>board>attiny25/45/85
# Tools>clock>internal 8mhz
# Tools>processor>attiny85
# Tools>programmer>usbasp

# To flash is mandatory use the programmer (not using the icon with the arrow in the toolbar)
# Sketch>Upload using programmer...

# If some error show up this could be the bootloader
# Tools>Burn bootloader and retry
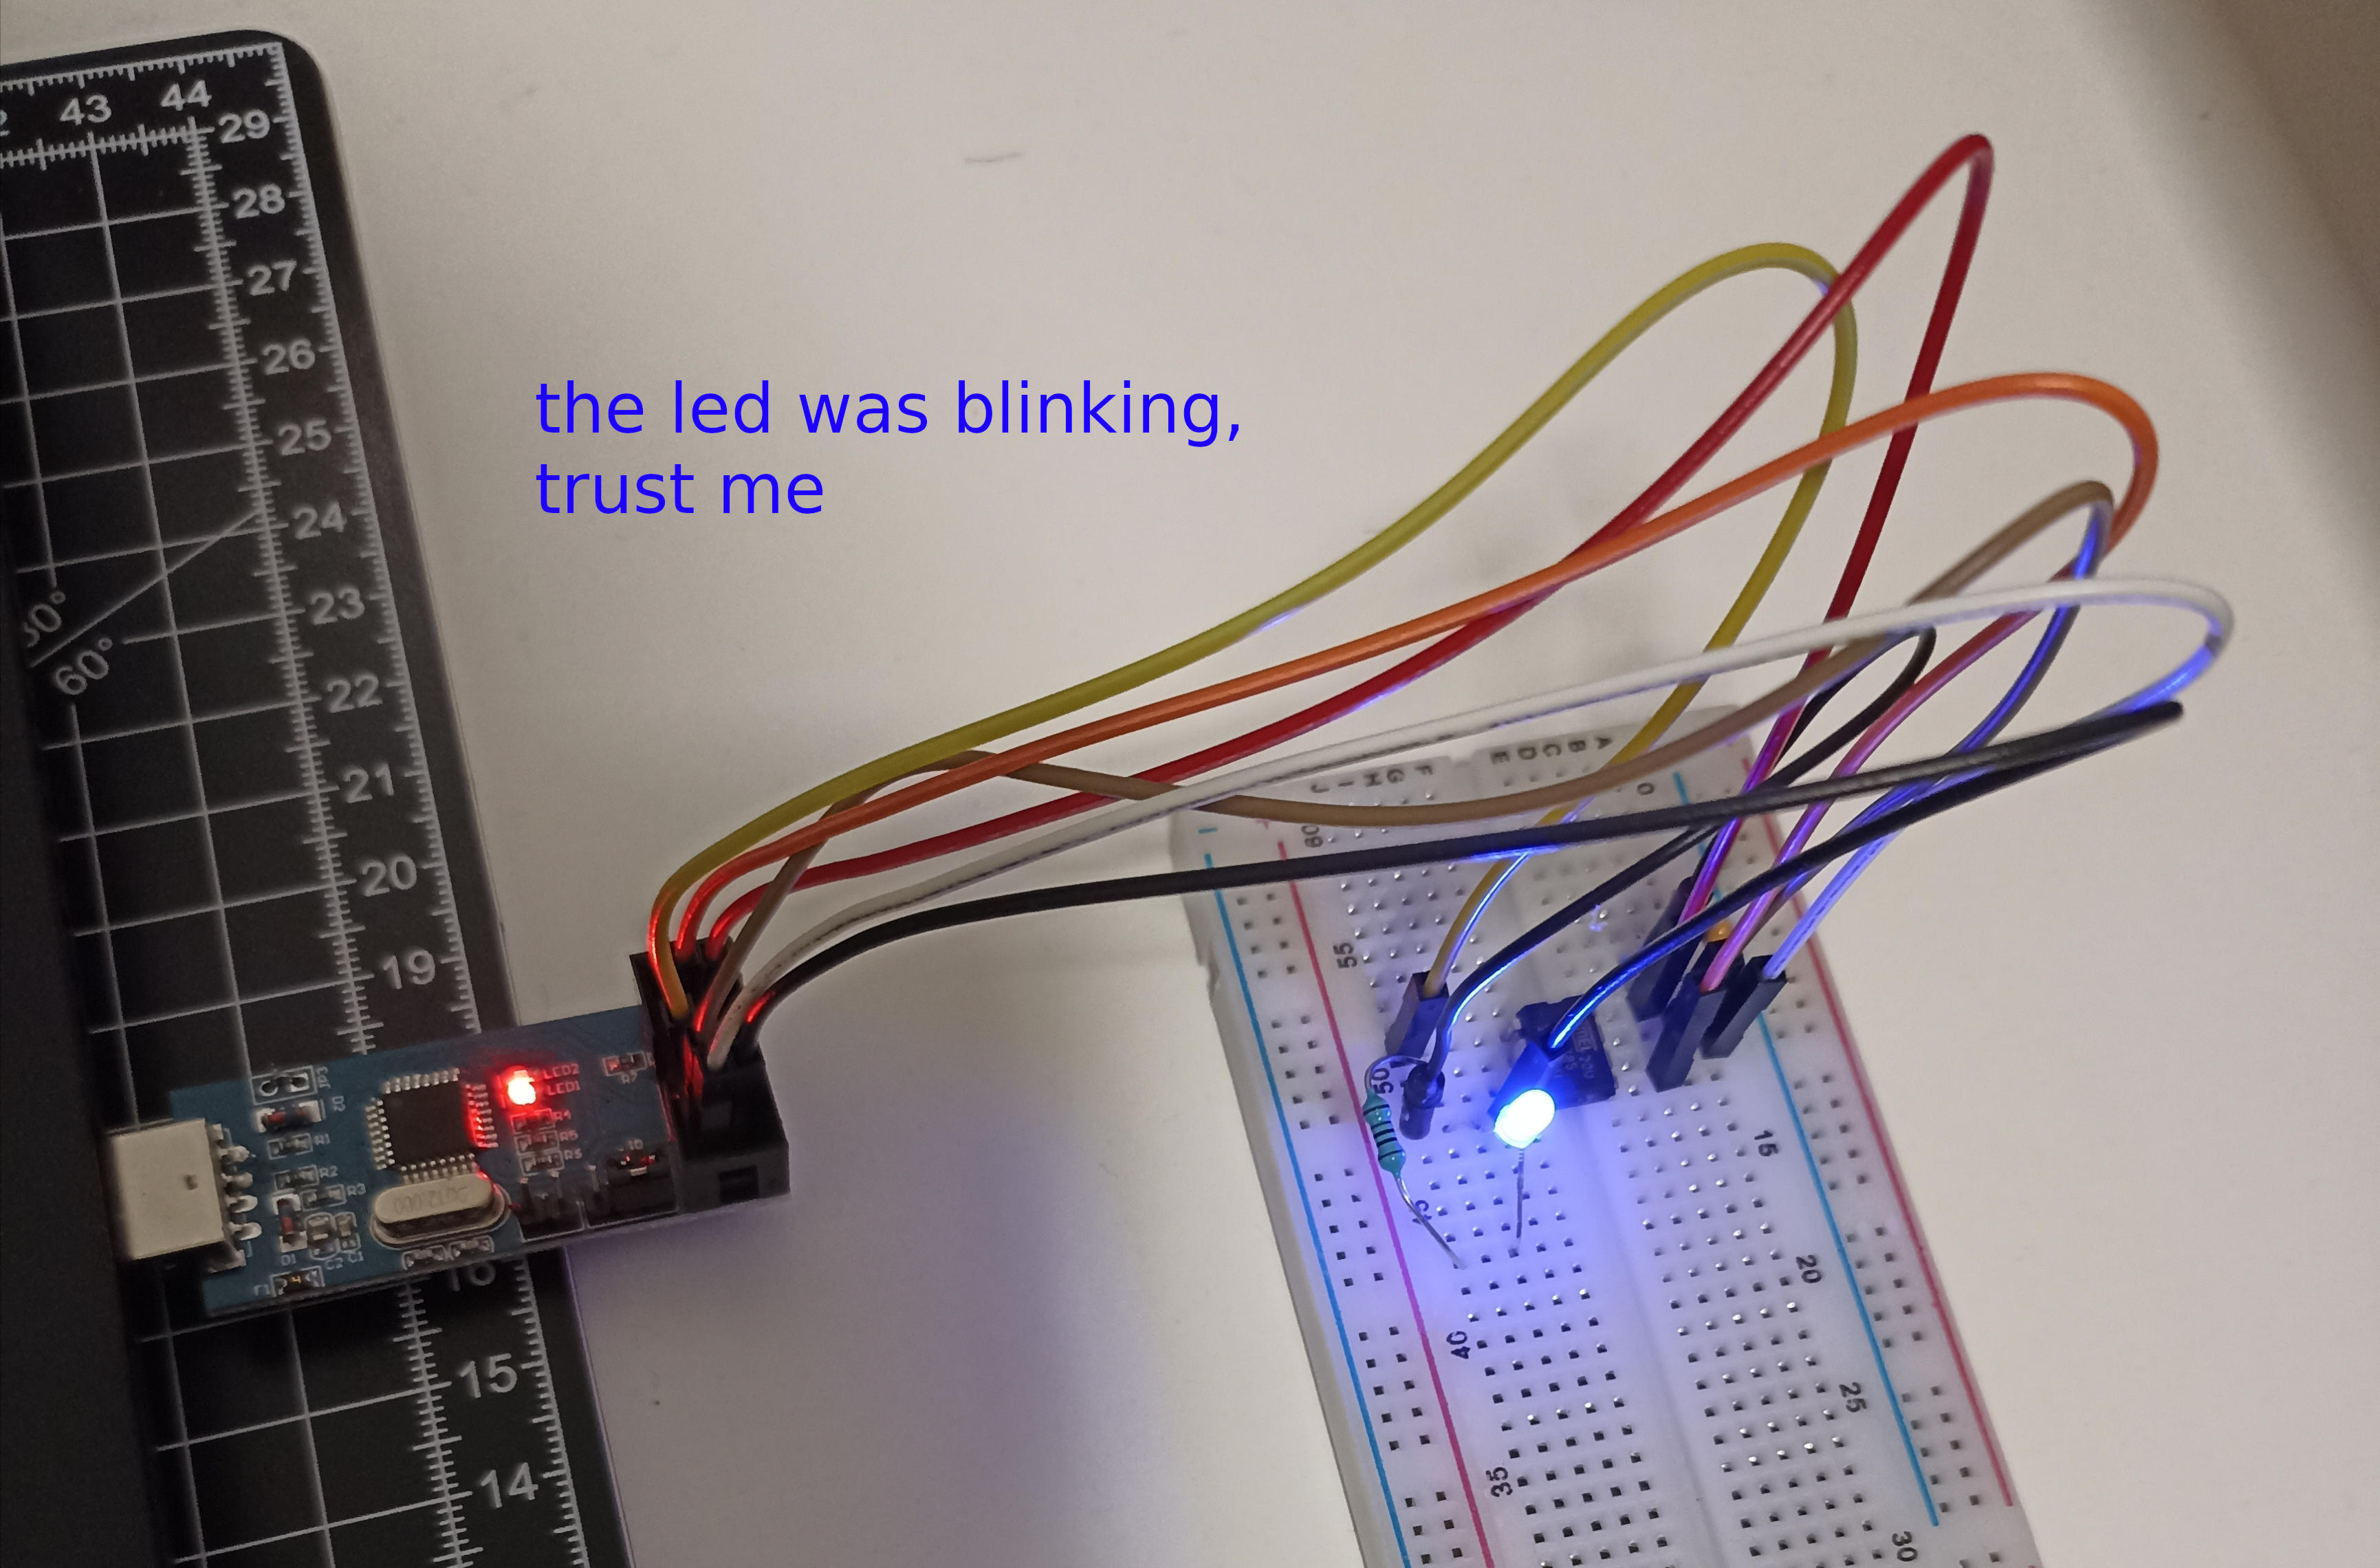
After getting everything working on the breadboard I cut a prototyping board,
placed an 8-pin IC socket base, two 5-pin headers, and soldered wires to them as explained on
hackster.io.
To prevent damaging the wirings I've siliconed the back and printed a case.
I also placed an led and a resistor so I can always test IC with an easy blink script to check their integrity before using them in some project.
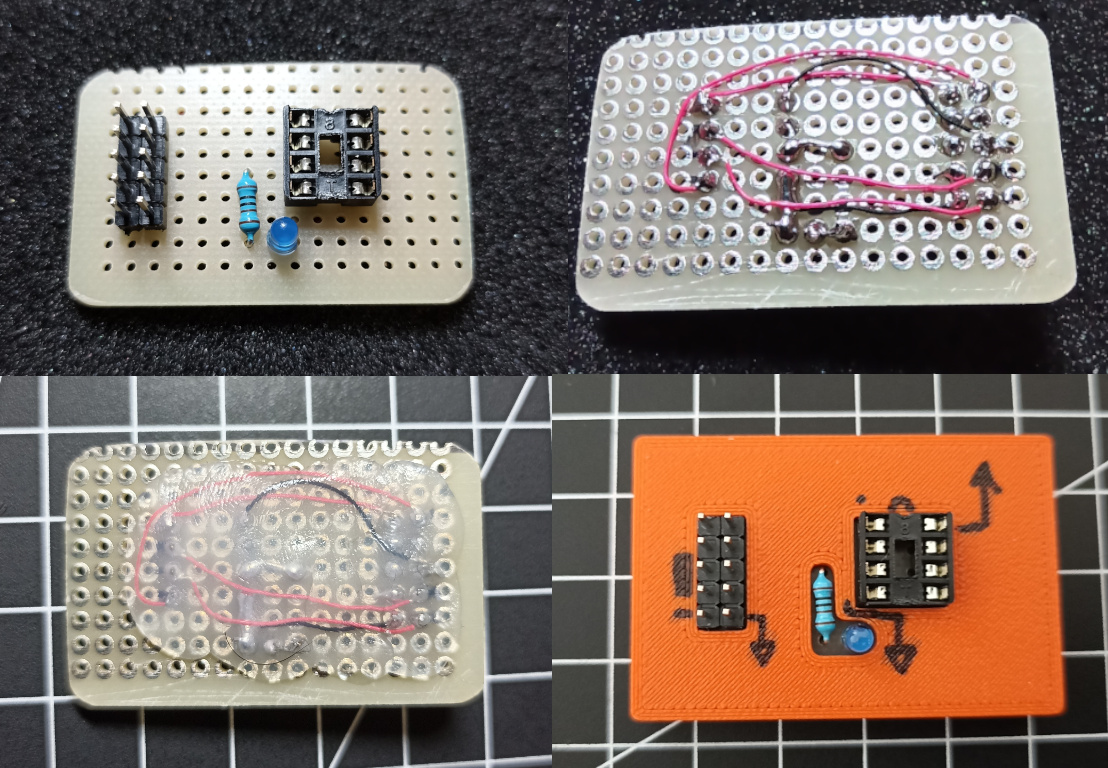
Back to the nyblcore. I flashed the firmware without problems and got everything working flawlessly!
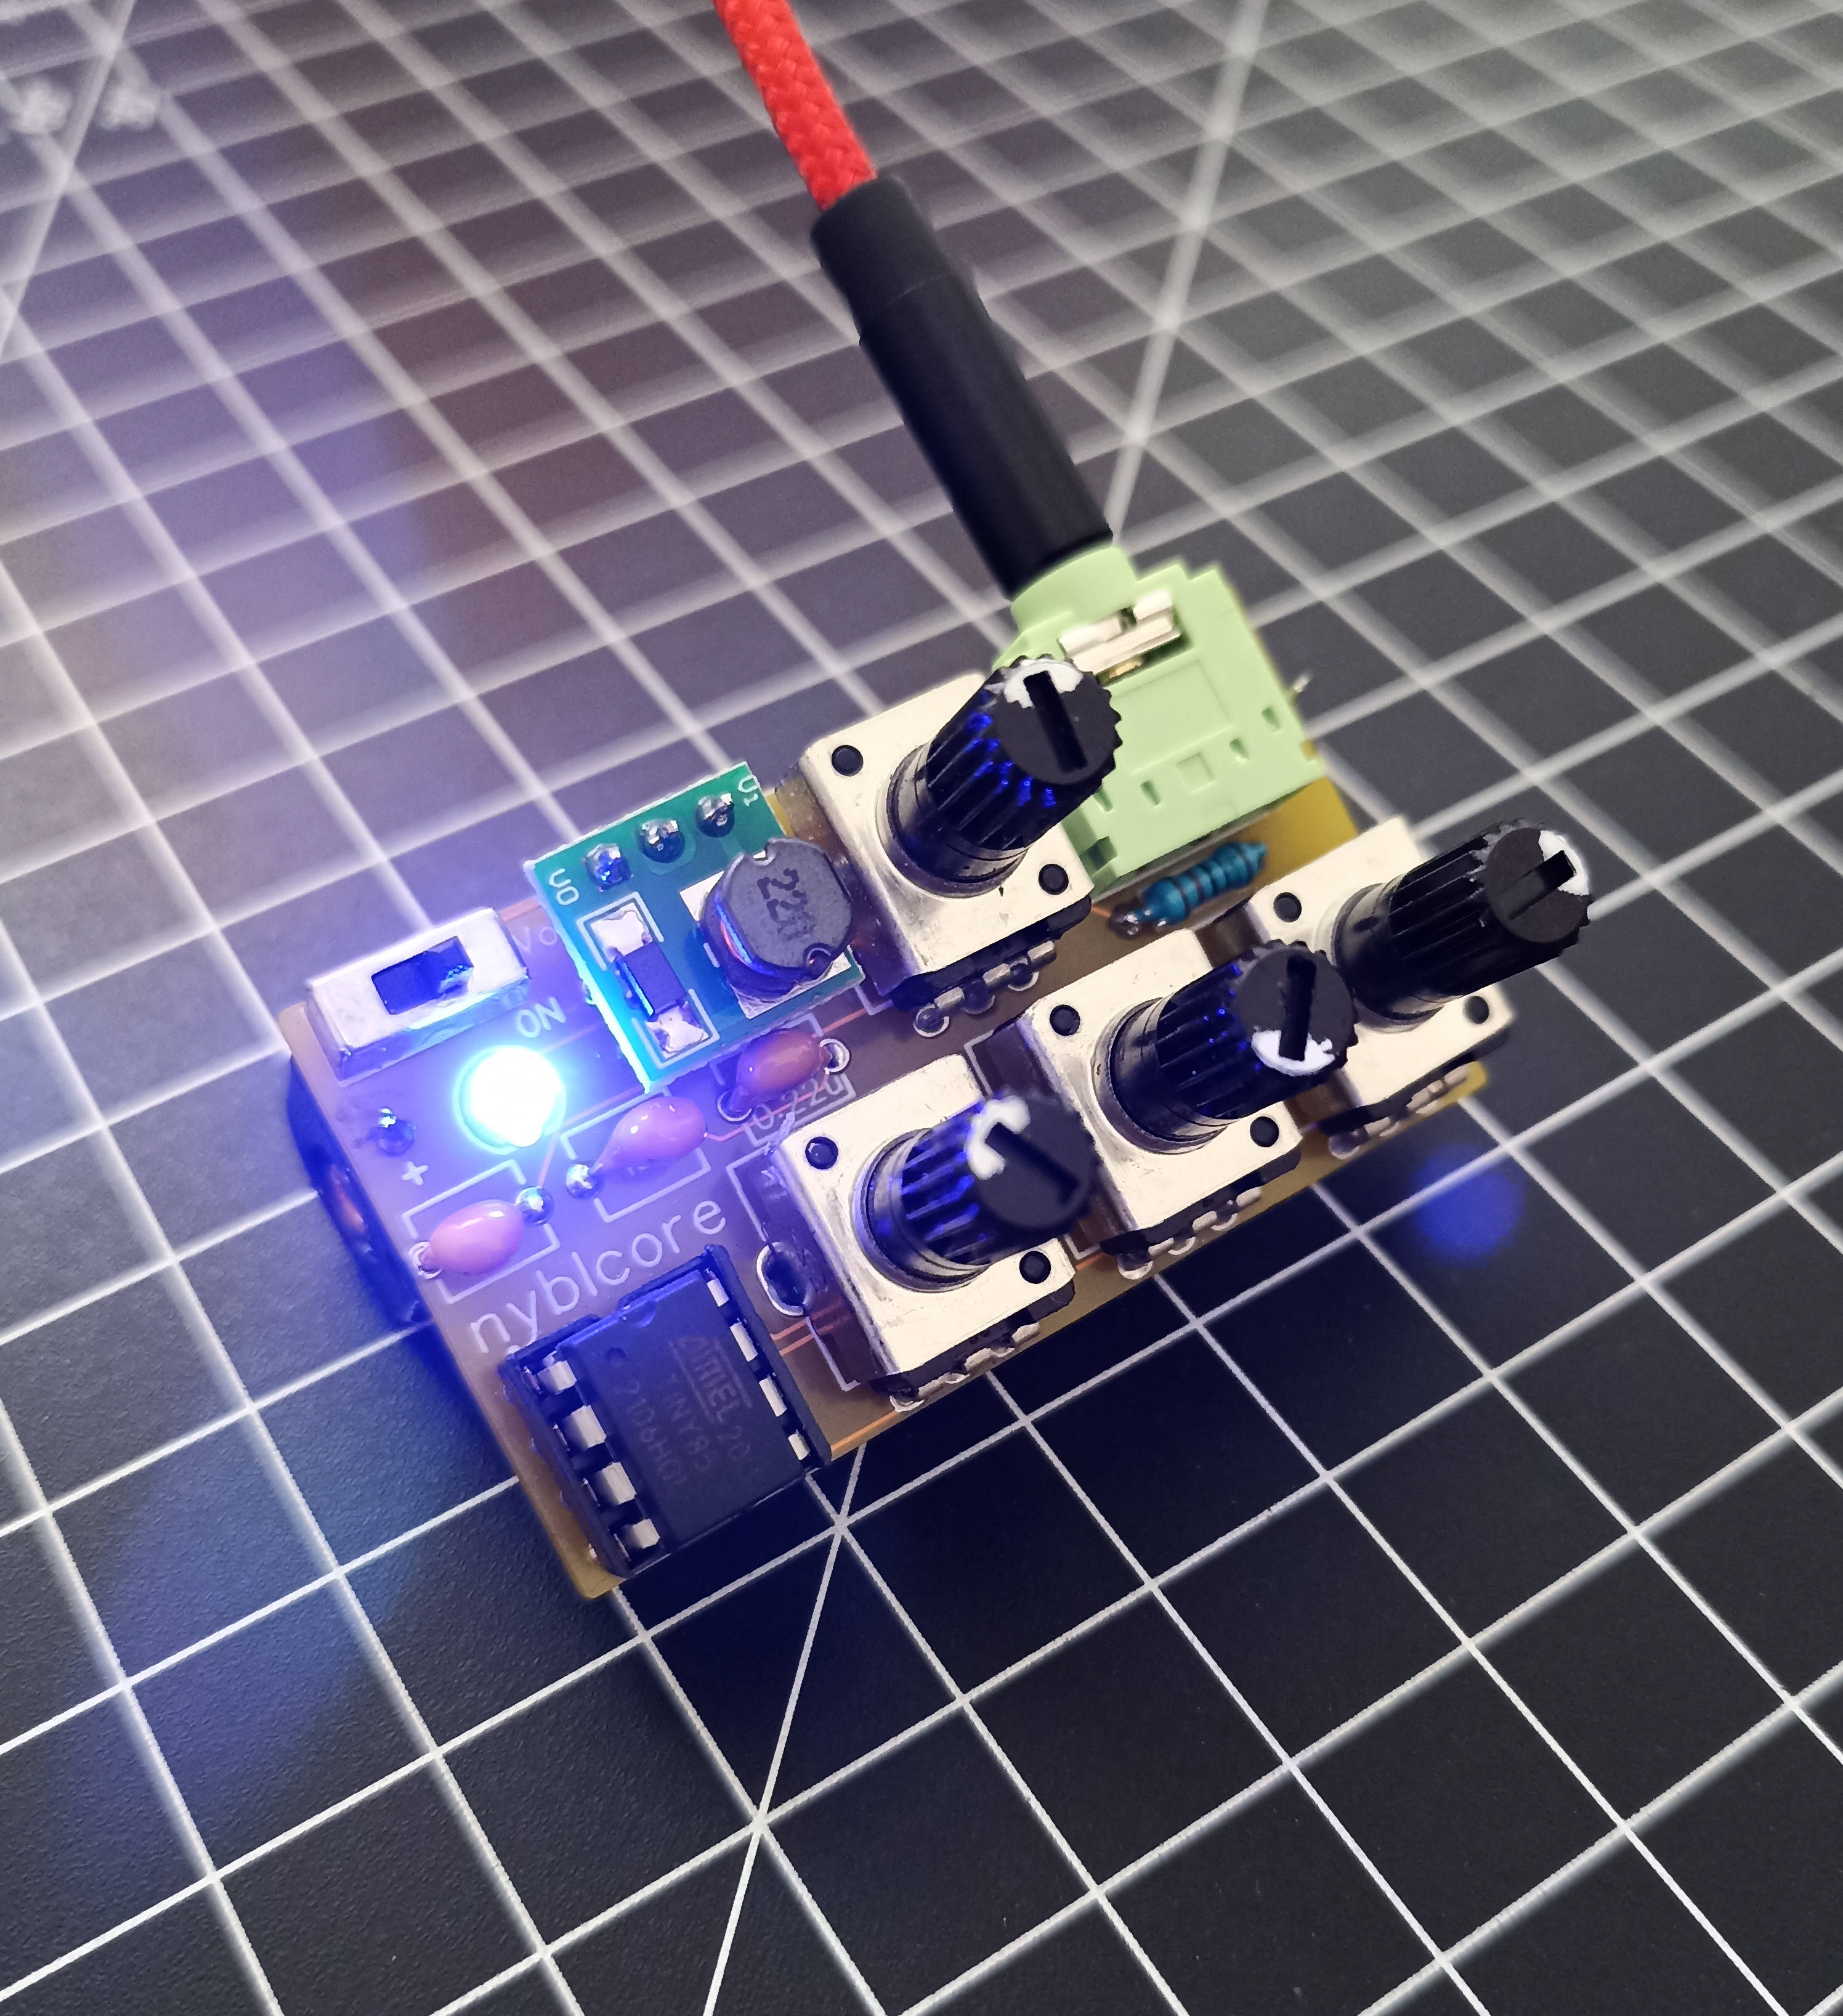
Thank you Zach for sharing the project. It's truly amazing how fantastic the open-source community is. I will study your code trying to understand how it works, to edit and remix the firmware.
ed: take a look at another infinite digits project I build: the pikocore.