Sovol SV06
As you already know, I have recently bought a 3D printer because I didn't want to bother any of my friends that already got
one to prototype the norns shield case that I have designed.
This is a lie that I'm telling myself because I wanted a printer since they started to come out LOL.
As a project designer, I already know how to do CAD modeling so this kind of machine always has interested me.
This was the perfect opportunity to cop one!
I decided to buy a Sovol SV06 because I found a lot of very good reviews and props about it. Especially this Reddit recommendation list and the videos from Pimp Your Printer Project on Youtube (he's an Italian maker).
Even if the newer model SV07 is already out and the SV06 plus has a bigger print area, they aren't open-source. That's why it was a no-brainer for me to choose this one. Plus SV07 has substituted the linear bearings with wheels. That seems like a step back from SV06 hardware from a mechanical viewpoint.
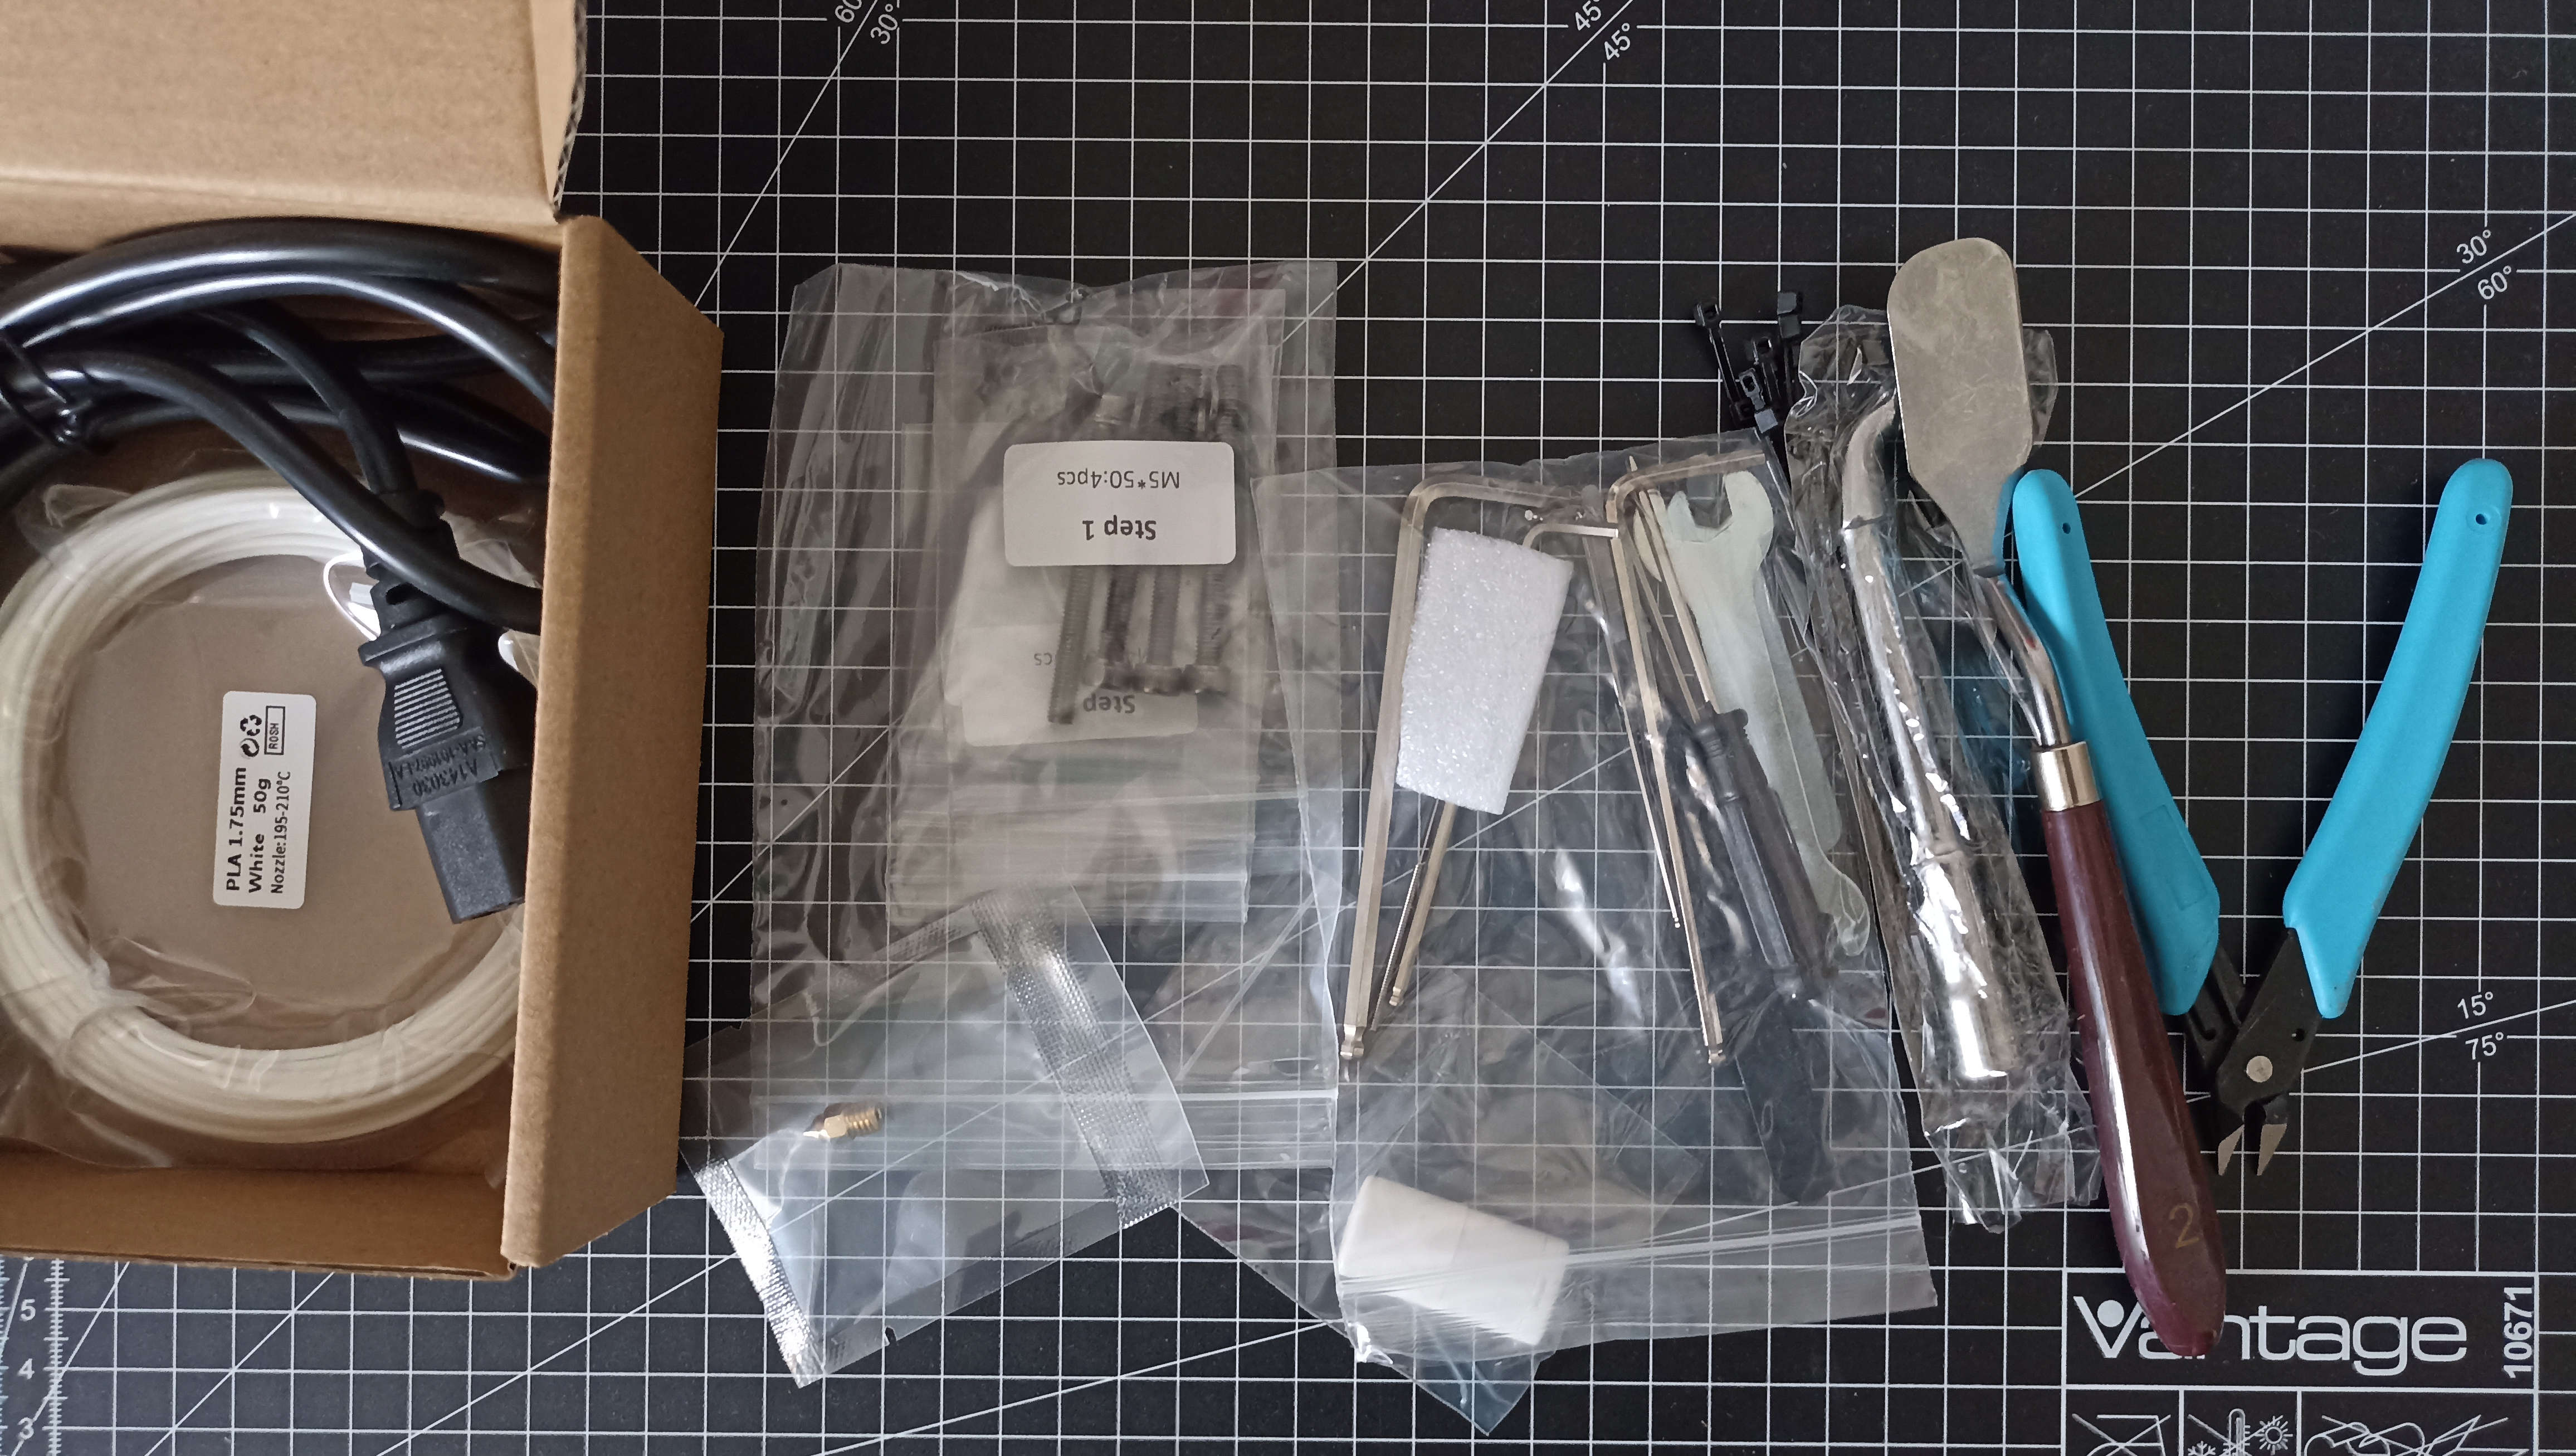
After I got it, I was able to build it (with a very cautious approach) in less than 30 minutes. I am sure that if I was a little bit more confident I could have made it in 10 minutes or less. All the needed tools were already in the box. Nice job Sovol!
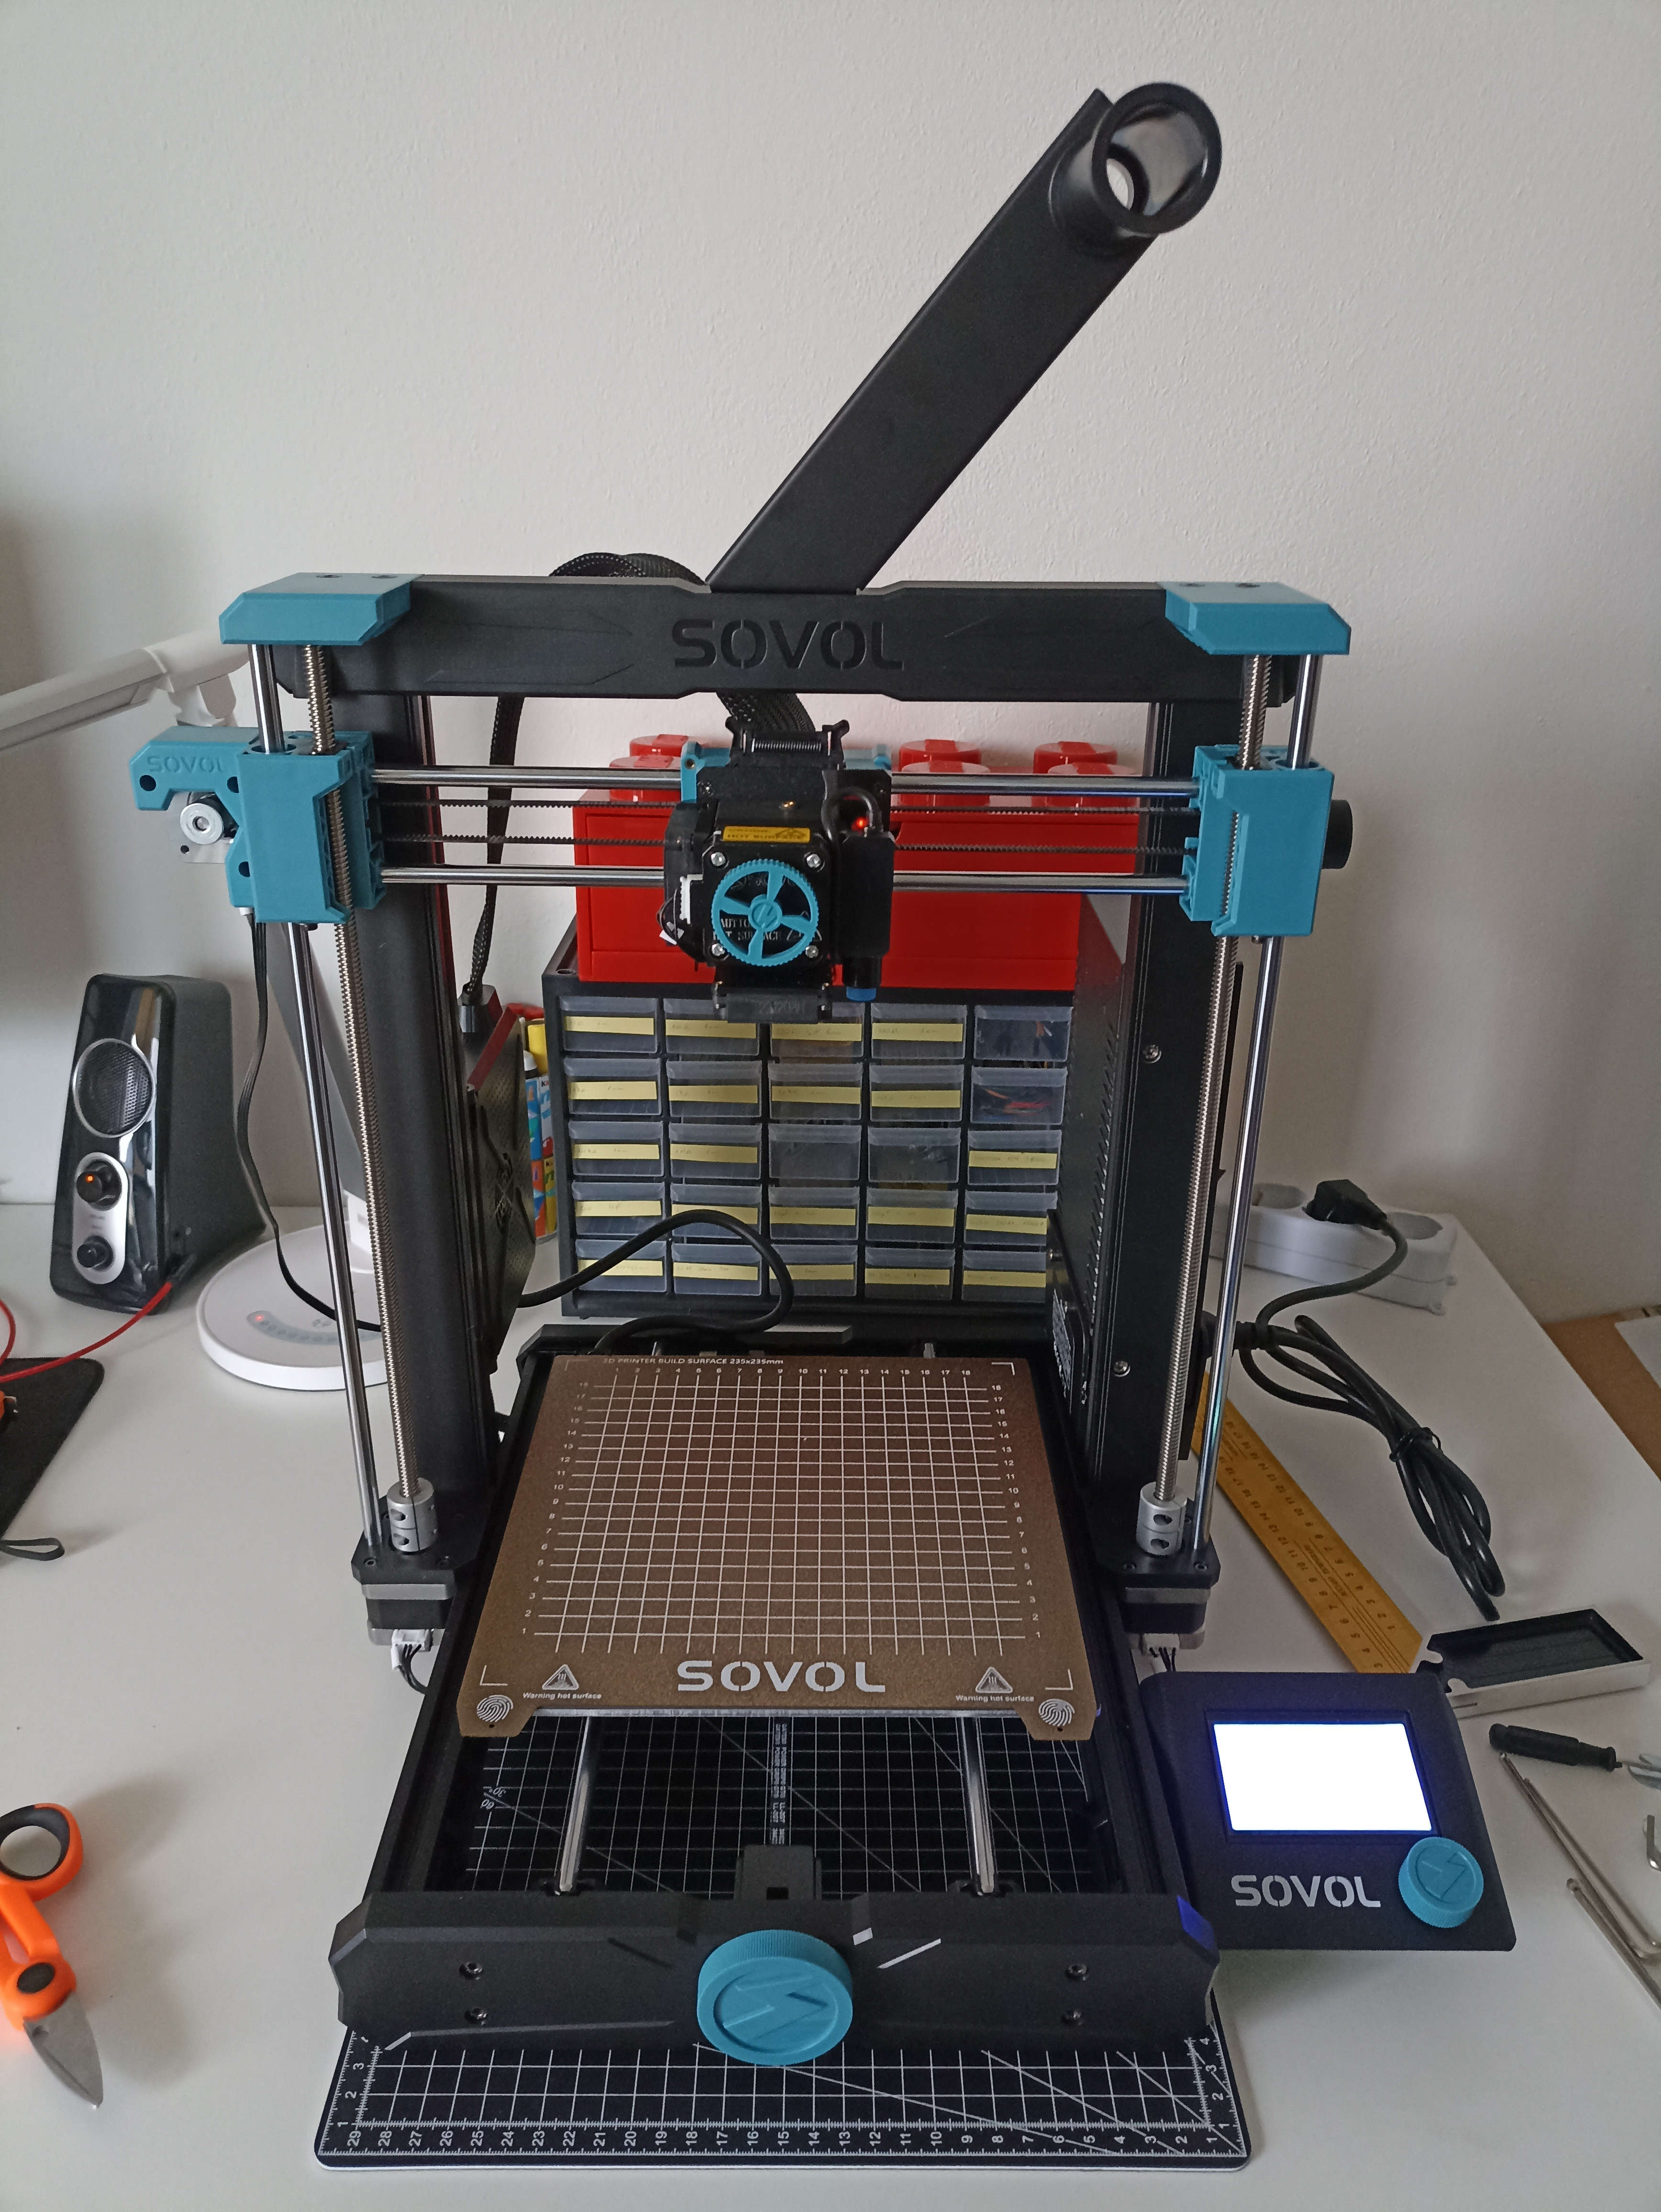
I decided to put some drops of grease on the rails to better preserve them against friction. You must know that you have to place just a tiny amount because the bushings are well-sealed at the edges and if you exaggerate you are going to make a greasy mess. A lot of Redditors suggest disassembling the bearings to lubricate them, but I don't think that's a necessary step in every scenario. Only if you need a very quiet printer. If you're not careful enough you risk breaking the plastic parts. Check out this interesting article.

As my slicer of choice, I opted for Prusaslicer instead of the Sovol's suggested UltiMaker Cura without precise reasons.
It just gave me a better first impression. To speed up the process and try o get my first print I used the preset that
I downloaded here
and I choose this calibration cube to execute the test.
Ta-da! My first ever print!
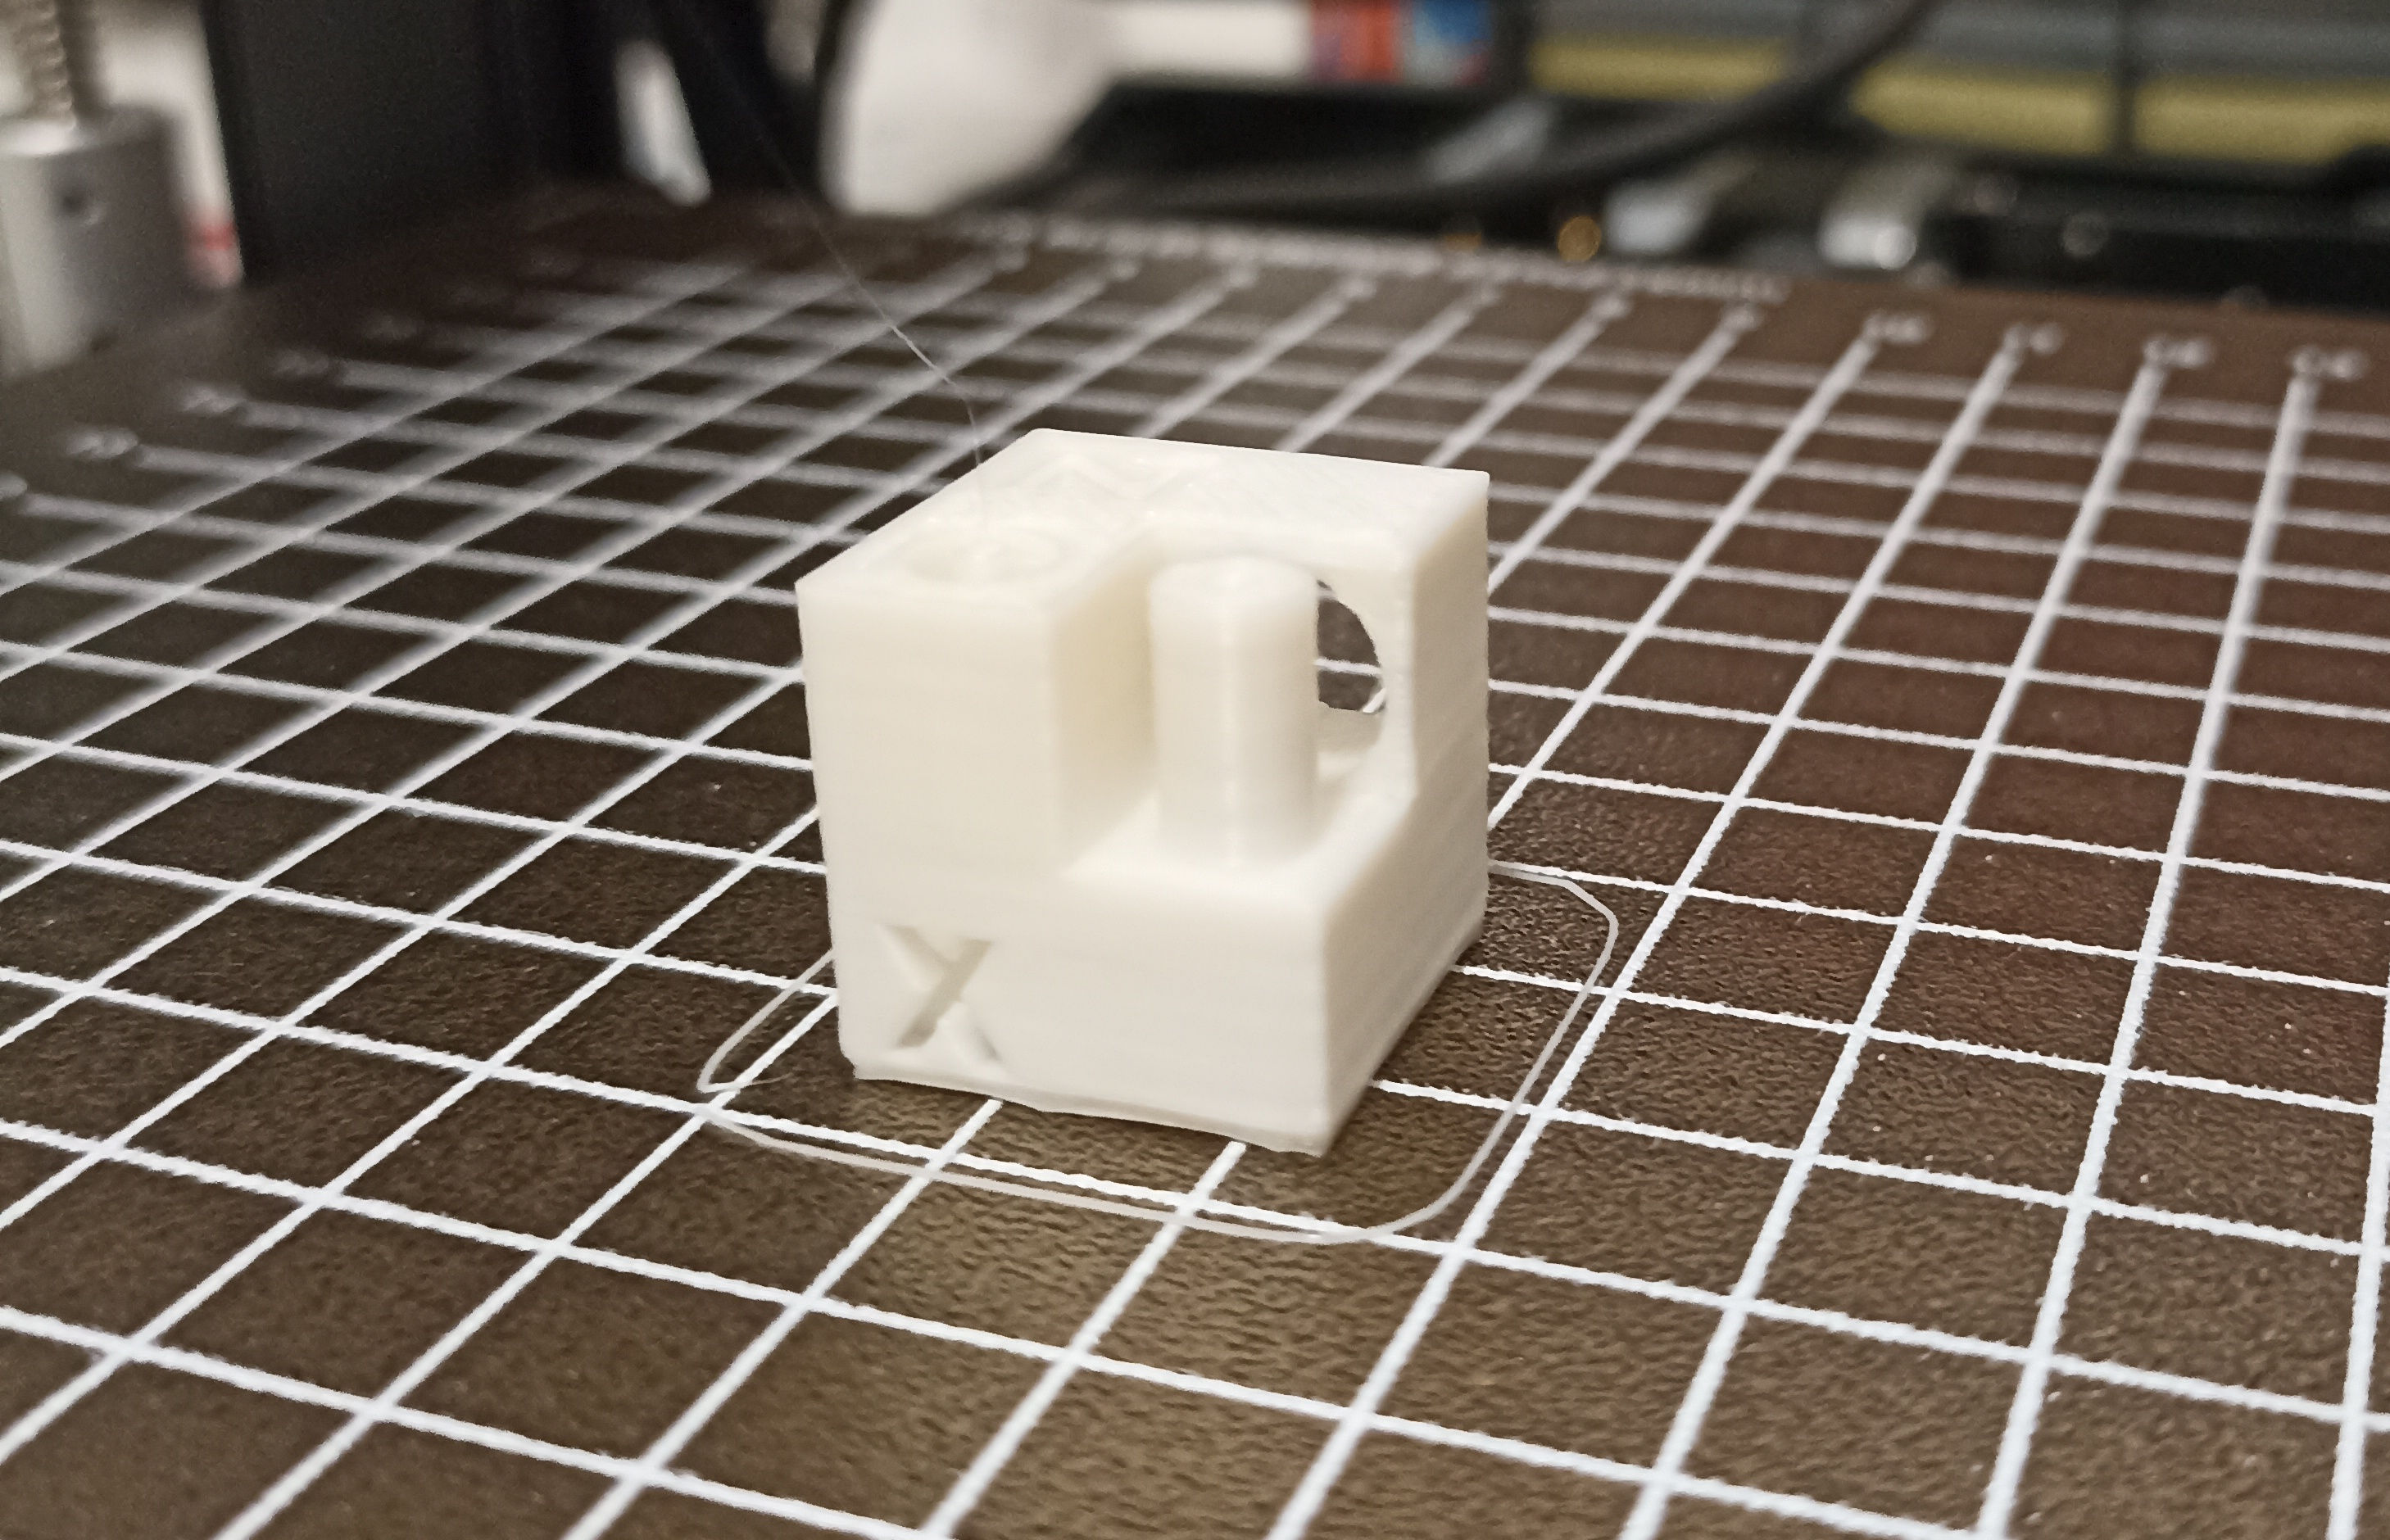
Looking at it I noticed some problems on the first layer (image below), so I checked out these guides (
1 and
2)
and identified the cause: I Z-offsetted the gantry too high from the plate.
I retried the calibration and printed
this bed leveling test
from the same project where I got the Psusaslicer presets.
As you can see below I got near-perfect print on the left side of the bed and very big gaps on the right side.
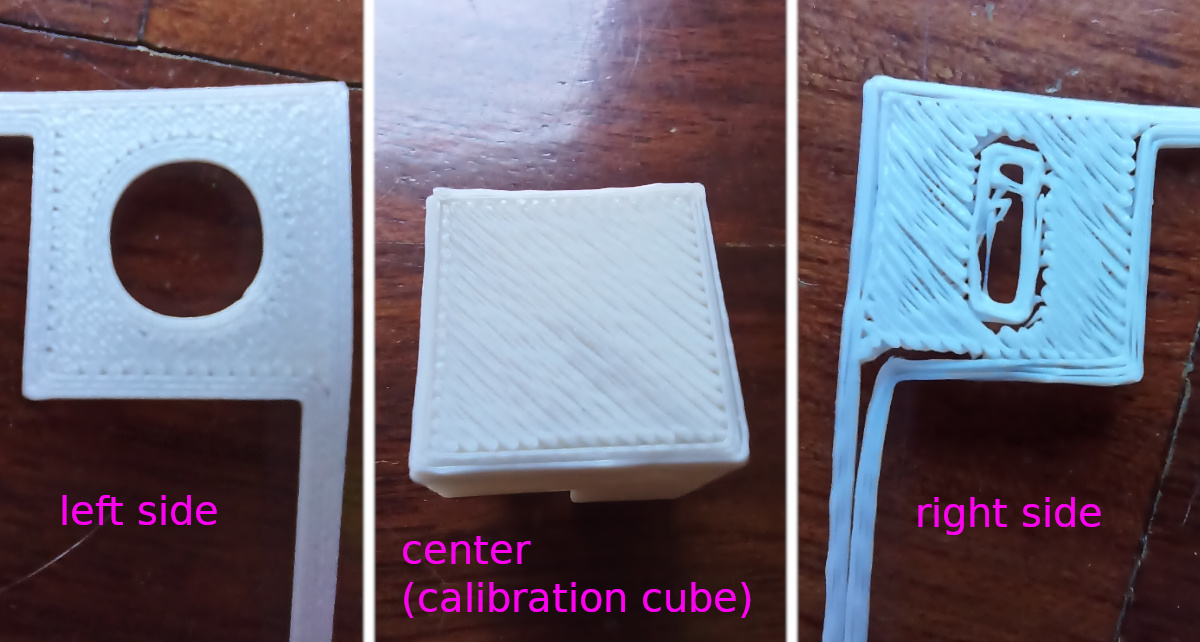
This is a common issue on the SV06 printer.
To solve it I tried different approaches, starting from the Sovol suggested firmware update but nothing changed.
I checked the planarity of the bed as explained in
this video and the results were shocking!
The tutorial says that to correct the leveling all deltas must be in a +-0.050 range.
I've got numbers that go from +0.158 to -0.586.
The following mesh is a visual representation of my print bed created with
lokspace mesh visualizer.

The only solution I have found working is the one described by the Pimp Your Printer channel that I mentioned before,
explained in this video.
The explanation is in Italian, but it can be summarized as follow: install the
Hillsoftware alternative firmware.
It has many advantages like being based on the last Marlin release
(so you got input shaping, not available in the official Sovol one) and many extra tweaking options.
I personally choose version 57 with the bi-linear algorithm.
Then I followed the guide in the main readme.
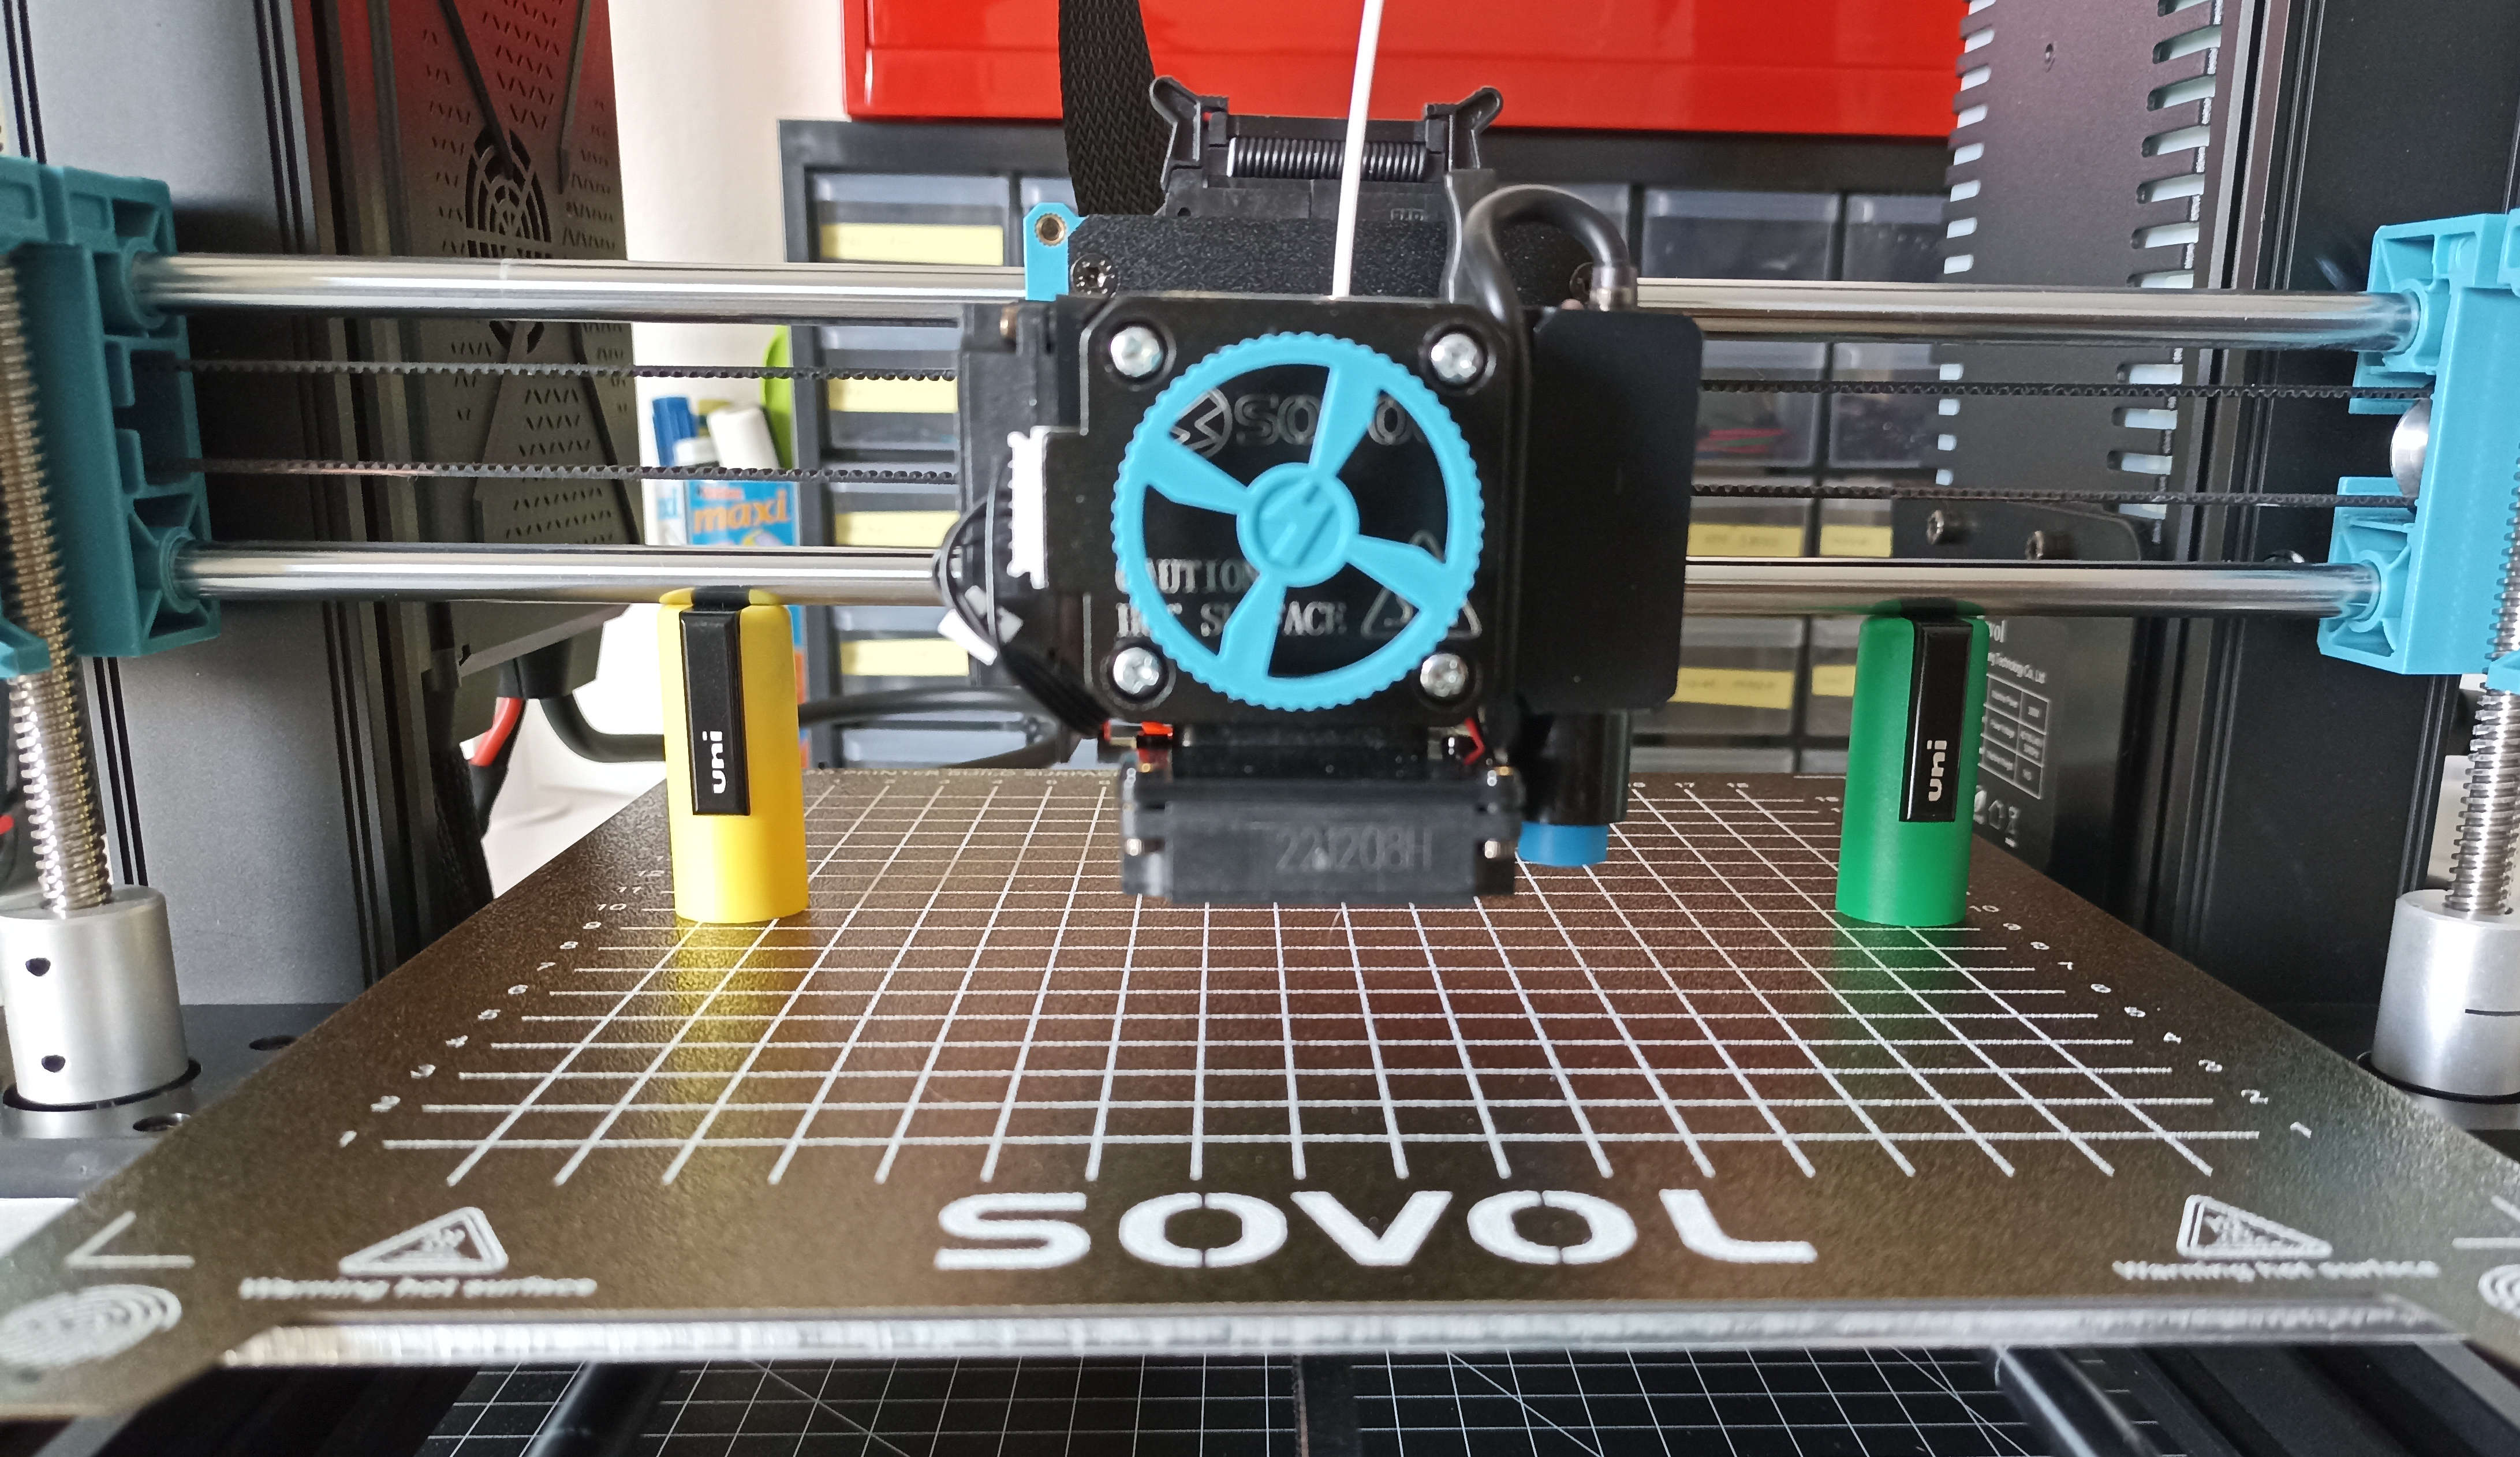
Bonus: here's a picture where I show my NASA-approved gantry Z-align spacers.
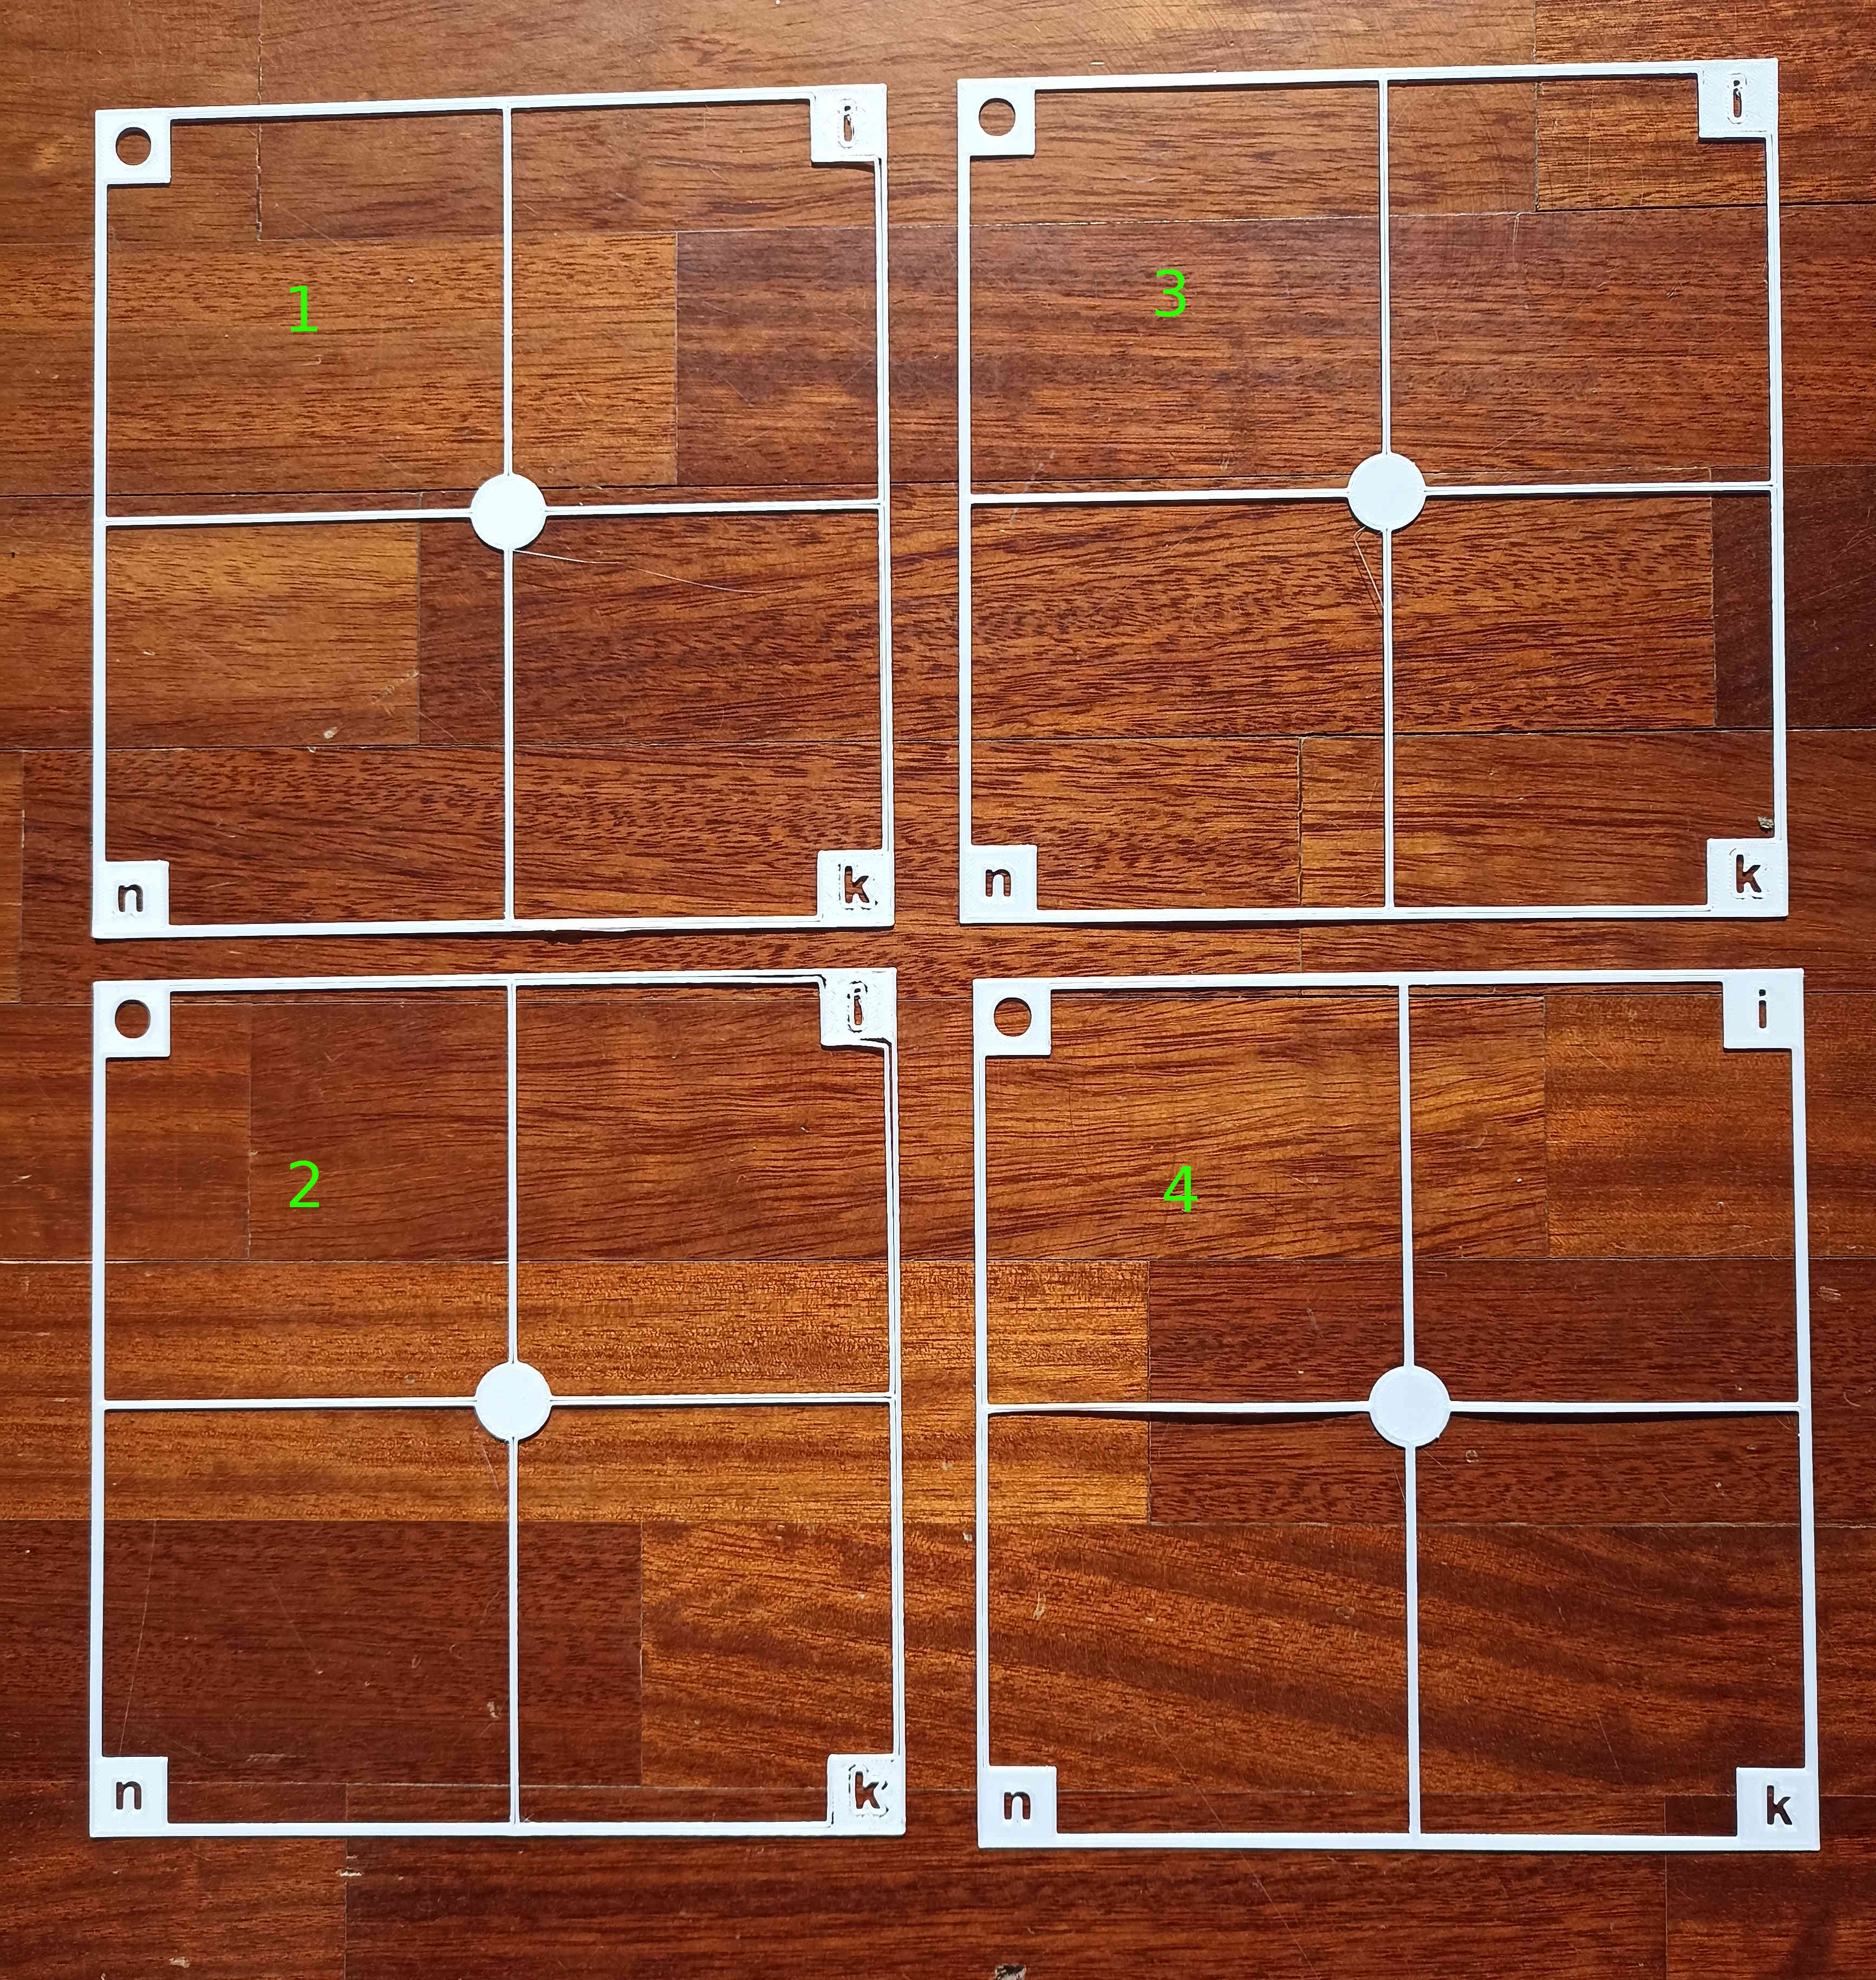
The first part of the guide didn't solve my problem, so I tried the 3 points X-Twist calibration in the Probe Offsets menu. And The result was a great improvement! You can see a comparison between 4 test prints in various stages of this optimization process in the photo.
Now I have a working 3D printer! Hurrah!
Hint: many cases and covers are going to pop up in some random previous projects as updates! Check them out sometimes ;)